15 Free messy bun hat crochet Patterns with tutorial
What do we call this messy bun crochet pattern phenomenon? Is it a fad? Is it a temporary thing? Is it here to stay? Yes, I think it is here to stay.
What is driving people so crazy about it? I mean the people that don’t like it? I think it’s just because it has taken over for the moment and people have just really caught on to it.
It’s been around more than four years. This is not a new design. Although, I think it was time for its re-emergence. I think people have caught on to how brilliant the simple design is.
Nobody is reinventing the wheel. We do have new yarns and textures to work with since it was first “developed” in the 1960s, though. Check for yourself!

Crochet Hats Patterns
Free Messy Bun Hat Crochet Pattern DIY
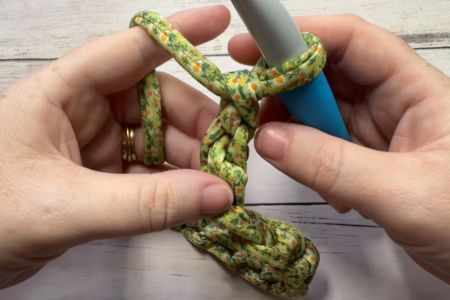
You can do you own corchet hat following the tutorial:
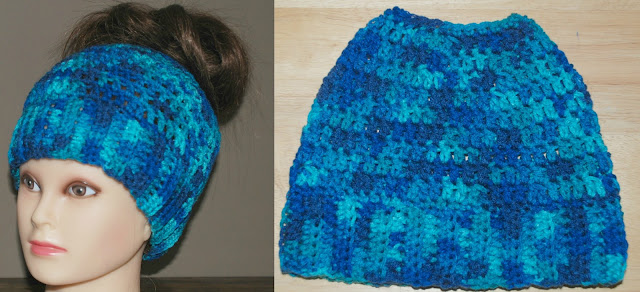
Free Messy Bun Hat Crochet Pattern
Since the Messy Bun Hat is a popular trend at the moment, I wanted to make one for myself as I like wearing my hair in a messy bun! I uploaded a video tutorial if you need help, and I used Medium Worsted yarn and an I hook to make an Adult Size version. I hope you enjoy this hat as much as I enjoyed making it!
Supplies: Red heart Blue Variegated Yarn I hook Abbreviations: ch=chain sl st=slip stitch sc=single crochet dc=double crochet hdc=half double crochet 2dctog=2 double crochet together=
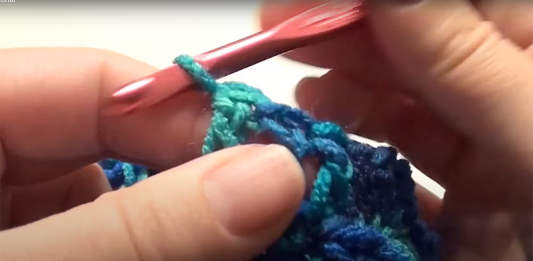
Yarn over (YO) hook, insert hook in stitch(st) , pull up a loop, 3 loops on hook. YO hook, pull through 2 loops. YO hook insert in next st, pull up a loop, 4 loops on hook. YO, pull through 2 loops, 3 loops on hook. YO pull through last 3 loops. One dc2tog made.
Still with doubts? Take a look on this video tutorial:
Its this for an adult women
Rows 1: chain 10, hdc in the 3rd chain from the hook and each chain across, -8 hdc Rows 2-40: *Turn, Ch 1, hdc in each hdc back loop across, -8 hdc Repeat Row 2 for 40 rows or Make sure the brim fits around your head and follow this pattern as closely as you can. Take the rows and sew the ends together with a sl st. Don’t Break the yarn, Continue on with Rnd 1.
Rnd 1: Ch 1, sc in each stitch around the edge. I ended up with 60 sc, which is a good number to work with. Rnd 2: Ch 3(Counts as Dc), work dc in the next 2 dc, *2dctog in the next two sc, work dc in the next 3 sc, *Repeat around, sl st on top ch 3. -48 dc Rnds 3-6: *Ch 3(Counts as Dc), dc in each dc around, sl st on top ch 3. *Repeat for 4 rounds -48 dc Rnd 7: Ch 3(Counts as Dc), dc in the next 5 dc, 2dctog in the next two dc, *dc in the next 6 dc, 2dctog, *Repeat around, sl st on top ch 3 -42 dc Rnd 8: Ch 3(Counts as Dc), dc in the next 4 dc, 2dctog in the next two dc, *dc in the next 5 dc, 2dctog, *Repeat around, sl st on top ch 3 -36 dc Rnd 9: Ch 3(Counts as Dc), dc in the next 3 dc, 2dctog in the next two dc, *dc in the next 4 dc, 2dctog, *Repeat around, sl st on top ch 3 -30 dc Rnd 10: Ch 3(Counts as Dc), dc in the next 2 dc, 2dctog in the next two dc, *dc in the next 3 dc, 2dctog, *Repeat around, sl st on top ch 3 -24 dc Rnd 11: Ch 1, sc in each dc around, sl st. Fasten off and Weave in the ends.
Other Patterns
Take a look at the following photo of other hat Models.

Crochet sun Hat Patterns
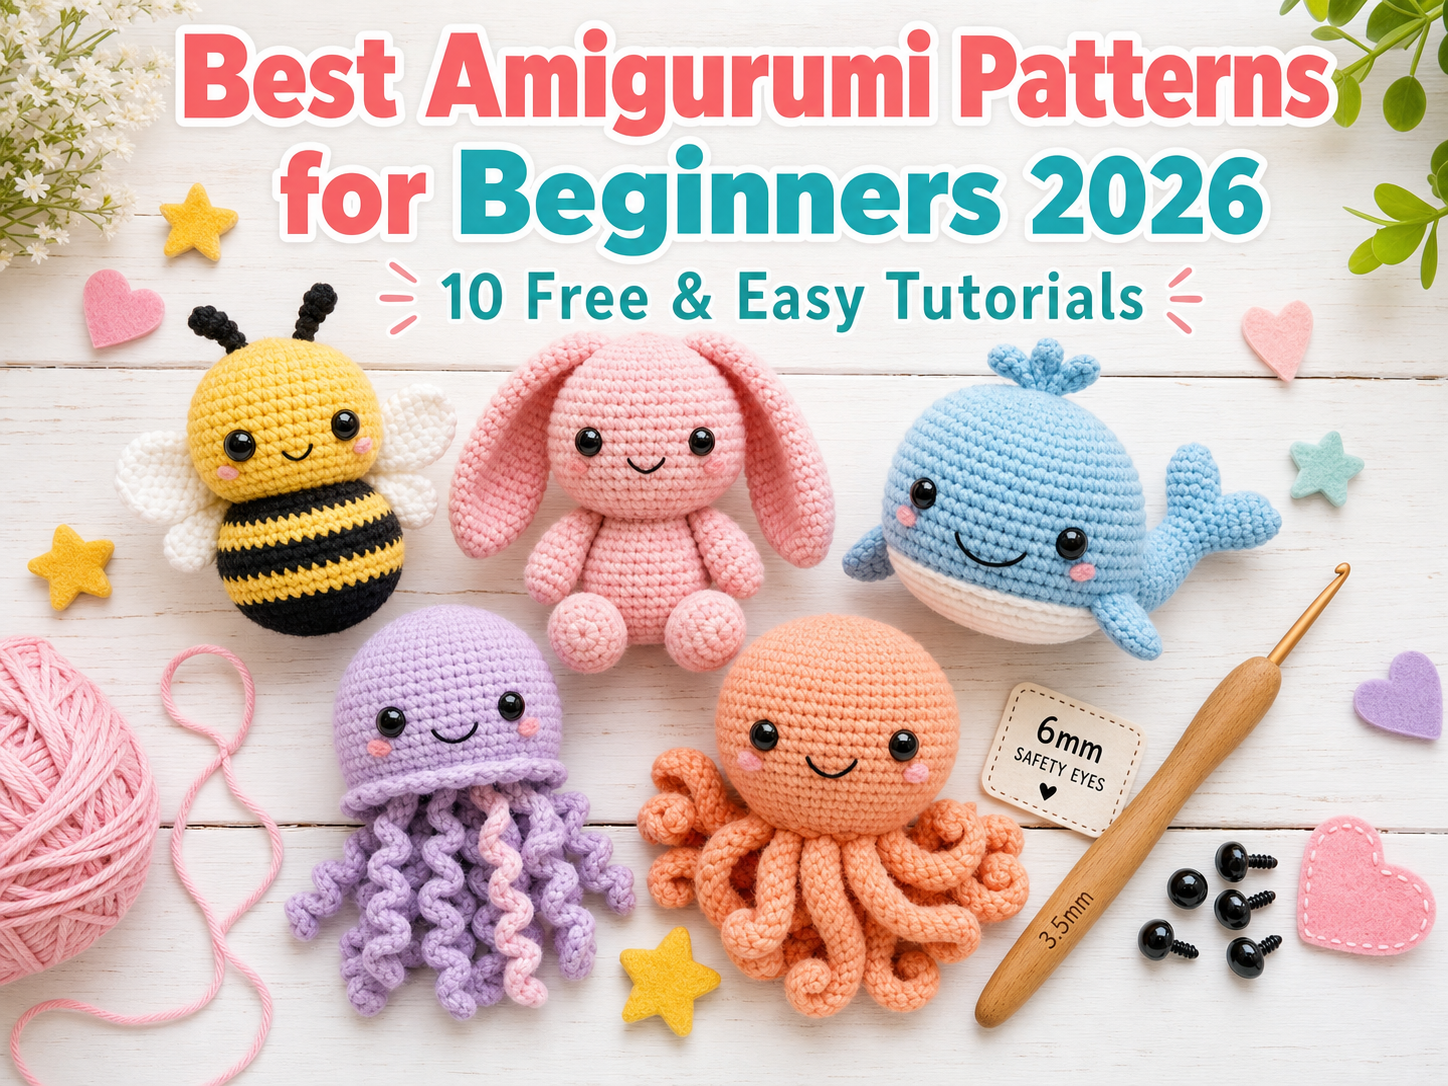
Best Amigurumi Patterns for Beginners 2026 – 10 Free & Easy Tutorials
Amigurumi, the Japanese art of crocheting adorable stuffed toys, has captured the hearts of crafters worldwide. If you’re wondering where to start with amigurumi crochet for beginners, you’ve come to the perfect place.
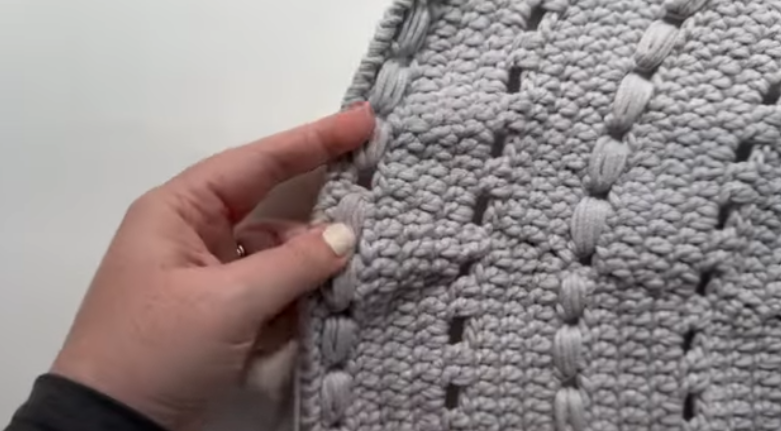
The Aveline Rug – Simple Yet Stunning Crochet Tutorial with Free Pattern
The Aveline Rug is a beautiful circular crochet rug pattern that combines simple double crochet rounds with decorative bead stitches and textured edging.
Easy Oval Cottage Rug – Step‑by‑Step Crochet Tutorial for Beginners
An oval cottage rug is a great beginner project that looks impressive but uses very simple stitches. This tutorial walks through each step to crochet an oval rug from the center outward, so you can make it smaller for a bedside rug or larger for an entryway, hallway, or kitchen. The method is based on […]