Crochet a beautiful Lucky Stars Beanie
Elevate your winter wardrobe with a touch of handmade magic using our beautiful lucky stars beanie crochet tutorial!
Crochet your own stunning lucky stars beanie with our easy-to-follow pattern
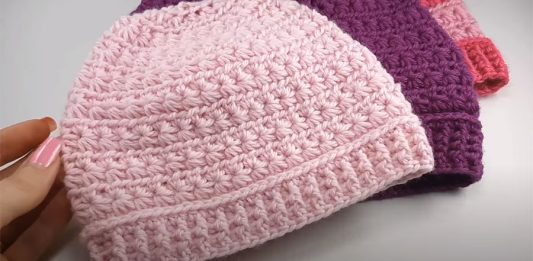
The star stitch is one of my absolute favorite stitches in crochet and I’ve been loving incorporating it into different designs over the past year; from headbands to beanies, and each one taught me something new about joining and turning to create unique looks.
I’m really excited to finally share this pattern with all of you! It took a lot of hard work and dedication from over 50 amazing testers in our crochet community on Instagram and Ravelry to make this happen; I’m incredibly grateful for their support.
Once you get to the bottom of this page, you can view the video tutorial to assist you in constructing the beanie. Furthermore, the messy bun and fitted beanies in all sizes can be purchased through Ravelry and Etsy (the links can be found when you click on each store).
Materials
4mm hook 4.5mm hook 8 ply yarn – must make 5 x foundation half double crochet per inch scissors yarn needle Stitch abbreviations:
sl st: slip stitch st/sts: stitch/stitches ch: chain sc: single crochet sc2tog: single crochet two stitches together (decrease) sc2tog in BLO: single crochet decrease using the back loop only of the stitch. hdc: half-double crochet hdc2tog: half-double crochet two stitches together (decrease) bphdc: back-post half-double crochet fphdc: front-post half-double crochet * – *: repeat pattern between these symbols prev.: previous fhdc: foundation half-double crochet
Instructions

crochet Beanie for infants
This pattern is for Infant Size (15” x 5.5-6”).
1. In the beginning, use a 4mm hook and fhdc 71. Join with a sl st into the first fhdc to form a loop. (71 st).
Alternatively, if you find the fhdc challenging, chain 71, sl st in the first ch to join in the round (ensuring your ch isn’t twisted). Make a ch 2 and work hdc in each of the next 70 st. Sl st into the top of the ch 2 to join. (71 st).
Note: This should make a strip of approximately 14″ (unstretched). To get the right length, adjust the stitch count in groups of two, making sure the number of stitches is always odd.
2. Work bphdc around the next stitch, then fphdc around the next stitch, repeating until the end of the round. Slip stitch into the top of the chain 2 to join. There should be a total of 36 bphdc and 35 fphdc plus the chain 2, but the chain 2 does not count as a stitch, so the total number of stitches is 71.
3. Repeat Round 2, working a bphdc into the bphdc from the previous row and a fphdc into the fphdc to form the ribbing.
4. Make a slip stitch in the first stitch of the round, which should be marked. Work a half double crochet in each stitch around. Work a half double crochet two together using the last stitch of the round and the slip stitch from the previous round. Join the round with a slip stitch into the marked stitch from the beginning of the round. For a neater finish, use the backwards join method. If desired, switch to a 4.5mm hook and a contrasting colour. This round should have 71 stitches.
5. Chain 1, single crochet in the third loop, also known as a camel stitch. Mark this first stitch. Single crochet in the third loop, or camel stitch, all the way around. Slip stitch to join into the marked stitch. You should have a total of 71 stitches.
6. Ch 3 to begin your star stitch row. Make a star stitch, then make 34 more stars around. To finish the row, hdc2tog using the eye of the last star, the base of the last star, and the sl st from the previous row. Sl st into the top of the first star (the top of the ch 3 used to begin the row). You should have 35 stars plus 1 hdc. Ch 1 and turn.
7. Make 2 hdc into the eye of the next star, skipping the stitch between the stars, all around. Slip stitch into the marked stitch for a total of 71 stitches. Chain 3 and turn.
8. Create your first star stitch row by making a star using the ch 3 from the previous row. Make 34 more stars around the first one.
Connect the last star to the base of the first star with a hdc2tog using the eye of the last star and the sl st from the previous row. Join the top of the first star (the top of the ch 3 used to make it) with a sl st. This will give you a total of 35 stars plus 1 hdc. Ch 1 and turn.
9. Repeat row 7. Change colour before the chain 3, if desired.
10. Repeat row 8.
Note: The beanie should measure approximately 3 inches in height and 7.5 inches in width. If needed, add another row of stars (rows 7 and 8) to increase the size by 0.5 inches per row.
Running out of crochet ideas? See 5 ideas to decorate your kitchen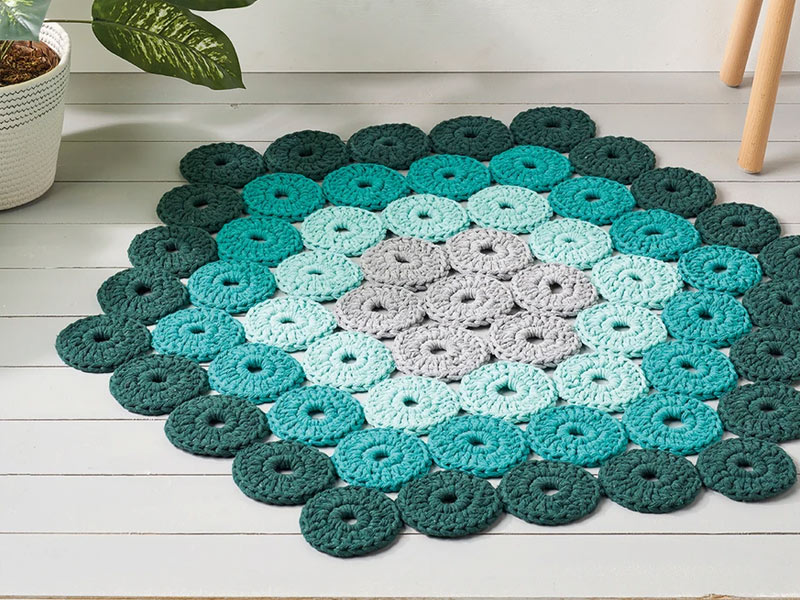
Here are 5 amazing ideas for crochet on the Kitchen – Easy Patterns
Part 2: Decreasing the beanie
11. Make a hdc in the same stitch (mark this stitch). *Work 2hdc in the next 7 star eyes, 1hdc in the following star eye, skipping the stitch between the two star eyes* Repeat this sequence 4 times. Work 2hdc in the next 3 star eyes, skipping the stitch between them. Slip stitch to join into the marked stitch. (67 stitches). Chain 3 and turn.
12. Create a star stitch row. Begin by making the first star using the chain 3 from the previous row. Continue making 32 more stars.
Then, perform a half double crochet decrease (hdc2tog) through the eye of the last star, the base of the last star, and the slip stitch from the previous row (for a total of 33 stars and 1 hdc). Finally, chain 1 and turn.
13. Make a slip stitch to join into the marked stitch (61 stitches). If desired, change the colour. Chain 3 and turn. *Double crochet in the same stitch (mark this stitch). Double crochet twice in the next four star eyes, double crochet in the next star eye, skipping stitches between each star. Repeat this sequence six times. Double crochet twice in the next three star eyes, skipping stitches between stars.*
14. Create a star stitch row by beginning with the ch 3 from the previous row. Make a total of 30 stars, with the last one being completed by hdc2tog using the eye of the last star, the base of the last star and the sl st from the previous row. Once finished, ch 1 and turn.
15. Make a hdc in the same stitch that is marked (marked stitch). *Work 2hdc in the next 3 star eyes, then make 1 hdc in the following star eye, skipping the stitches between each star eye* repeat this sequence 7 times.
Make 1 hdc in the next star eye, then do 2hdc in the last star eye. Slip stitch to join into the marked stitch. (total of 53 stitches). Chain 3 and turn.
16. Create a row of star stitch. Begin with the first star using the ch 3 from the previous row.
Make a total of 26 stars, with the last one being worked as a hdc2tog using the eye of the last star, the base of the last star, and the sl st from the previous row. After completing the 26th star, ch 1 and turn.
17. Sl st into the marked st. *2hdc in the next 2 star eyes, hdc in the next star eye, skipping the st between each star* 8 times. 2hdc in the next 2 star eyes. Join with a sl st to the marked st. (45 st). If desired, change colour. Ch 3, turn.
18. Create a row of Star Stitches. Begin the first Star Stitch using the chain 3 from the previous row. Make an additional 21 Star Stitches.
Connect the last Star Stitch to the previous row with a half double crochet two together, using the eye of the last Star Stitch, the base of the last Star Stitch, and the slip stitch from the previous row. (This will create 22 Star Stitches plus one half double crochet).
19. Ch 1, turn. Make a half double crochet (hdc) in the same stitch (mark the stitch). Make a hdc in each stitch between the star points all the way around, skipping the stitch between the stars. Slip stitch (sl st) to join into the marked stitch. (23 stitches). Ch 1, turn.
20. Decrease two stitches together around the circle, then single crochet in the last stitch. Slip stitch to the first stitch or use a backwards join to close the circle. (There should be a total of 13 stitches).
21. Ch 1, decrease by 2 stitches around. Single crochet in the last stitch. (7 stitches). You can also work this row of decreases in the back loop only.
Video Tutorial for crocheting this Lucky Stars Beanie
Part 2:
I hope you have enjoied. Take a look at our articles and tutorials!
Im sure you will like it!
Credits for Emme Claire Crochet.
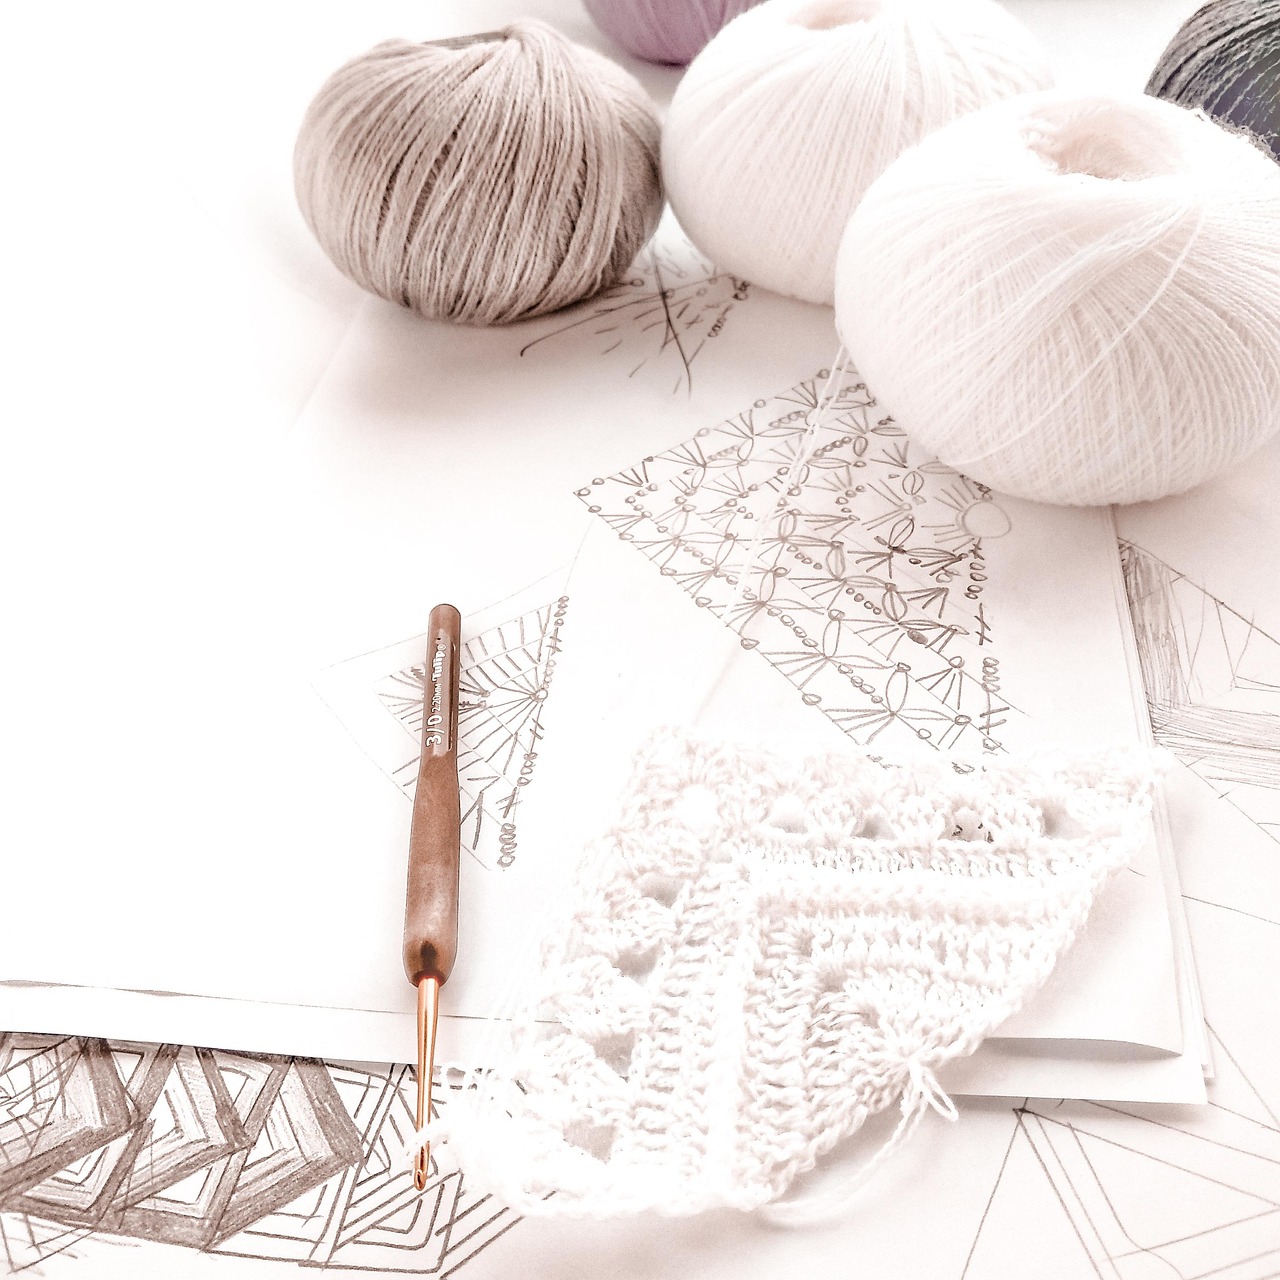
Crochet Yarn – Soft, Smooth, or Sparkly?
When it comes to crochet, choosing the right yarn isn’t just about color or pattern — it’s also about how it feels . After all, you’ll be working with it for hours, and the person who ends up wearing or using your finished project will notice the texture too.
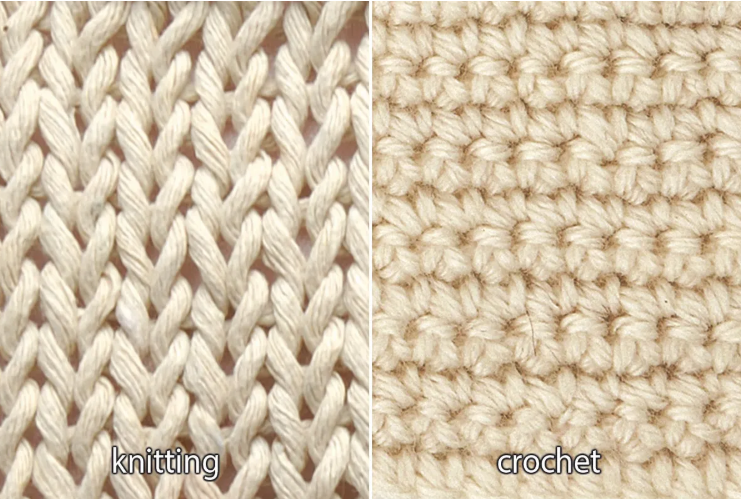
The Difference Between Knitting Yarn and Crochet Yarn
When you’re just starting out in the world of fiber crafts, it’s easy to wonder: is there really a difference between knitting yarn and crochet yarn ? The short answer is no — not really.
How to Choose the Perfect Yarn for Your Crochet Project
Are you standing in front of your yarn stash (or scrolling through an online shop) wondering which yarn to pick? Choosing the right yarn can make or break your crochet project — not just in how it looks, but in how much you enjoy making it!