DIY – Crocheting a beautiful Headband Stitch
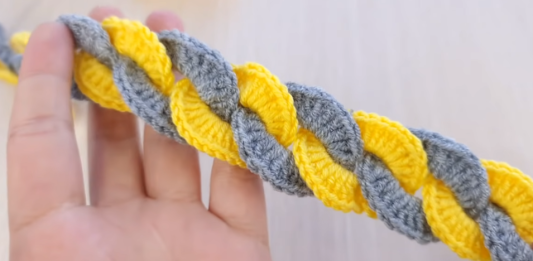
A handmade crochet headband is one of the most rewarding, quick-to-finish projects you can make. Whether you need a warm winter ear warmer or a stylish spring accessory, this textured headband stitch creates a plush, stretchy fabric that hugs comfortably without slipping.
In this comprehensive tutorial, we break down the materials, stitch technique, sizing guidelines for toddlers through adults, and step-by-step instructions so you can crochet a boutique-quality headband in an afternoon.
Pattern Quick Facts & Sizing
- Skill Level: Easy / Advanced Beginner
- Finished Width: Approx. 4 inches (10 cm)
- Finished Circumference: 18″ (Toddler), 20″ (Child), 21.5″ (Adult)
- Time Required: 1.5 to 2 hours
Materials & Tools Needed
- Yarn: Approx. 90 to 120 yards (82-110 m) of Medium / Worsted Weight Yarn (CYC #4). Soft acrylics, wool blends, or cotton blends work beautifully. (Unsure how many skeins you need? Check our free Yarn Yardage Estimator).
- Crochet Hook: Size 5.0 mm (US H-8) or size needed to obtain gauge. (Need metric to US conversions? See our Hook Size Guide).
- Tapestry Needle: For weaving in yarn tails and seaming the twist.
- Scissors: For cutting yarn ends.
- Tape Measure: To verify your headband length before seaming.
Crochet Abbreviations Used (US Terms)
- ch: chain
- sc: single crochet
- hdc: half double crochet
- dc: double crochet
- blo: back loop only
- sl st: slip stitch
- st(s): stitch(es)
Gauge & Sizing Guidelines
Because headbands need to stay snug on the head, crochet with 1.5 to 2 inches (4-5 cm) of negative ease. Measure around your head and subtract 2 inches for your target flat length before joining:
- Toddler (1-3 yrs): 17 inches flat length (fits 18-19″ head).
- Child (4-10 yrs): 18 inches flat length (fits 19-20″ head).
- Teen / Adult Small: 19 inches flat length (fits 21″ head).
- Adult Medium / Large: 20 inches flat length (fits 22-23″ head).
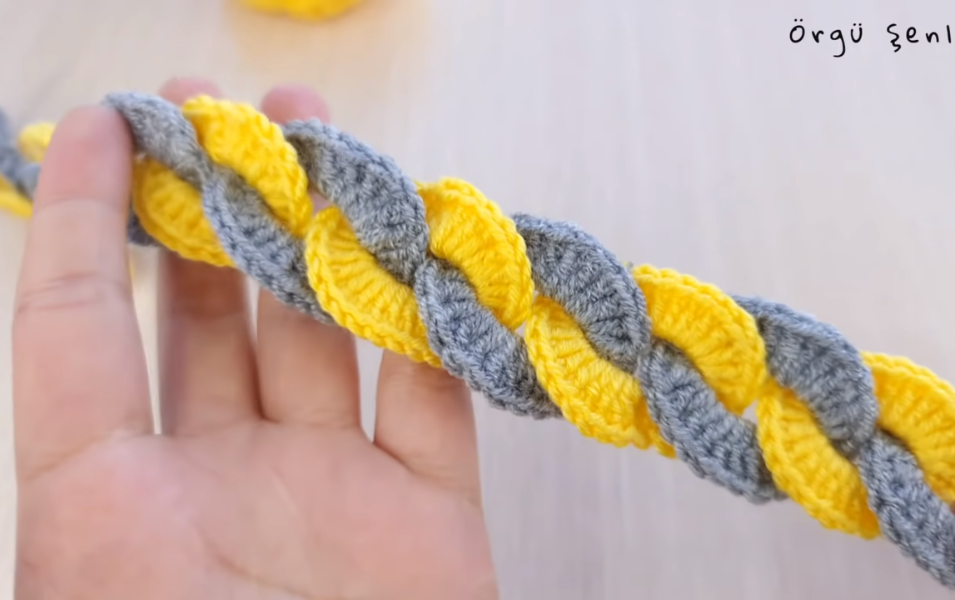
Textured Headband Stitch Foundation
Step-by-Step Headband Stitch Instructions
Step 1: The Foundation Chain
Start with a slip knot on your hook. Chain 15 (for a standard 4-inch wide headband). If you prefer an extra-wide ear warmer, chain 19 instead.
Step 2: Row 1 (Base Row)
Working into the second chain from your hook, work 1 hdc across each chain to the end. Ch 1, turn. (14 stitches total).
Step 3: Row 2 (Creating the Ribbed Ridge)
Working strictly into the back loop only (BLO) of each stitch: work 1 hdc in each stitch across. Working in the back loop creates the cozy, stretchy accordion-ribbed effect that allows the headband to flex comfortably around your head. Ch 1, turn.
Step 4: Repeating the Pattern
Repeat Row 2 until your band reaches the target flat length according to your sizing measurement (e.g., 19.5 to 20 inches for an average adult woman). Do not fasten off yet.
Step 5: Creating the Trendy Front Twist Seam
To create the popular gathered or twisted look at the front of your ear warmer:
- Lay your flat headband strip horizontally with the right side facing up.
- Fold both ends inward so they meet in the middle, resembling two “U” shapes facing each other.
- Interlace the four layers together like a sandwich: Layer A, Layer C, Layer B, Layer D.
- Using your tapestry needle threaded with a long yarn tail, stitch through all 4 layers simultaneously across the raw edge with a firm whipstitch.
- Fasten off, weave in your ends securely, and turn the headband inside out. The seam magically conceals into a designer gathered knot!
Video Tutorial Reference
If you prefer watching the technique in action alongside written instructions, follow along with the video below:
Care & Washing Tips
To keep your crochet headband looking like new for seasons to come, hand-wash in cool water using a gentle wool or delicates detergent. Press out excess water between clean bath towels (never wring or twist the stitches) and lay flat to dry.
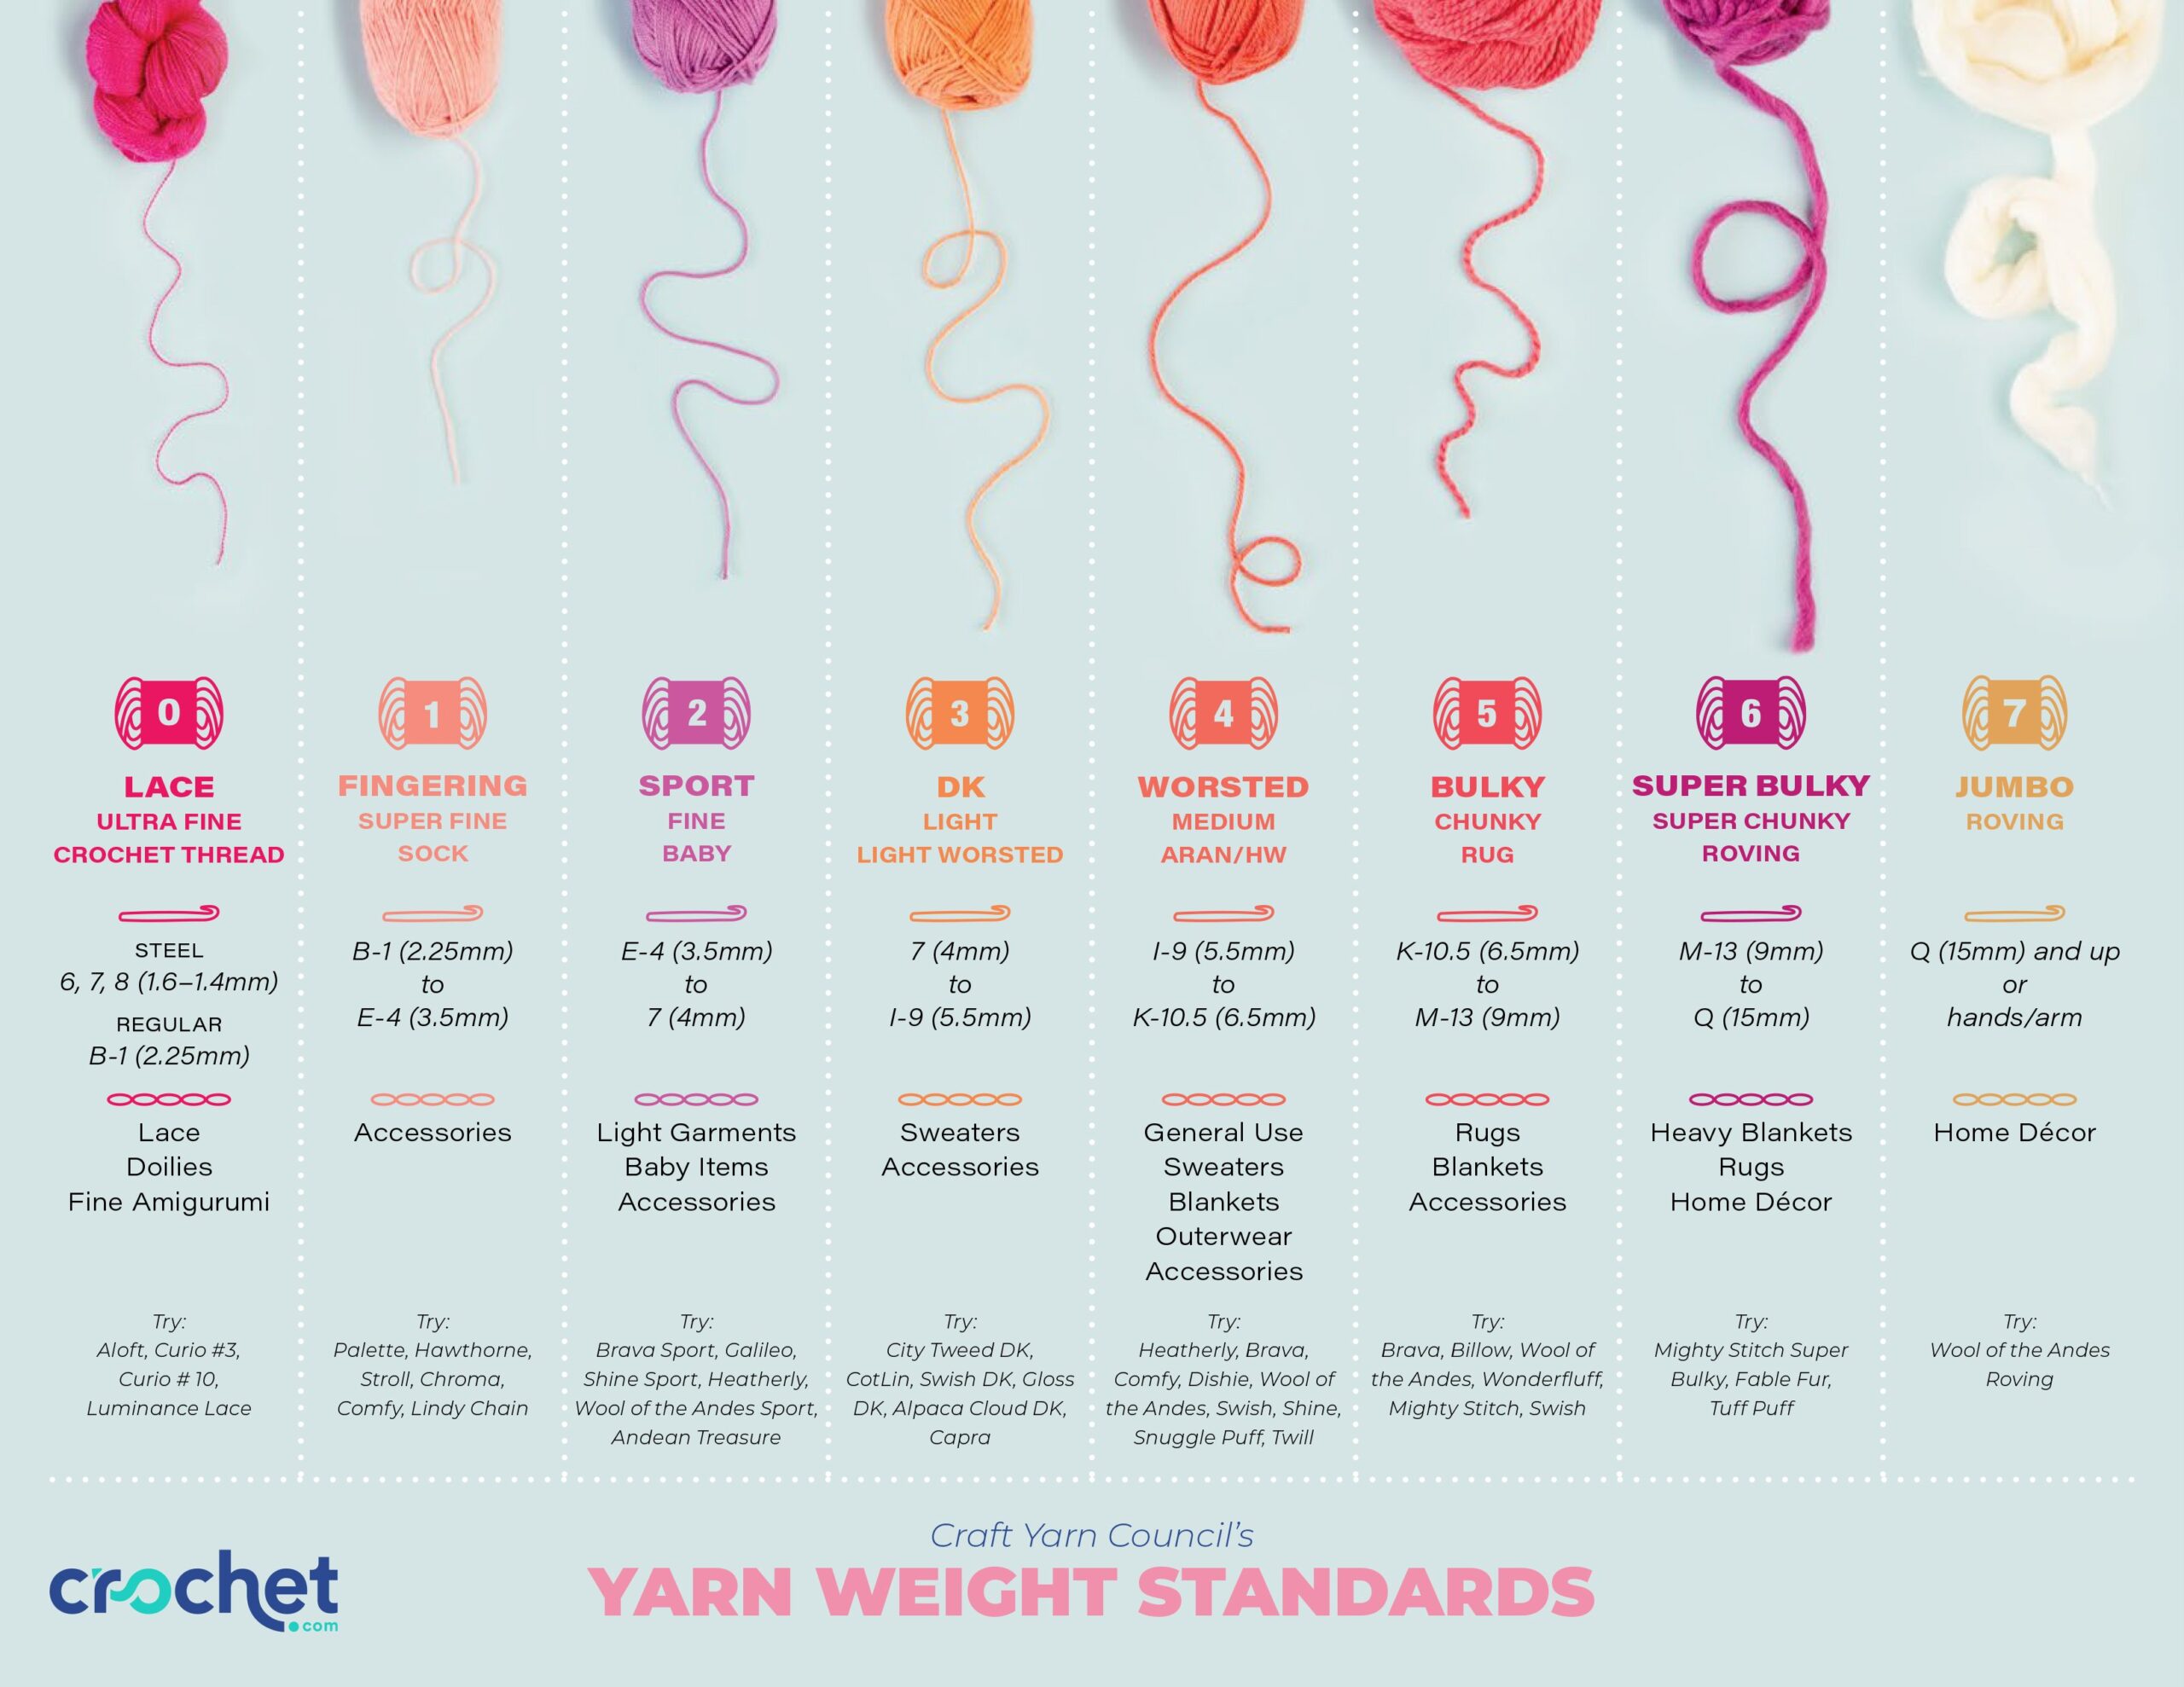
The Ultimate Guide to Yarn Weights: Standard Sizes 0 to 7 Explained
Stepping into a yarn store or browsing online can be both exhilarating and overwhelming. Rows of colorful skeins beckon, each labeled with terms like “Fingering,” “Worsted,” “DK,” or “Chunky,” alongside numbers ranging from 0 to 7.
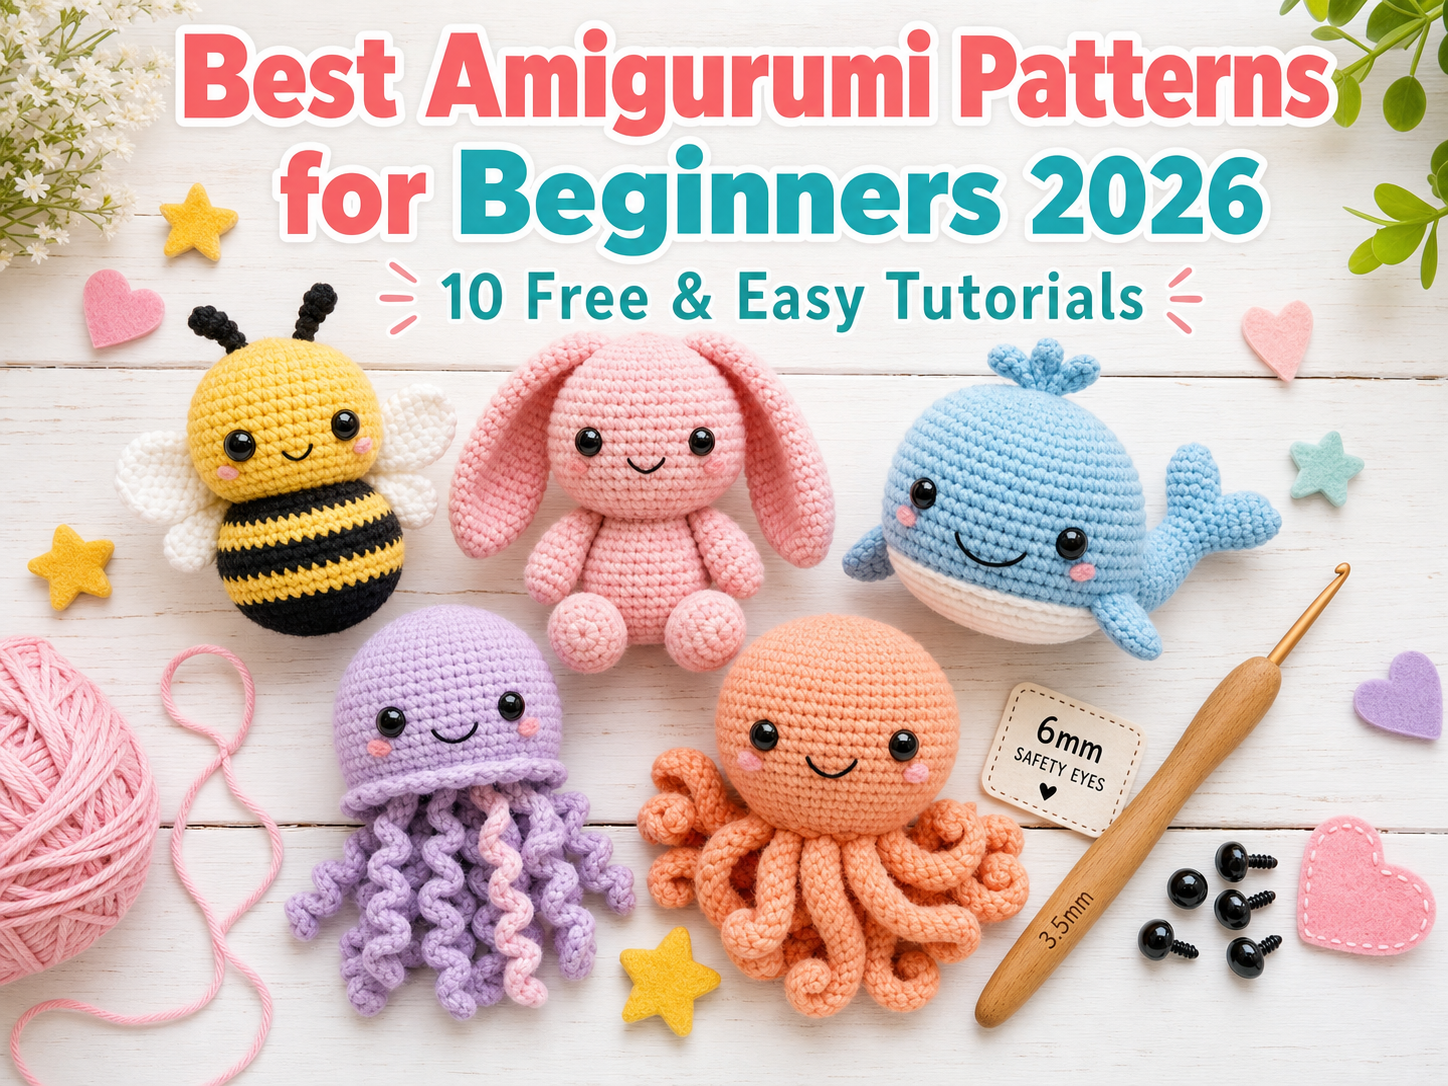
Best Amigurumi Patterns for Beginners 2026 – 10 Free & Easy Tutorials
Amigurumi, the Japanese art of crocheting adorable stuffed toys, has captured the hearts of crafters worldwide. If you’re wondering where to start with amigurumi crochet for beginners, you’ve come to the perfect place.
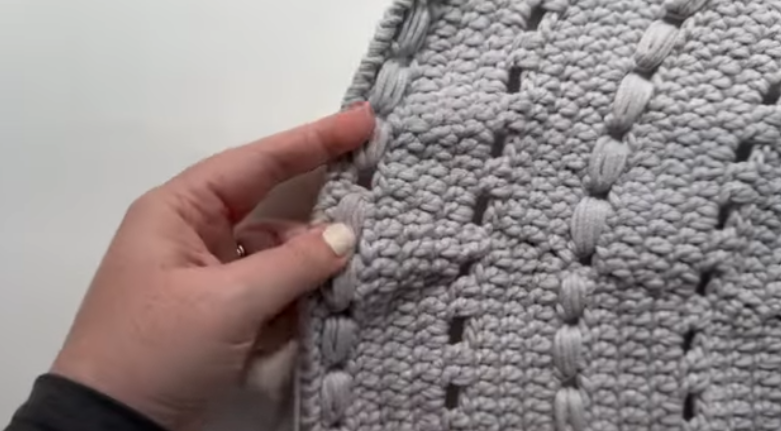
The Aveline Rug – Simple Yet Stunning Crochet Tutorial with Free Pattern
The Aveline Rug is a beautiful circular crochet rug pattern that combines simple double crochet rounds with decorative bead stitches and textured edging.