Fabulous Hooded crochet patterns
For a little while there, I was a little intimidated by the hooded crochet pattern. Perhaps I felt like I wasn’t cool enough to wear a hoodie.
Maybe I couldn’t wrap my mind around the simplicity of the design? I do have to admit, the patterns are very easy to follow and they sure make for an incredible piece to add to your wardrobe.
Below, you will find 20 more hooded crochet patterns, but at CrochetCre8tion, you will not only find these 9 free hoodie crochet patterns, but some paid ones as well! B
Well hooded crochet patterns of sweaters, cowls and scoodies – just to name a few – “fall” into this category.
The fact that it’s cool enough that you can bundle up comfortably and fashionably. This is one of the reasons why I love Fall; how the cool air nips at you while you take a stroll around the park.
This is where I love hoods. It’s a great accessory to have where you can put your hood on your head to ward off cooler winds. Or, you can just have it as a fashion, out of the way accessory.
Hope you love these hoodies as much as I do! Check it out!
Crochet hooded vest
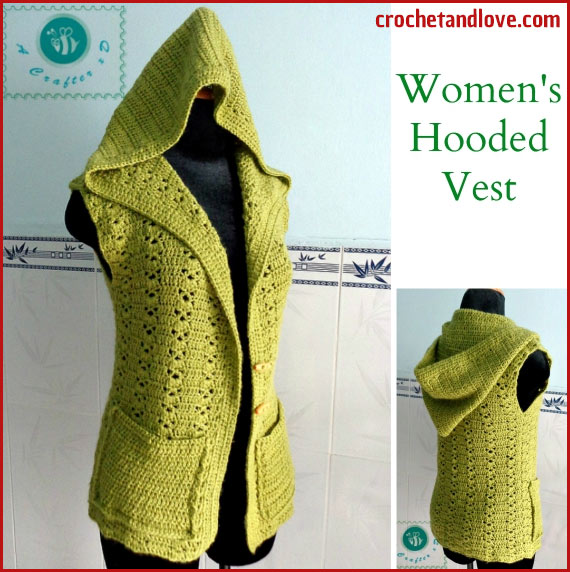
womens hooderd vest green
Used Materials:
3.25mm crochet hook Light weight/ DK yarn: wool blend ( about 300 gr for the sample – size S&M/ 100 gr or 328 yds per skein) Yarn needle Scissors Toggle buttons Sewing machine
If you get lost, you can check our Abbreviations.
Special stitch used: 5dc-shell stitch ( 5 double crochet stitches into same stitch or space )
This crochet hooded vest pattern fits size L ( chest size: 36 to 38 inches ).
Skill level: Easy
Gauge: 9 double crochet stitches x 5 rows = approximately 2 inches ( with materials indicated )
Pattern
Hood part:
Version 1:
R1: Join yarn and insert hook into 1 side of the neckline, dc across, make 3 dc into the corners, total 109 sts.
R2: turn, 7 dc across, * skip 2 sts, ( dc, ch3, dc ) into next st, skip 2 sts, 5 dc across * repeat ** 9 times, skip 2 sts, ( dc, ch3, dc ) into next st, skip 2 sts, 7 dc across.
R3: turn, 7 dc across, * 5dc-shell stitch into next ch3-space, 5 dc across * repeat ** 9 times, 5dc-shell stitch into next ch3-space, 7 dc across.
Repeat R2 and R3 alternately untill you reach R32.
From the wrong side, fold in half and seam the top with sc or sl. ( fasten off, weave in ends )
Version 2:
R1: Join yarn and insert hook into 1 side of the neckline, dc across, make 3 dc into the corners, total 109 sts.
R2: turn, 109 dc across.
R3 to R32: same as R2
From the wrong side, fold in half and seam the top with sc or sl. ( fasten off, weave in ends )
Armholes: Join yarn and insert hook into the place where you made the last sc of seaming body line. Make sc around ( 2 sc into each dc space ) ( fasten off, weave in ends )
Pockets: R1: ch30, dc into 3rd chain from hook ( the first 2 chain doesn’t count as first dc ), 28 dc across.
R2: turn, 28 dc across.
R3 to R 15: same as R2 ( fasten off, weave in ends )
Sew to the lower side of front parts.
Steam block your finished project. Attach buttons on.
Hooded Toddler Jacket
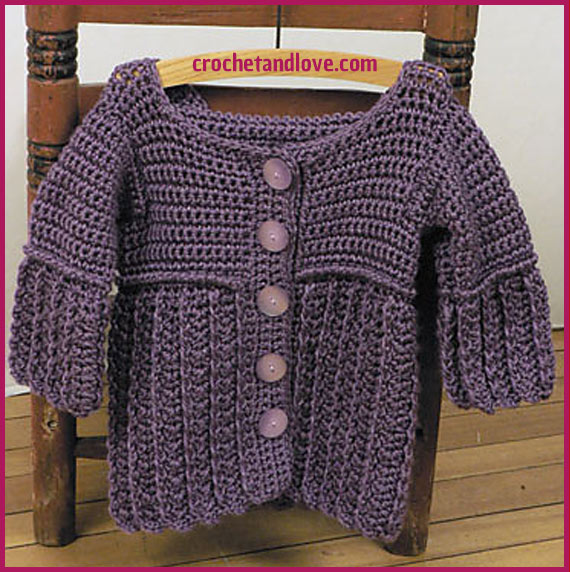
Hooded Toddler Jacket
Body of jacket is made in two stages. First, work begins below chest-level and proceeds downwards for skirting. Second, stitches are worked across the opposite side of the foundation chain and worked upwards for bodice, splitting at the armholes.
For the skirting, begin with a loose foundation chain, the number of stitches depending on the body measurements of the wearer.
For example, for a medium-size woman’s jacket, approximately 150 stitches may be used. With the foundation chain, single crochet and double crochet for the entire length of the backside.
For the bodice, intersect the opposite side of the foundation chain with a single crochet and proceed to work in moss stitch across the armhole with a double crochet on the second stitch of each set.
Then increase to form the “V” shape of the shoulder. Follow moss stitch for a few more rows as desired for fit. Split the remaining yarn in half, repeating the same pattern on the opposite side.
When reaching the base of the foundation chain, slip stitch to join the two sides.
Finish the jacket off with decorative edging such as lace, popcorn stitch or reverse shell stitch.
The Body is seamed at the shoulders only.
Sleeves are worked in two stages, beginning at center and worked downwards for flare. Then stitches are worked across the opposite side of the foundation chain and worked upwards for top of Sleeve.
Stitches are worked around the neckline to begin Hood.
The hood is worked in a continuous round with increases at each side seam. The hood is worked until it reaches the desired height.
At the end, seams are sewn to secure the hood in place at the shoulders and to finish the garment.
Lets do it!
FINISHED MEASUREMENTS:
Chest 20 (21, 22, 23, 24)”/51 (53.5, 56, 58.5, 61)cm, including front bands, buttoned Length 14 1/2 (15, 15 1/2, 16 1/2, 18)”/37 (38, 39.5, 42, 45.5)cm
MATERIALS
(100% acrylic; 5 oz/141.8 g, 250 yds/228 m skein): 12 (13, 15, 16, 18) oz
Shown in: #9505 Plum Heather
One size US I-9 (5.5mm) crochet hook, or size to obtain gauge. One size US H-8 (5mm) crochet hook, (for finishing only) 5 buttons—1 1/8″/29mm diameter
Stitch markers
Yarn needle
GAUGE
In single crochet, with larger hook, 14 sts and 14 rows = 4″/10cm
STITCHES USED
Chain (ch), double crochet (dc), single crochet (sc), slip stitch (sl st)
SPECIAL TERMS
FPdc: Front-post double crochet—Yarn over, insert hook from front to back and then to front again around post of stitch, yarn over and draw up loop, complete as dc.
Notes: In this design, the post stitches are worked around the stitches of the row below the previous row (2 rows below the row being worked). Always skip the corresponding stitch in the previous row (the stitch “behind” the post stitch).
rev sc: Reverse single crochet—Work single crochet in opposite direction by inserting hook in next stitch (to the right if right-handed, and to the left if left-handed), yarn over and draw up a loop, yarn over and draw through both loops on hook.
NOTES
1. Body of jacket is made in two stages. First, work begins below chest-level and proceeds downwards for skirting.
Second, stitches are worked across the opposite side of the foundation chain and worked upwards for bodice, splitting at the armholes.
2. The Body is seamed at the shoulders only.
3. Sleeves are worked in two stages, beginning at center and worked downwards for flare. Then stitches are worked across the opposite side of the foundation chain and worked upwards for top of Sleeve.
4. Stitches are worked around the neckline to begin Hood
You can download here the full pattern of this jacket.
Adult Crochet Jacket
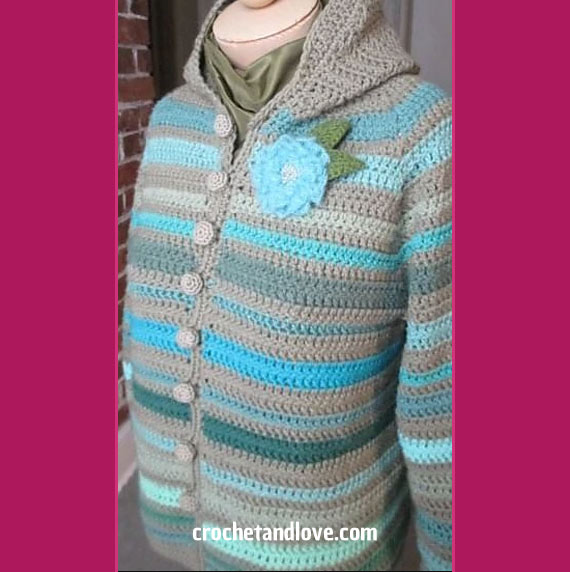
Adult Striped Hoodie
Winter, spring or fall; this stripped hoodie will be the best for them all. It’s light weight but warm and easy to wear. The Striped Hoodie is available in sizes 3m though 3x, making it perfect for everyone. The possibilities are endless in what color choice to choose. It is truly fit for any day.
SKILL LEVEL: Easy
SIZES S (M, L, XL, XXL)
FINISHED MEASUREMENTS Chest 36¾ (40½, 43, 46¾, 50¼)“ Length 21¾ (23¼, 24, 25¾, 27½)”
MATERIALS Approximately 1700 (1950, 2225, 2525, 2850) yds of worsted weight yarn in colors of your choice Crochet hook size I-9 (5.5 mm) or size to obtain correct gauge Removable stitch markers 8 (8, 8, 9, 9) buttons, ¾-1” in diameter, or zipper to fit Darning needle
GAUGE 13 dc and 7 rows = 4” (10 cm)
SPECIAL STITCHES
Dc2tog (Double crochet 2 together): Yo, pull up a loop in indicated st, yo and draw through 2 loops twice, yo and draw through all 3 loops on hook Fdc (foundation double crochet): Ch 3 (counts as first fdc). Yo and pull up a loop in 3rd ch from hook, yo and pull through 1 loop creating a sl st, (this is an important step but easy to forget), yo and draw though 2 loops (2 loops rem), yo and draw through last 2 loops. This completes the 2nd fdc (the initial 3 ch counted as the first. * Yo and pull up a loop in sl st made with last fdc, yo and pull through 1 loop creating a sl st, yo and draw though 2 loops, yo and draw through last 2 loops; rep from * to desired number of fdc.
OPTIONAL SPECIAL STITCHES
CSDC (Chainless Starting Double Crochet): If working in rows, turn work. If working in rounds spin hook completely around, making a twist in the loop. Pull up a loop to the height of a normal dc. YO with the loop so that the hook is behind the loop. Insert the hook into the first st of row. Compete a normal dc (YO and draw through st (3 loops on hook). YO and draw through first two loops on hook. YO and draw through last two loops on hook). Here is a fantastic tutorial by Moogly SDC (Standing Double Crochet): Begin with slip knot on hook, YO, insert hook in stitch, and work like a normal dc (YO, draw through first two loops, YO, draw through last two loops).
NOTES
• The ch 3 at the beg of each row will count as the first dc. This means that the next dc you make should be placed in the 2nd st, EXCEPT in the hood, where an additional dc will be placed in the first dc. This will be specified within the pattern. • Stripe to your heart’s delight! You can do color changes any way that works best for you. • Make color changes anyway you see fit. I prefer to fasten off with one color and to begin with a new color. • Color changes on sleeves can be made using a SDC (see OPTIONAL SPECIAL STITCHES)
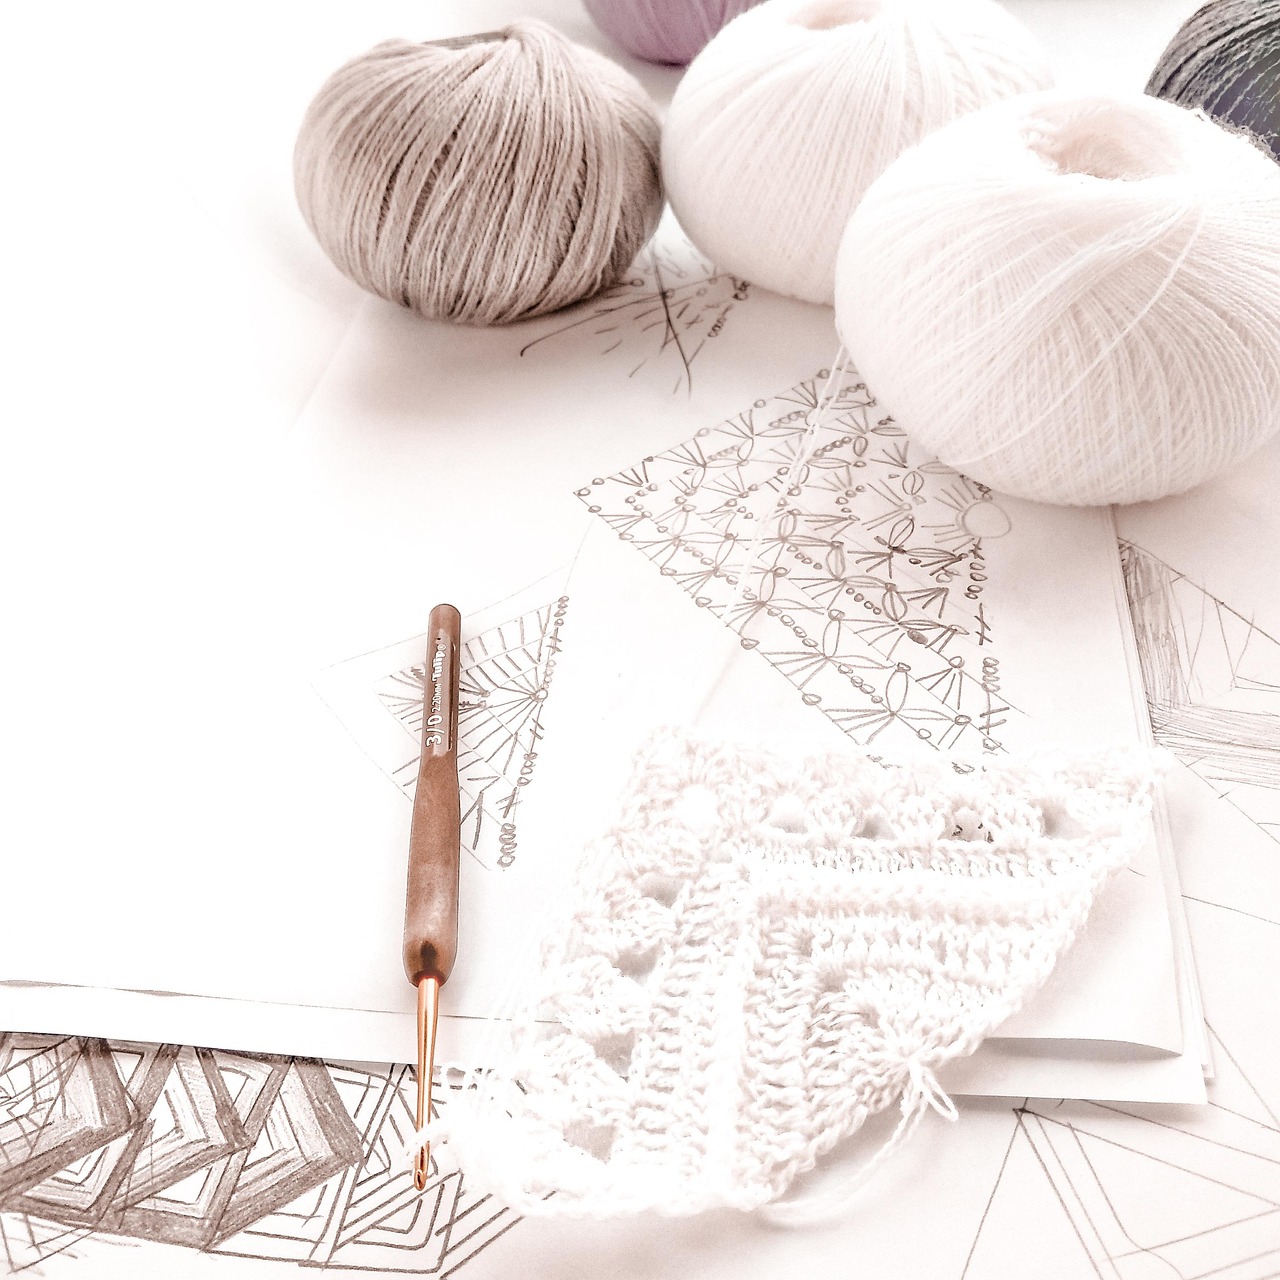
Crochet Yarn – Soft, Smooth, or Sparkly?
When it comes to crochet, choosing the right yarn isn’t just about color or pattern — it’s also about how it feels . After all, you’ll be working with it for hours, and the person who ends up wearing or using your finished project will notice the texture too.

The Difference Between Knitting Yarn and Crochet Yarn
When you’re just starting out in the world of fiber crafts, it’s easy to wonder: is there really a difference between knitting yarn and crochet yarn ? The short answer is no — not really.
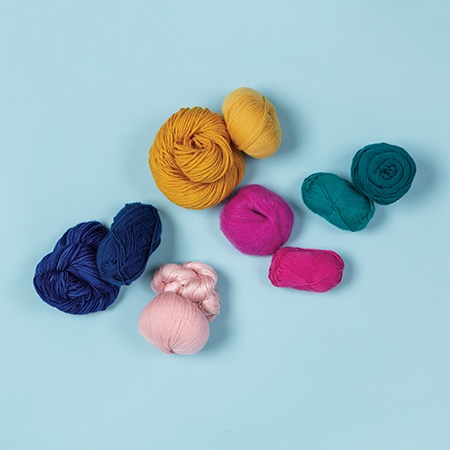
How to Choose the Perfect Yarn for Your Crochet Project
Are you standing in front of your yarn stash (or scrolling through an online shop) wondering which yarn to pick? Choosing the right yarn can make or break your crochet project — not just in how it looks, but in how much you enjoy making it!
