
Flower Meadow Granny Square – Your crochet for the weekend!

Traditional granny squares are a timeless staple of crochet, but when you transform the center into a lush, blooming field of raised floral petals, you create something truly extraordinary. The Flower Meadow Granny Square combines textured puff stitches with modular colorwork to bring garden charm into blankets, bags, and cozy pillows.
While this pattern looks intricate, it relies on rhythmic repetition once you understand how to float secondary yarns and anchor your petal clusters. Below, you will find our comprehensive written guide, chart explanations, materials list, and helpful tips for seamless joins.
Pattern Overview & Specifications
- Skill Level: Intermediate / Adventurous Beginner
- Finished Motif Size: Approx. 5.5 × 5.5 inches (14 × 14 cm)
- Gauge: 1 complete square = 5.5 inches blocked
- Technique: Raised cluster petals, tapestry color carrying, corner expansion
Planning to crochet a blanket with these squares? Use our free Granny Square Blanket Planner to calculate exactly how many squares and yards of yarn you will need for any bed or throw size.
Materials & Yarn Selection
- Yarn: Sport (CYC #2) or Light Worsted / DK (CYC #3) yarn with smooth stitch definition. Mercerized cotton or smooth acrylic blends show petal details best.
- Flower Petal Colors: Rose pink, lavender, marigold yellow, and powder blue.
- Stem / Foliage Color: Leaf green or olive.
- Background Framing Color: Warm cream, oatmeal, or antique white (approx. 35 yds per square).
- Crochet Hook: Size 3.5 mm (US E-4) or 4.0 mm (US G-6). (See our Hook Size Conversion Guide).
- Tapestry Needle: For weaving in ends and seaming.
- Locking Stitch Markers: Helpful for keeping corner spaces aligned.
Special Stitches & Abbreviations (US Terms)
- ch: chain
- sc: single crochet
- dc: double crochet
- sp: space
- sl st: slip stitch
- Puff / Popcorn Petal: Work 4 incomplete double crochets into the designated stitch (leaving 5 loops on hook), yarn over and pull through all loops, ch 1 to lock the cluster.
Understanding the Graphic Charts
In the charts below from designer Elena Kozhukhar, note how the floral petals are arranged in symmetrical rows, transitioning from round circular flowers into a clean four-corner square.

Square Graphic 1: Monochromatic Flower Sequence

Square Graphic 1: Finished Sample Result
Step-by-Step Written Pattern Instructions
Round 1: The Central Floral Ring
With Flower Color A, begin with a Magic Ring. Ch 2 (counts as first dc), work 15 dc into the ring. Pull the tail firmly closed and join with a sl st to top of starting ch-2. (16 dc total).
Round 2: Blooming Petals
Join White or Cream yarn for petal spacing: Ch 1, *work 1 sc in next st, work 1 Puff Petal in next st, ch 1*. Repeat from * around. You will have 8 distinct 3D petals separated by small anchor stitches. Join with sl st. Fasten off Flower Color A.
Round 3: Foliage & Green Calyx Accents
Join Leaf Green yarn in any ch-1 space behind a petal. Ch 3 (counts as dc), 1 dc in same space. *Ch 2, work 2 dc in next ch-sp*. Repeat from * around to create the green leafy foundation. Join with sl st to top of ch-3.

Square Graphic 2: Mixed Blossom Variation
Round 4: Squaring the Floral Meadow
With Background Cream yarn, we now transition the circular motif into a crisp 4-sided square:
- Join Cream yarn in any ch-2 space. First Corner: Ch 3, 2 dc, ch 2, 3 dc in same corner space.
- Side: *Ch 1, 3 hdc in next space, ch 1, 3 sc in next space, ch 1, 3 hdc in next space, ch 1*.
- Next Corner: Work [3 dc, ch 2, 3 dc] in next ch-2 space.
- Repeat steps 2 and 3 around all 4 sides. Join with sl st to top of starting ch-3.

Square Graphic 2: Finished Meadow Motif
Round 5: Granny Framing Round
Slip stitch across to the nearest ch-2 corner space. Work [3 dc, ch 2, 3 dc] in corner space. Work 3 dc in each ch-1 space along the sides, placing [3 dc, ch 2, 3 dc] in each of the remaining three corners. Sl st to join.
Video Demonstration by Elena Kozhukhar
If you enjoy seeing the hands-on yarn tension and needle placement in real time, watch the video tutorial below. Even if the spoken audio is not in English, the crystal-clear camera angles and slow stitch pacing make it effortless to follow along:
How to Block & Assemble Your Blanket
Because puff stitches add thickness, blocking is essential to make every square identical in size:
- Pin each finished square onto foam blocking boards with rustproof T-pins, squaring every 90-degree corner.
- Spray lightly with cool water or gently steam with an iron kept 2 inches away from the fiber. Let dry thoroughly for 24 hours.
- To join multiple squares, use the Invisible Mattress Stitch for a smooth flat finish or the Continuous Flat Braid Join for decorative framing between meadow blocks.
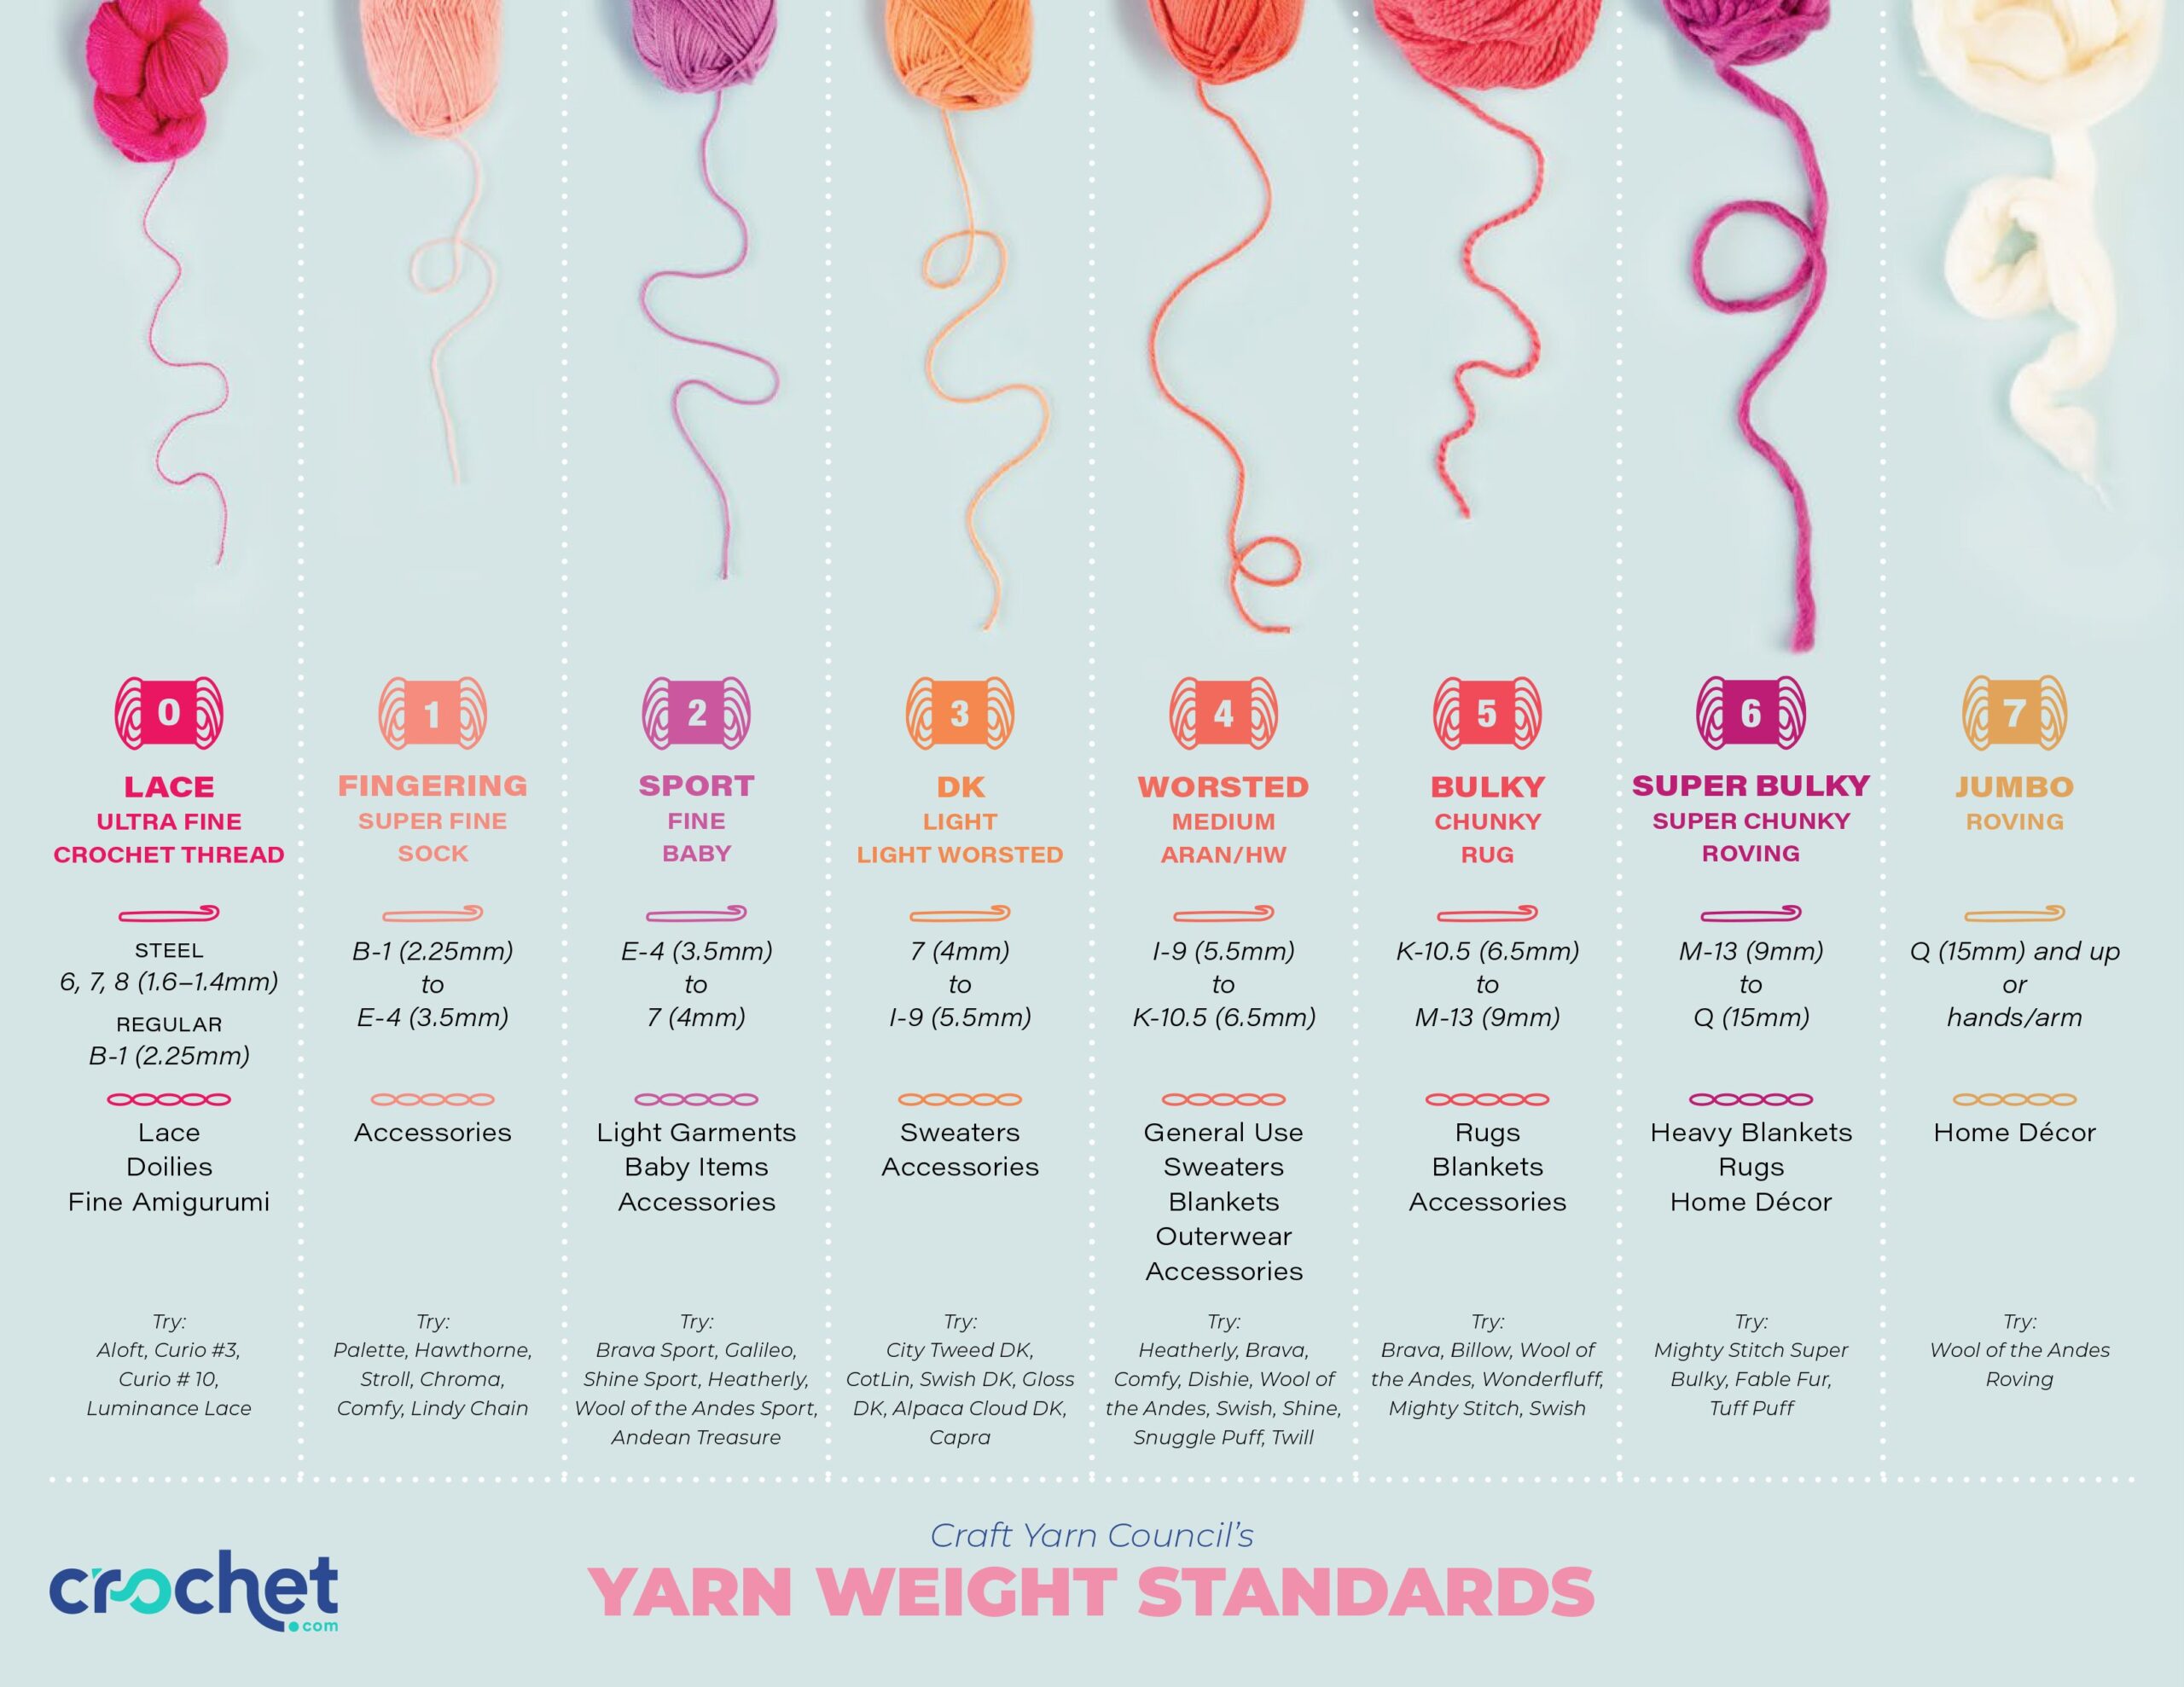
The Ultimate Guide to Yarn Weights: Standard Sizes 0 to 7 Explained
Stepping into a yarn store or browsing online can be both exhilarating and overwhelming. Rows of colorful skeins beckon, each labeled with terms like “Fingering,” “Worsted,” “DK,” or “Chunky,” alongside numbers ranging from 0 to 7.
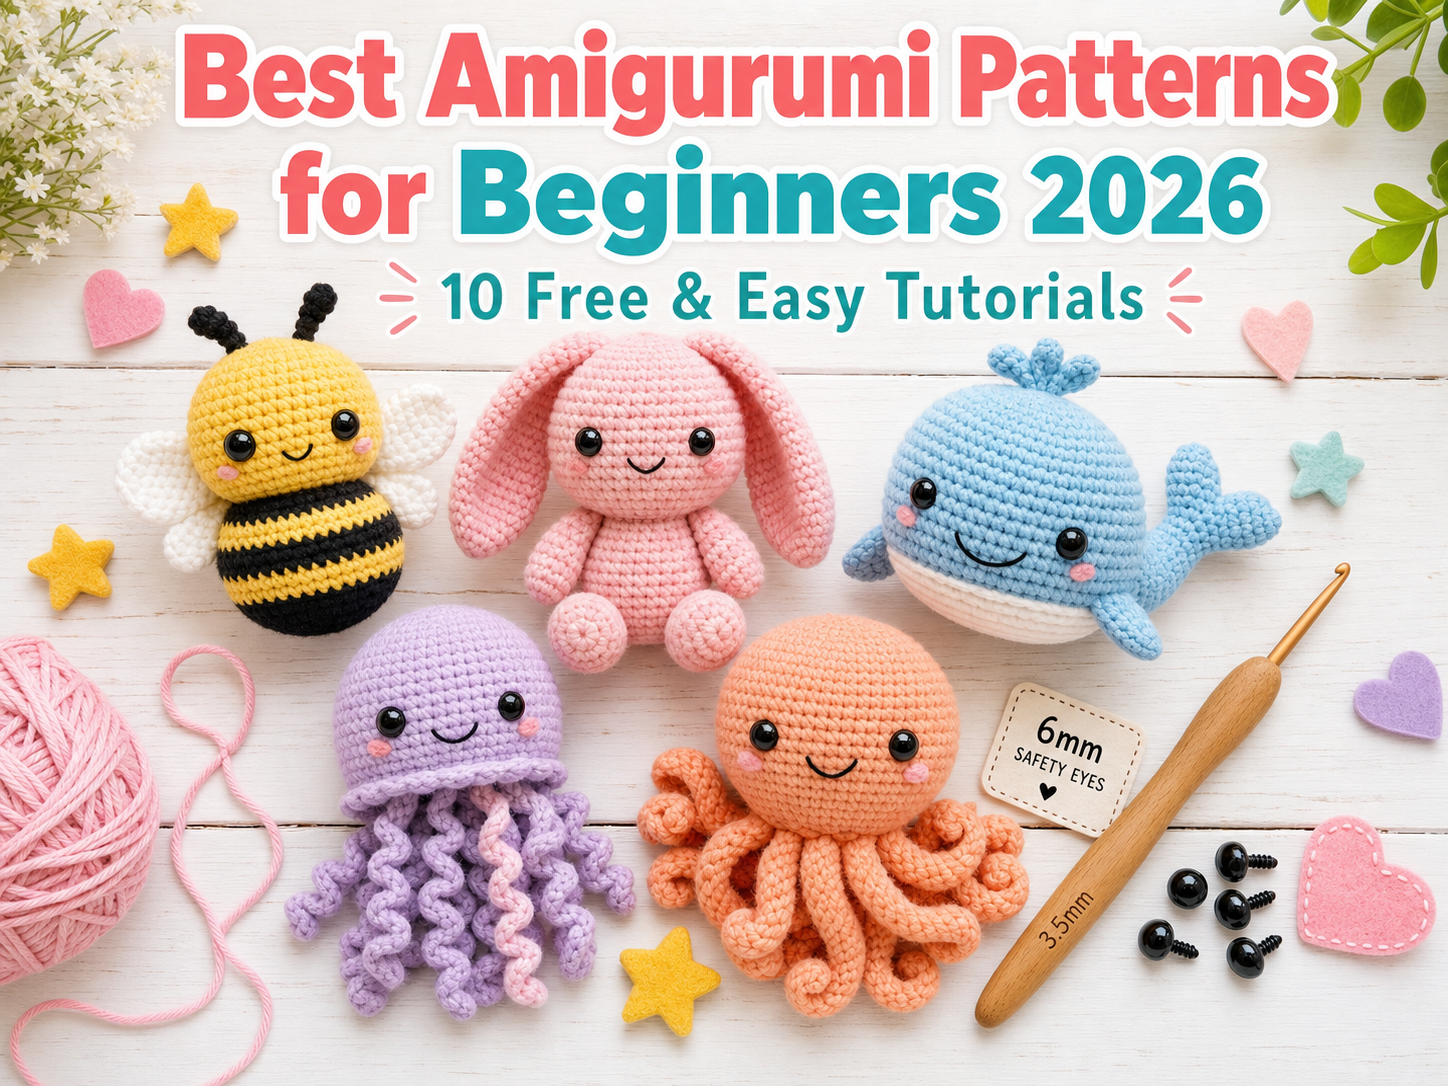
Best Amigurumi Patterns for Beginners 2026 – 10 Free & Easy Tutorials
Amigurumi, the Japanese art of crocheting adorable stuffed toys, has captured the hearts of crafters worldwide. If you’re wondering where to start with amigurumi crochet for beginners, you’ve come to the perfect place.
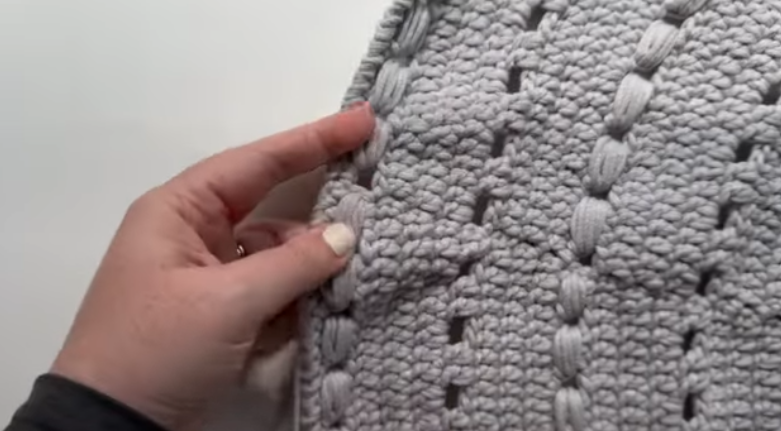
The Aveline Rug – Simple Yet Stunning Crochet Tutorial with Free Pattern
The Aveline Rug is a beautiful circular crochet rug pattern that combines simple double crochet rounds with decorative bead stitches and textured edging.