How to Crochet a Hat: A step-by-step Guide for Beginners
Dive into the world of crochet and create your own stylish hats with confidence! Let learn today how to crochet a beautiful hat!
Unravel the art of crafting with our beginner-friendly hat crochet tutorial
Crocheting a hat can be a rewarding and enjoyable project, especially for those looking to add a personal touch to their wardrobe or gift handmade items to loved ones.
If you’re over 50 and new to crocheting, don’t worry! With a bit of patience and practice, you can create beautiful hats that are both stylish and cozy. This step-by-step guide will walk you through the process in a clear and easy-to-follow manner.
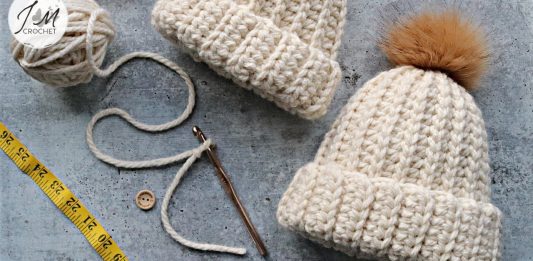
Materials Needed:
- Yarn (choose a weight and color of your preference)
- Crochet hook (size recommended on yarn label)
- Scissors
- Tapestry needle (for weaving in ends)
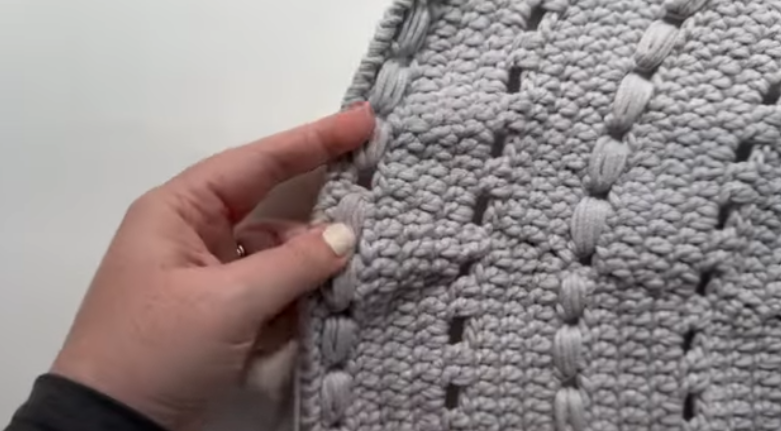
More free pattern to crochet your own blanket. Check it out!![]()
Crochet Chevron Blanket free pattern
Step 1: Choose Your Yarn and Hook
Select a yarn that is appropriate for the hat you want to make. Consider the weight of the yarn (e.g., bulky, worsted, or DK) and the fiber content (e.g., acrylic, wool, or cotton).
For beginners, it’s often best to start with a medium-weight yarn (worsted) and a corresponding crochet hook size recommended on the yarn label.
Step 2: Make a Slip Knot
To begin crocheting, make a slip knot by forming a loop with the yarn and pulling the working end through to create a knot. Leave a tail of yarn about 4-6 inches long.
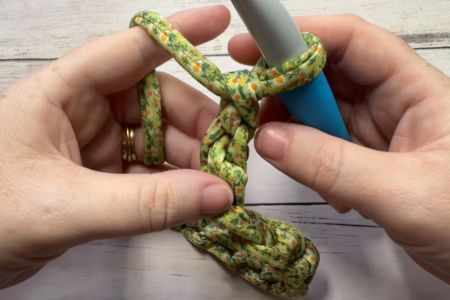
Step 3: Chain Stitch (Foundation Chain)
Hold the crochet hook in your dominant hand and the slip knot in your non-dominant hand. Yarn over (wrap the yarn around the hook from back to front) and pull it through the loop on your hook. This is called a chain stitch. Continue making chain stitches until you reach the desired circumference of your hat. Remember to keep your stitches loose to avoid a tight fit.
Step 4: Joining the Round
Once you have the desired number of chain stitches, join the last chain stitch to the first chain stitch with a slip stitch. This forms a ring, which will be the foundation for your hat.
Step 5: Crochet the Body of the Hat
For the body of the hat, you will typically use basic crochet stitches such as single crochet (sc), half double crochet (hdc), double crochet (dc), or treble crochet (tr), depending on the pattern you choose. Follow the pattern instructions to work the desired number of rounds or rows for the height of your hat.
Step 6: Decrease Rounds (if applicable)
If you’re making a hat that tapers towards the crown, you’ll need to decrease stitches to shape the top. This is usually done by crocheting two stitches together at regular intervals around the circumference of the hat. Follow the pattern instructions carefully for the specific decrease technique required.
Step 7: Finishing
Once you’ve completed the body of the hat, fasten off the yarn by cutting it with scissors, leaving a tail of yarn about 6 inches long. Use a tapestry needle to weave the tail through the remaining stitches and pull it tight to close the hole at the top of the hat. Secure the end by weaving it into the fabric of the hat.
Step 8: Embellishments (Optional)
Get creative and personalize your hat with embellishments such as pom-poms, buttons, or crochet flowers. Sew them securely onto your hat using a tapestry needle and matching yarn.
Step 9: Wear and Enjoy!
Once your hat is finished, try it on and adjust the fit if necessary. Wear it proudly or give it as a thoughtful handmade gift to someone special.
Crocheting is a skill that improves with practice, so don’t be discouraged if your first hat isn’t perfect. Enjoy the process and have fun experimenting with different yarns, stitches, and patterns!
Video tutorial
I know that many people might learn more by watching videos than reading. Some not, but here we will help everyone. So, i have selected a video tutorial for you to crochet your own hat.
Conclusion
Crocheting a hat can be a rewarding and relaxing pastime, especially for those over 50 looking to engage in a creative activity.
By following this step-by-step guide and practicing regularly, you’ll soon be crocheting hats like a pro. So gather your materials, find a cozy spot to sit, and let your creativity flow as you stitch your way to a stylish and cozy accessory!
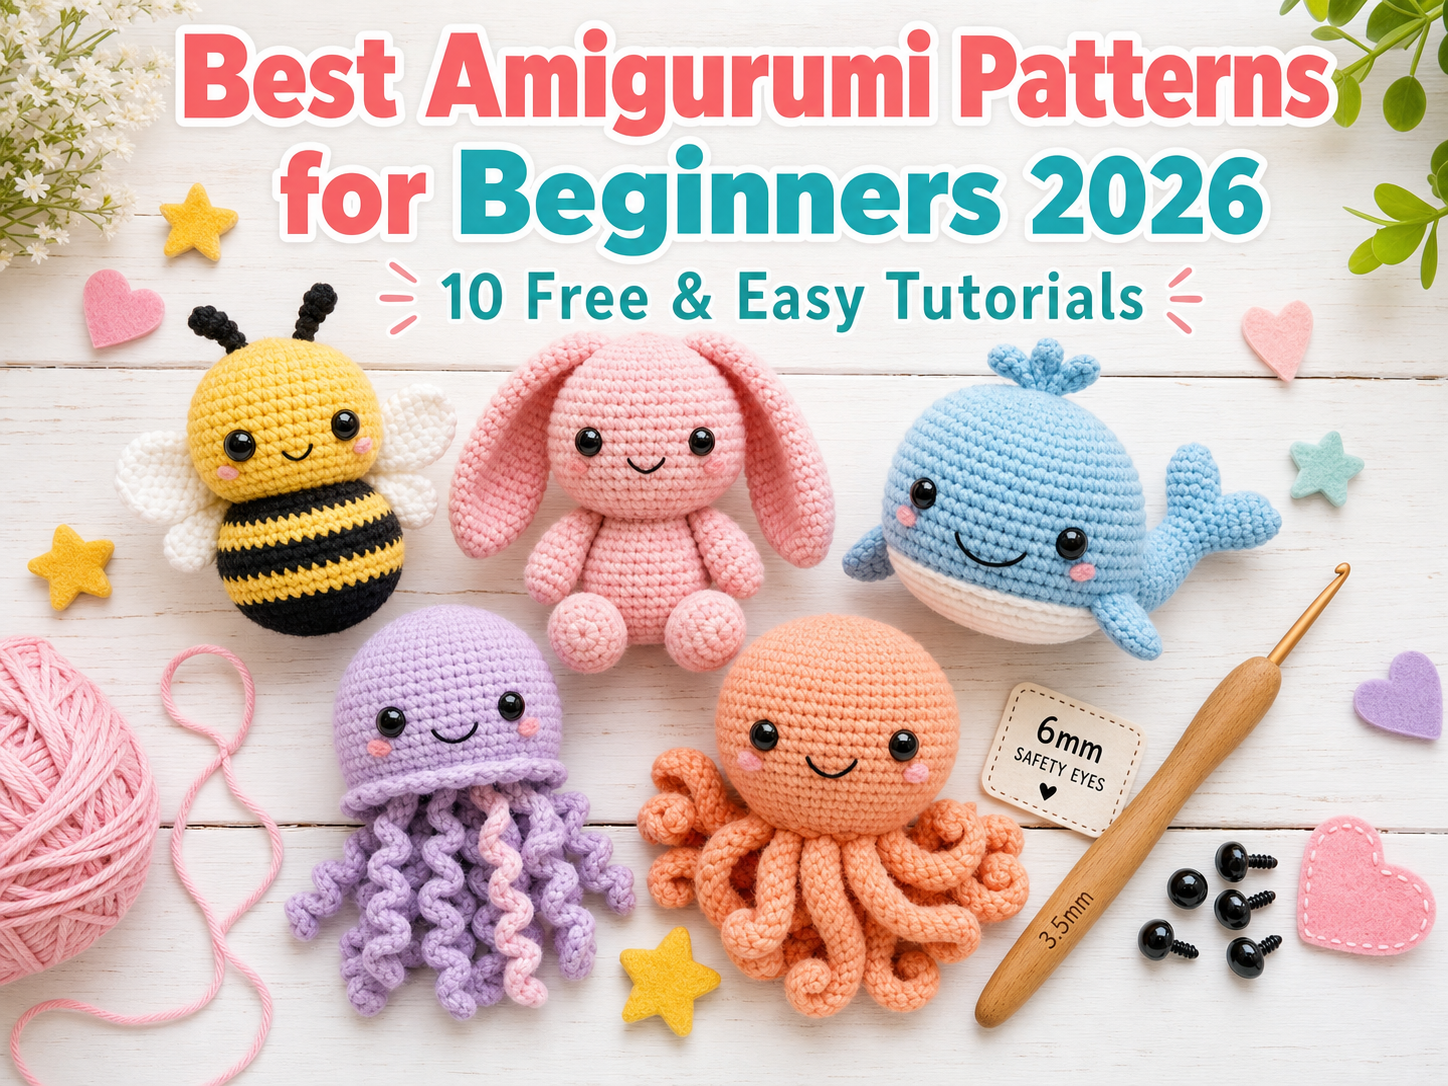
Best Amigurumi Patterns for Beginners 2026 – 10 Free & Easy Tutorials
Amigurumi, the Japanese art of crocheting adorable stuffed toys, has captured the hearts of crafters worldwide. If you’re wondering where to start with amigurumi crochet for beginners, you’ve come to the perfect place.
The Aveline Rug – Simple Yet Stunning Crochet Tutorial with Free Pattern
The Aveline Rug is a beautiful circular crochet rug pattern that combines simple double crochet rounds with decorative bead stitches and textured edging.
Easy Oval Cottage Rug – Step‑by‑Step Crochet Tutorial for Beginners
An oval cottage rug is a great beginner project that looks impressive but uses very simple stitches. This tutorial walks through each step to crochet an oval rug from the center outward, so you can make it smaller for a bedside rug or larger for an entryway, hallway, or kitchen. The method is based on […]