How to Knit a Stretchy Bind Off
Give Your Projects a Flexible Edge That Won’t Pop or Pull
A Must-Have Finish for Socks, Hats, and More
If you’ve ever finished a pair of socks or a cozy hat only to find the edge too tight — or worse, it snapped when you tried to stretch it — you know how important it is to use the right bind off.
This technique gives your knitted edges a soft, flexible finish that can handle being stretched over heels, heads, wrists, and necklines without losing its shape or integrity.
In this tutorial, I’ll walk you through two versions of the stretchy bind off:
- One for stockinette stitch
- One for ribbing , like k1p1 or k2p2 patterns
Whether you’re finishing up mittens, sweaters, or brimmed hats, this is the go-to bind off for a clean, elastic edge.
🧶 Why Use a Stretchy Bind Off?
Let’s talk about why this method matters.
Stretchy vs. Regular Bind Off
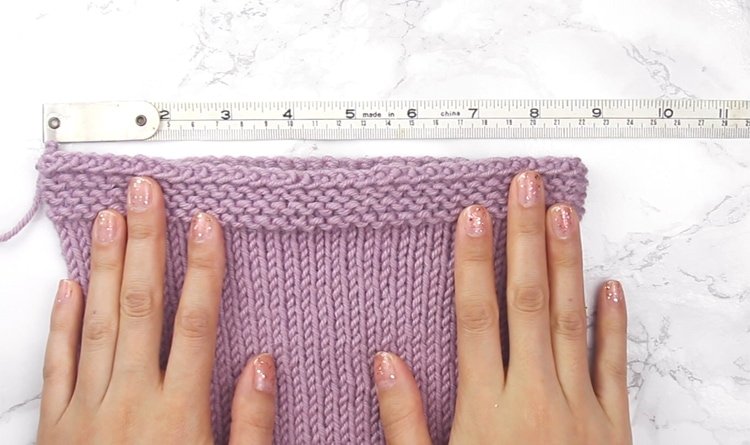
Regular size
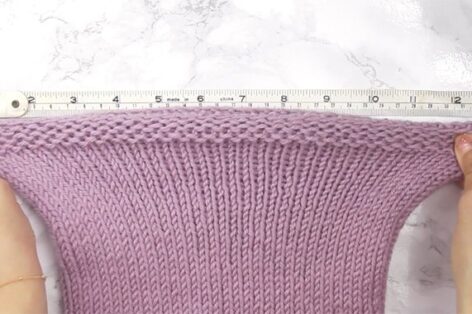
While a regular bind off works fine for many projects, it doesn’t offer nearly as much give as a stretchy version. To show just how much difference it makes, I tested both methods on the same swatch:
- Regular bind off : Stretches to about 9 inches
- Stretchy bind off : Stretches up to 12 inches — that’s 33% more stretch!
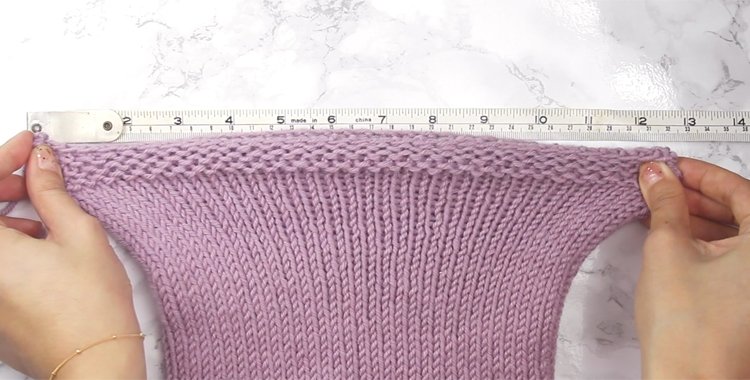
strechy
This extra flexibility makes all the difference when working with garments that need to move and stretch — especially sock cuffs, sweater hems, and hat brims.
Of course, no technique is perfect for every situation…
A Note About Flaring
One thing to be aware of: the stretchy bind off can cause slight flaring at the very edge. It’s subtle and usually disappears with blocking, but if you’re aiming for razor-sharp edges, you may want to consider another option.
Still, for most projects where elasticity is key, this is hands-down the best way to finish.
🎬 Want to See It in Action?
I’ve got you covered! You can watch the full step-by-step stretchy bind off tutorial here:
Now let’s get into the details.
🪡 Stretchy Bind Off (for Stockinette Stitch)
This version is ideal for flat or circular projects worked in stockinette stitch.
Step-by-Step Instructions:
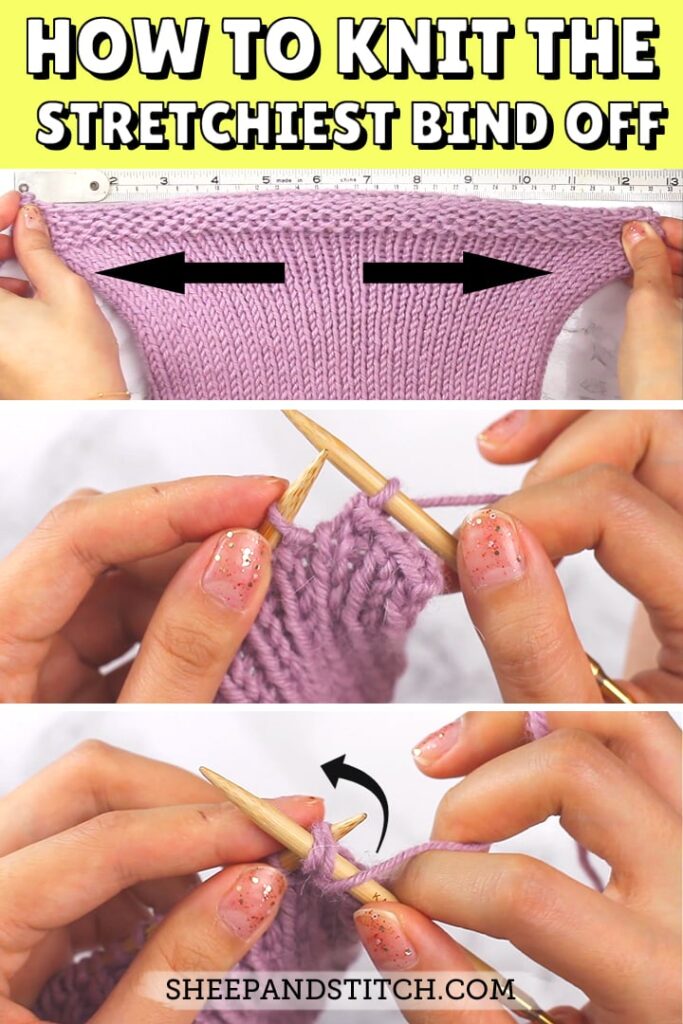
- Knit 2 stitches onto your right-hand needle.
- Insert the left needle through the front loops of both stitches.
- Knit the two together through the front — this creates one stitch.
- Knit one more stitch from the left needle so you have two stitches on the right needle again.
- Repeat steps 2–4 across the row until one stitch remains .
- Cut the yarn, leaving a 5–10 inch tail .
- Thread the tail through the last stitch and pull snug — done!
You now have a beautifully stretchy edge that moves with your project.
🧦 Rib Stretchy Bind Off (for K1P1, K2P2, etc.)
When working with ribbed patterns, maintaining the stretch and the structure of the ribbing is key. This version keeps your rib pattern looking sharp while giving you that all-important elasticity.
Step-by-Step Instructions:
- Work the first two stitches according to the pattern:
- If they are knit stitches, knit them
- If they are purl stitches, purl them
- Then, work those two stitches together using the same stitch type:
- If you knit them, knit them together
- If you purled them, purl them together
- Now, work the next stitch accordingly — knit or purl — so you have two stitches on your right needle.
- Work those two together the same way again.
- Continue this process across the row until only one stitch remains .
- Cut the yarn, leaving a generous tail (about 6–8 inches).
- Weave the tail through the final stitch and gently tighten.
Your ribbing will keep its bounce and definition — perfect for cuffs, collars, and hat brims!
💡 Pro Tip:
If you’re working in the round and want a seamless finish, try doing this bind off using a circular needle or double-pointed needles. It helps maintain even tension and control as you go.
Final Thoughts
The stretchy bind off is a game-changer — especially when you’re working on anything that needs to stretch and rebound gracefully.
Once you try it, you’ll probably wonder why you ever used a regular bind off for these kinds of projects!
If you found this helpful, feel free to pin it or share it with fellow knitters. And if you have any questions or want to suggest future tutorials, drop me a comment below.
Stitch
Happy knitting! 💛
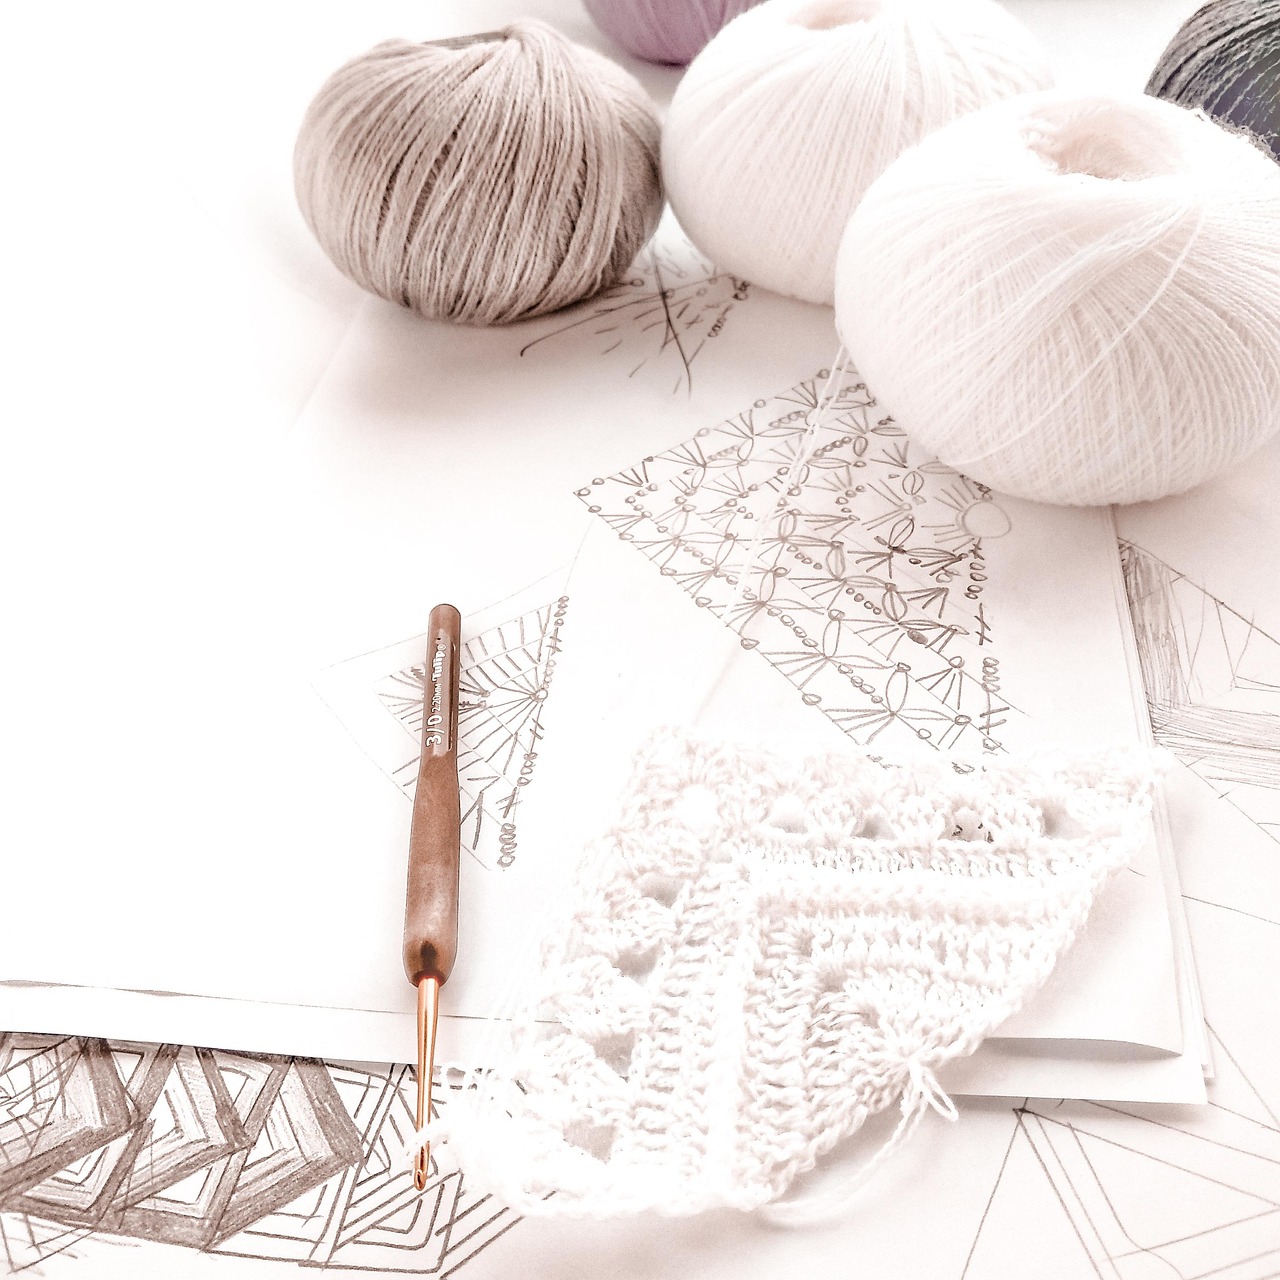
Crochet Yarn – Soft, Smooth, or Sparkly?
When it comes to crochet, choosing the right yarn isn’t just about color or pattern — it’s also about how it feels . After all, you’ll be working with it for hours, and the person who ends up wearing or using your finished project will notice the texture too.
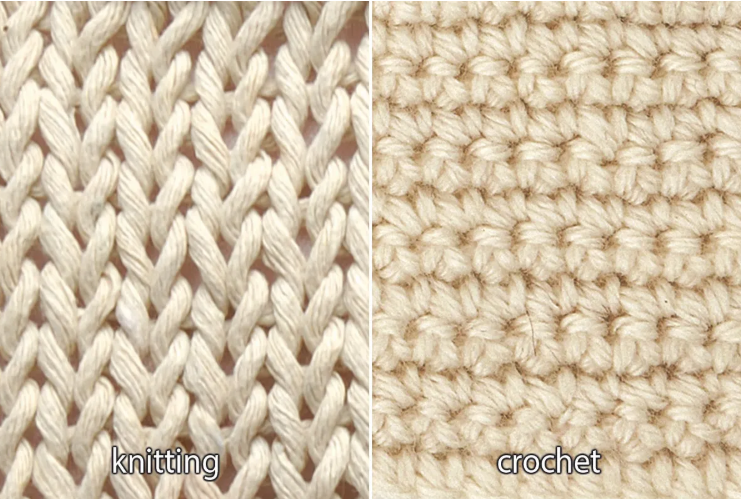
The Difference Between Knitting Yarn and Crochet Yarn
When you’re just starting out in the world of fiber crafts, it’s easy to wonder: is there really a difference between knitting yarn and crochet yarn ? The short answer is no — not really.
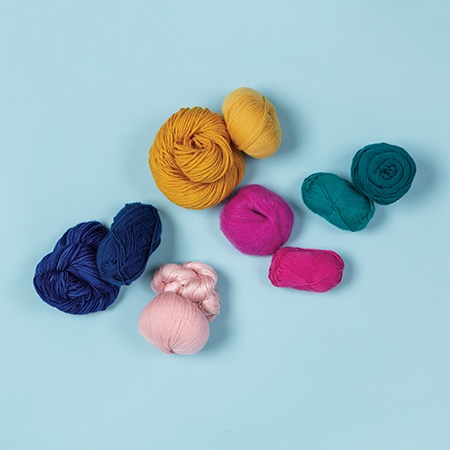
How to Choose the Perfect Yarn for Your Crochet Project
Are you standing in front of your yarn stash (or scrolling through an online shop) wondering which yarn to pick? Choosing the right yarn can make or break your crochet project — not just in how it looks, but in how much you enjoy making it!