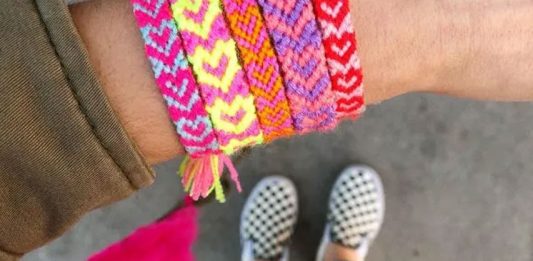
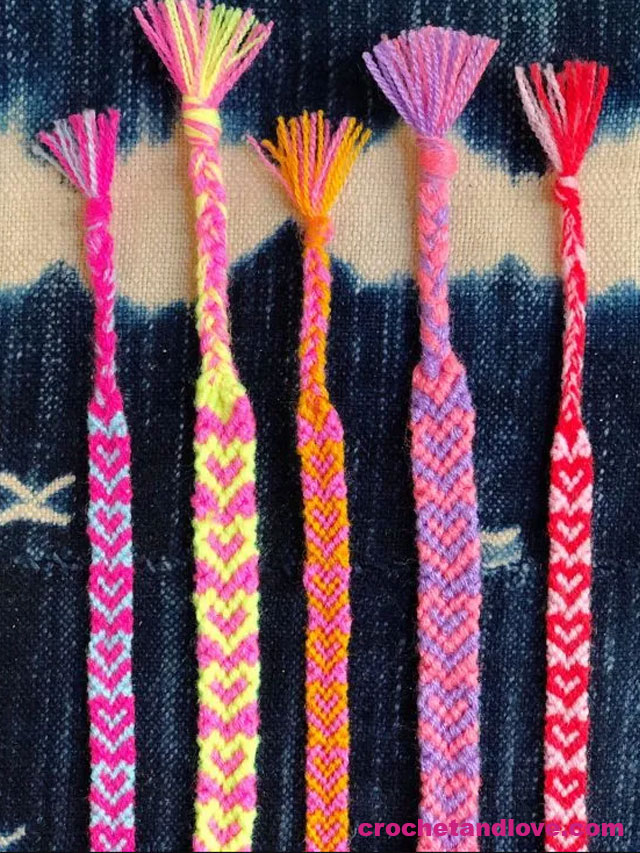
How to Make Heart Friendship Bracelets
Spread love and friendship through handmade creations with our heart friendship bracelets DIY tutorial!
Create your own heartwarming friendship bracelets with our step-by-step guide
Everyone has a friend and that’s why he didn’t try to stop sharing an art for you to make and share with your friend.
I’m absolutely hooked on making these delightful little heart friendship bracelets ever since we released our friendship bracelet DIY kit last week! I just can’t seem to stop KNOTting these bracelets – it’s my current project obsession!
It doesn’t matter what time of year. This type of gift can be made for your friends regardless of the day and time. Who doesn’t love receiving gifts? And who doesn’t love receiving personalized gifts from their best friend as a beautiful gesture of affection?
Next, we will show you how you can make your own heart bracelet for you to wear together with your friend or just give it as a gift.
Crochet bags for all occasions. Learn how to do it easily through our tutorial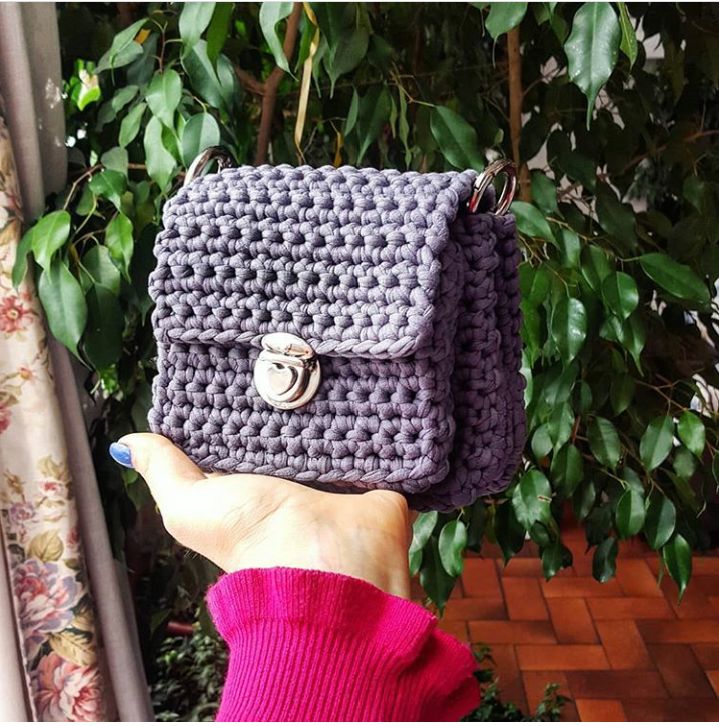
Free patterns of mini crochet bags
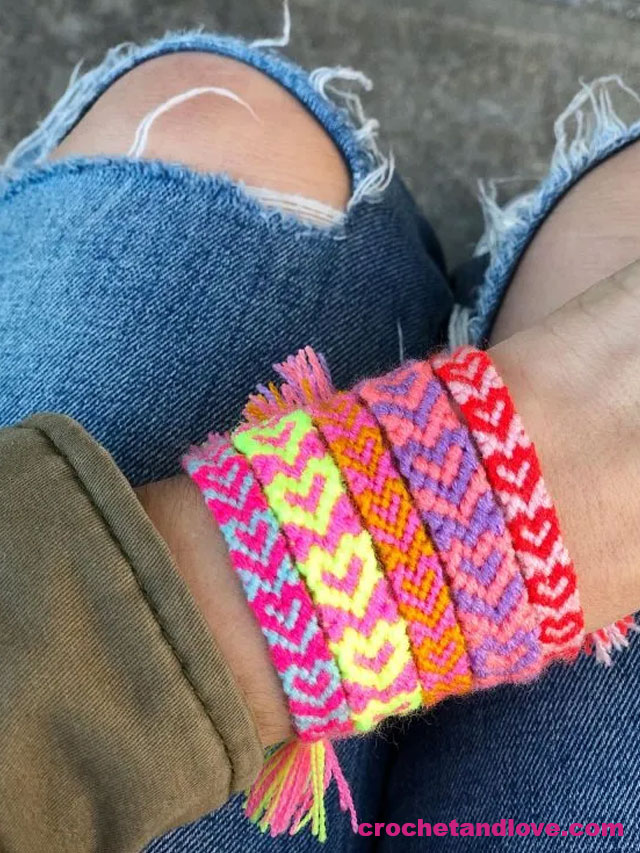
In this tutorial, I’m going to show you some ways to customize your heart friendship bracelet, such as finishing with braids (which is my personal favorite!), alternating heart colors, and even a hack to make your bracelet in half the time!
I’m sure you’ll love this pattern just as much as I do – let’s get started!
We are going to teach you:
- how to finish your bracelet with braids;
- how to alternate heart colors;
- and how to hack the tutorial to make a bracelet in half the time
I think you’re going to be just as in love with this pattern as I am! Let’s explore and see. 🙂
Materials:
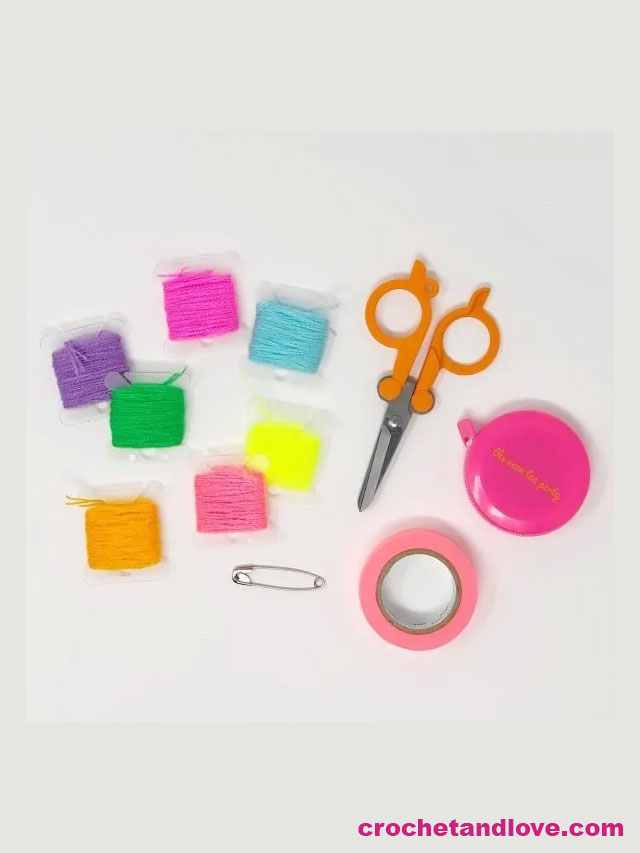
Materials for the Bracelet
- Omegacryl yarn or embroidery floss (two colors for each bracelet);
- Tape measure;
- Scissors;
- Tape or safety pin.
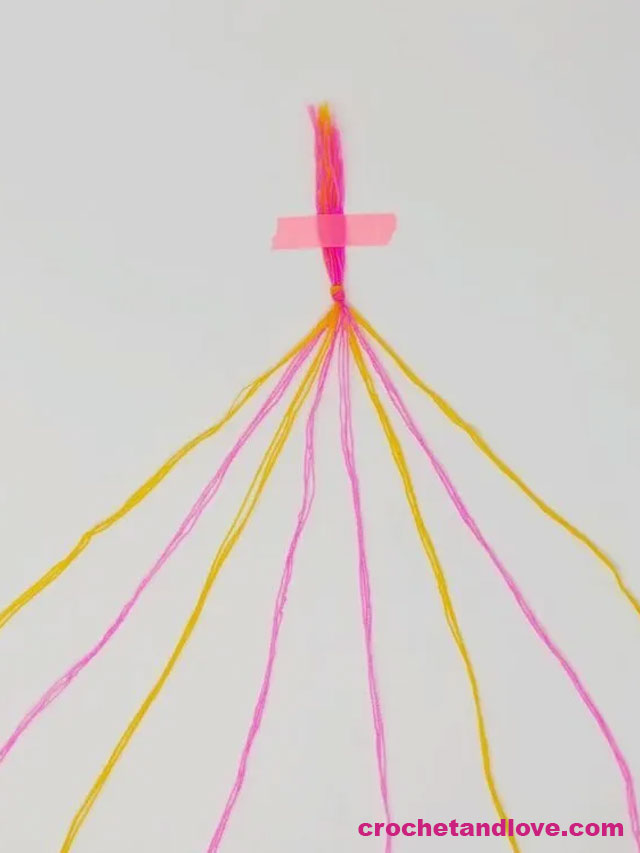
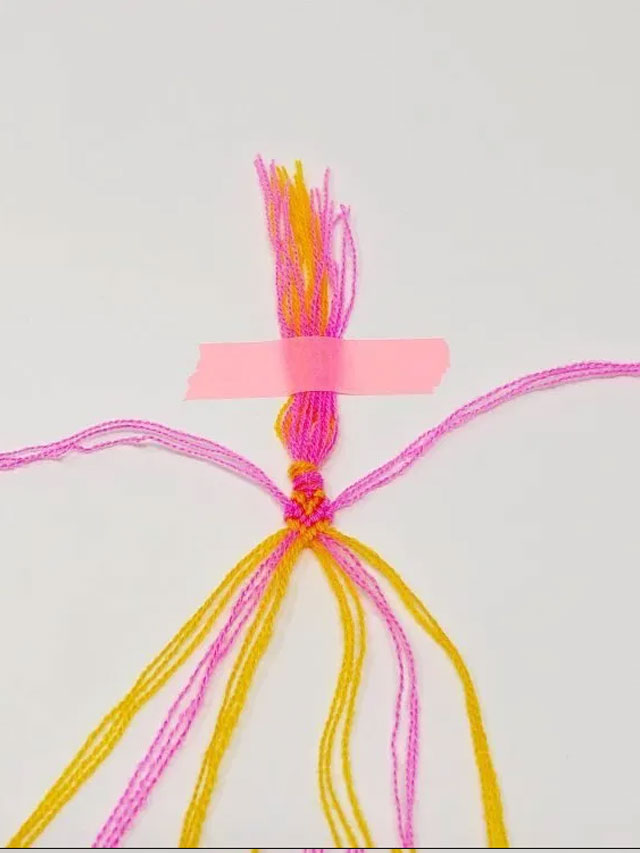
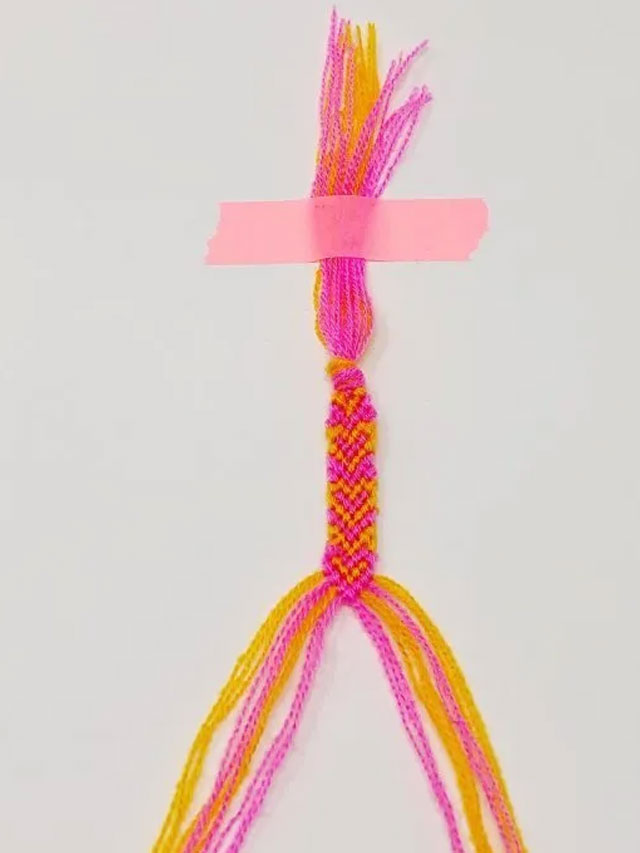
To begin, cut a total of eight 32-inch strands of two different colors. Tie the strands together about 3 inches from the end, then secure the knot with tape or a pin.
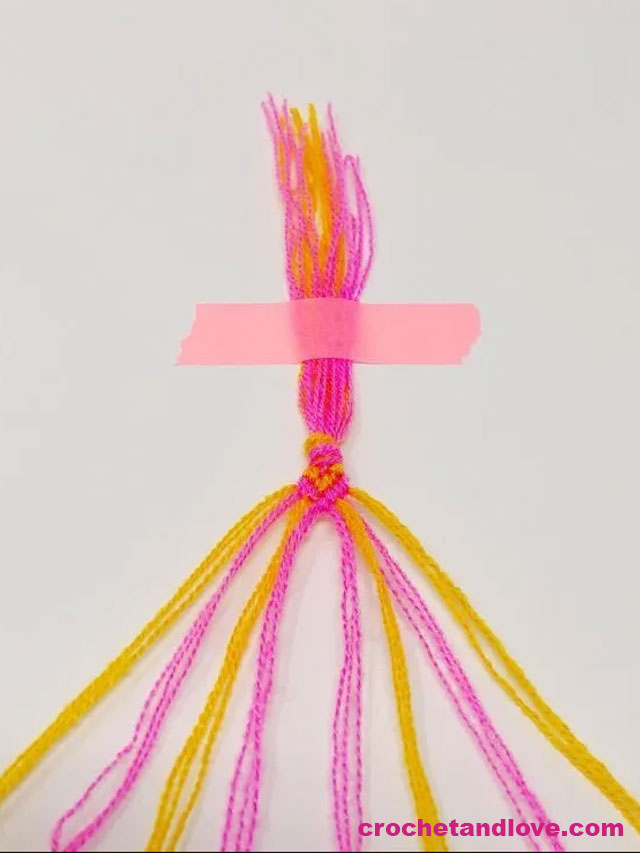
Bracelet Step 1
Step 1: Arrange the strands in the following order: A B A B B A B A. The “A” color will be the color of your hearts if you’re not alternating heart colors, so make sure to adjust the order of the colors accordingly.
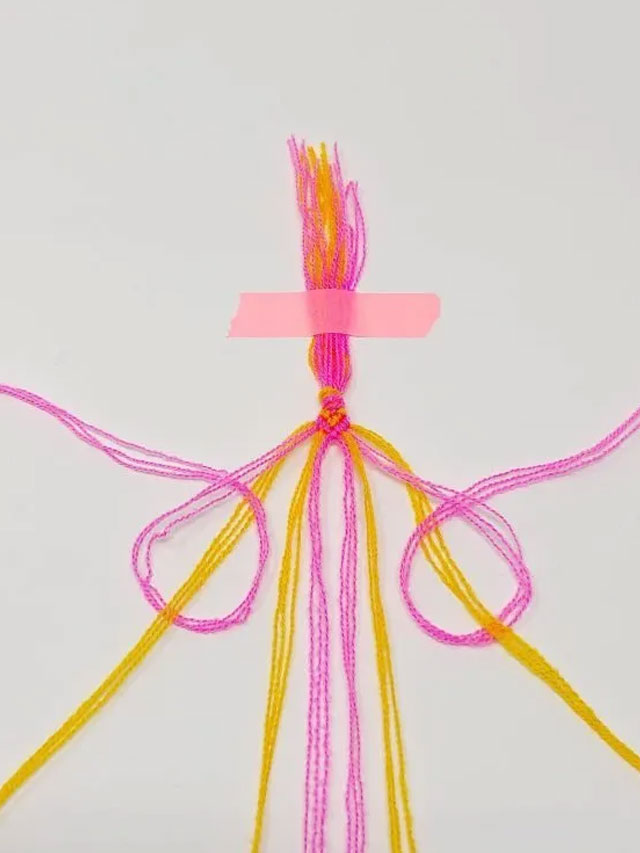
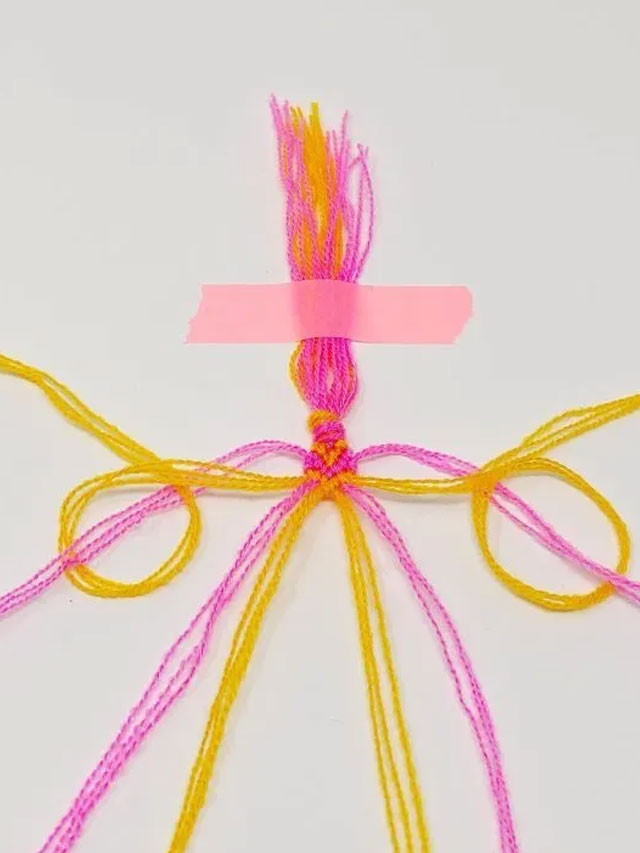
Bracelet Step 2
Step 2: Begin by knotting two chevrons. To learn how to do this as well as the correct way to tie knots, refer to the tutorial here.
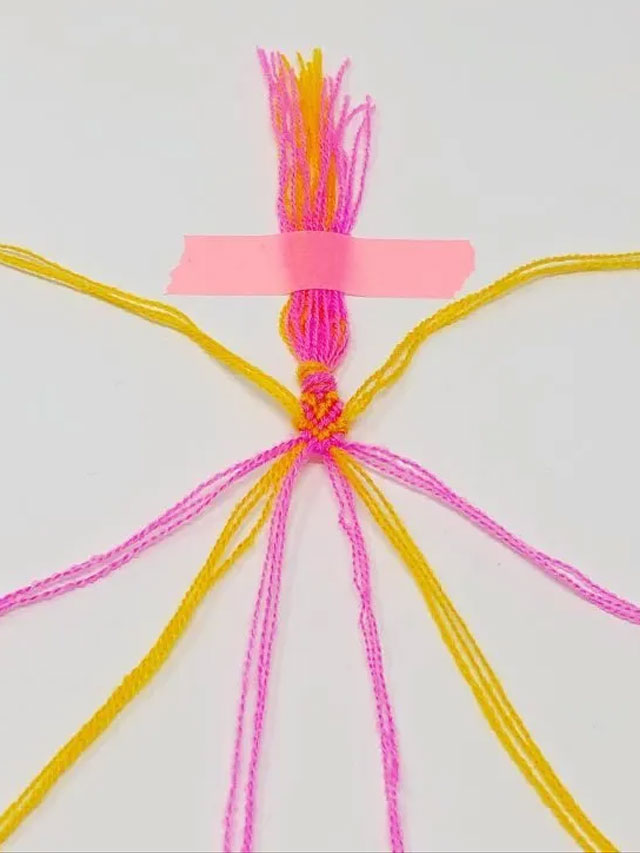
Bracelet Step 3
Step 3: Take the second strand from the left and tie it around the left-most strand with a four knot in reverse. Repeat this action to finish the knot. It is important to remember that each friendship bracelet knot consists of two knots.
Tie the right-most strand with a 4 knot moving forwards, then repeat with the second strand from the right.
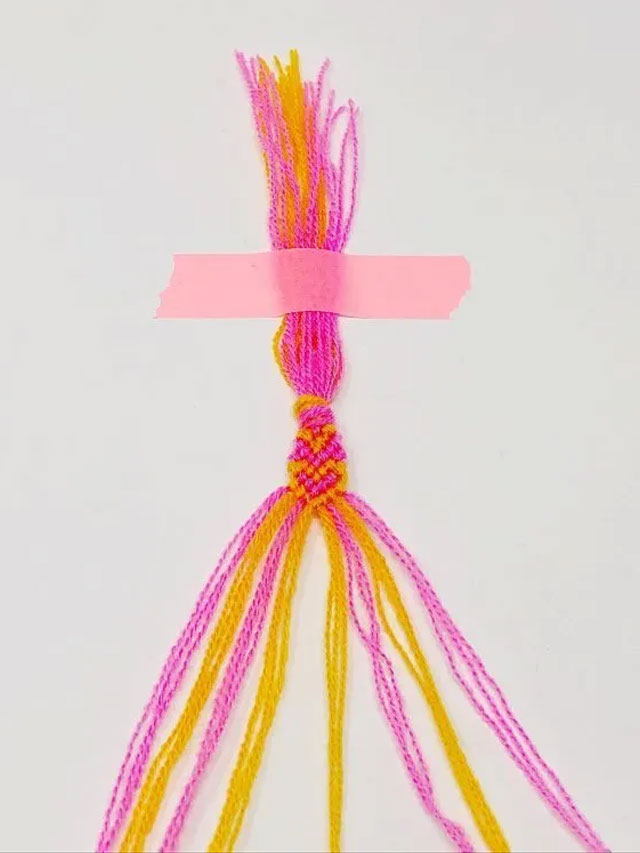
Bracelet Step 4
Step 4: Leave the strands you just knotted at the top of your bracelet and add a chevron to the six strands in the middle.
Bracelet Step 5
Step 5: Repeat the same process that you used in step 3 by knotting the second-outermost strands around the outermost strands. When you have completed this, you will have reached the top of your heart!
Bracelet Step 6
Step 6: Just like the step 4, let the two outermost strands remain at the top and add a chevron to the six remaining strands. This will form the middle of your heart shape.
Bracelet Step 7
Finally, complete your heart by weaving the two outermost strands in a full chevron pattern. Your heart is now finished!
Bracelet Step 8
To keep the same color hearts, add a chevron row, then follow steps 3-7 and repeat. Keep going until you have around 13 hearts and finish off the bracelet with two more chevron rows.
Bracelet Step 9
If you want to switch up the colors of your hearts in your bracelet, just add two rows of chevron instead of one before continuing on with step 3! That’s all it takes. Because the additional rows make the bracelet longer, you only need to use around 10-11 hearts to get the desired length.
Bracelet Step 10
To complete your friendship bracelet, begin by making a 2.5” braid and securing it with a knot. Once you have done this, undo the starting knot and braid that end too.

Bracelet Step 11
If you want to make a friendship bracelet with thicker, larger hearts that takes less time, double the amount of yarn and use two strands together for each strand. This will make the bracelet twice as thick and only 8 hearts are needed to get the desired length. Additionally, you could try alternating colors for a more interesting look.
friendship Bracelet
Voilà! With some practice, you’ll soon master the art of making heart friendship bracelets. Not only are they a great way to show your friends how much you care, but they make the perfect Galentine’s Day gift – our Friendship Bracelet Kit is a great choice. Make sure to rock your bracelet on February 14th!
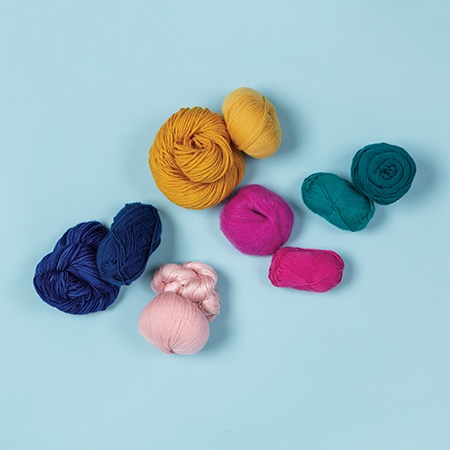
Crochet Yarn – Soft, Smooth, or Sparkly?
When it comes to crochet, choosing the right yarn isn’t just about color or pattern — it’s also about how it feels . After all, you’ll be working with it for hours, and the person who ends up wearing or using your finished project will notice the texture too.
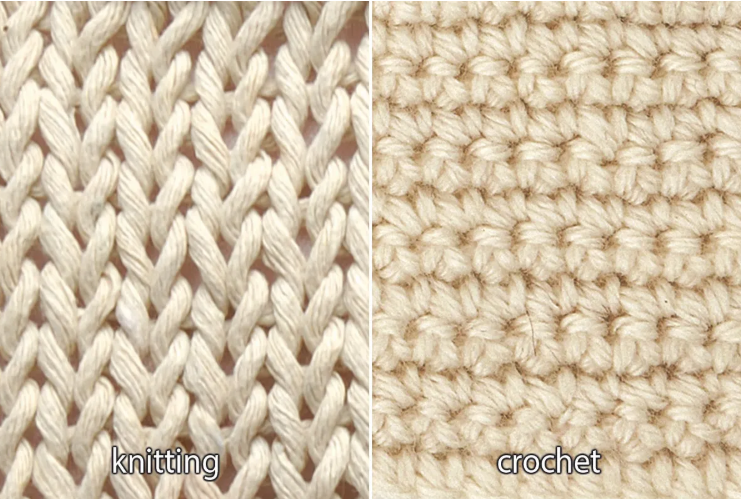
The Difference Between Knitting Yarn and Crochet Yarn
When you’re just starting out in the world of fiber crafts, it’s easy to wonder: is there really a difference between knitting yarn and crochet yarn ? The short answer is no — not really.
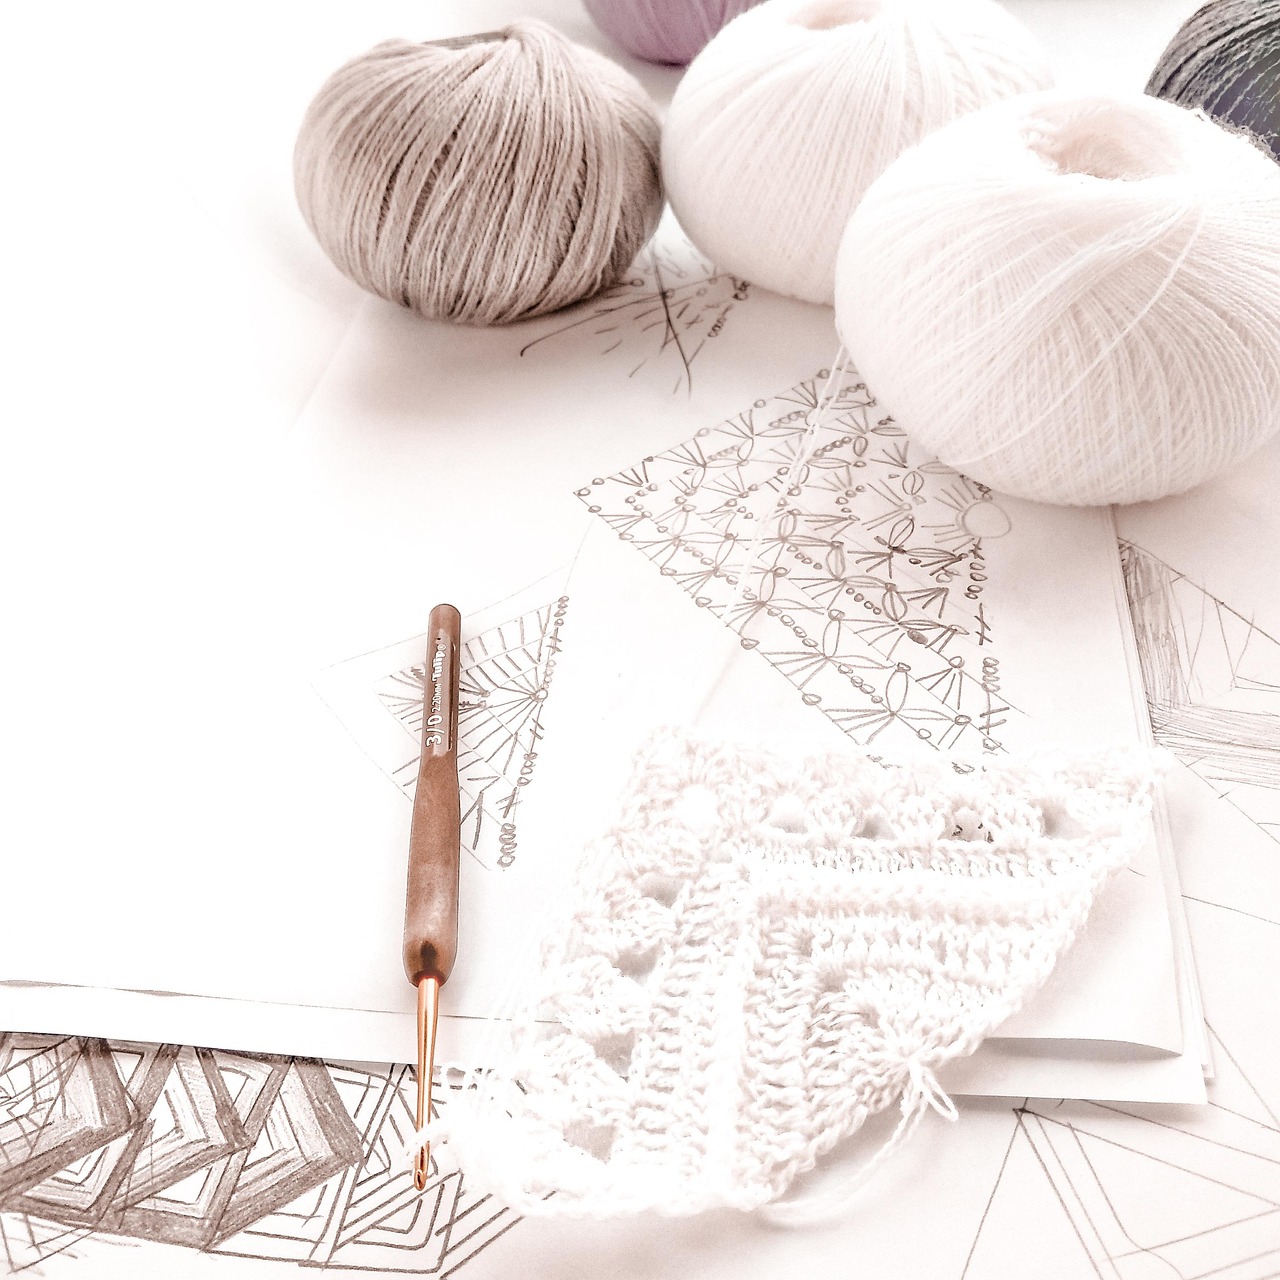
How to Choose the Perfect Yarn for Your Crochet Project
Are you standing in front of your yarn stash (or scrolling through an online shop) wondering which yarn to pick? Choosing the right yarn can make or break your crochet project — not just in how it looks, but in how much you enjoy making it!