Learn to Crochet: Step-by-Step for Absolute Beginners
A beginner-friendly guide to holding your hook, making your first stitches, and building the skills to create beautiful handmade projects.
Start Your Crochet Journey with Confidence — No Experience Needed!
Hi lovely! I’m so happy you’re here and ready to start your crochet journey! Honestly, crochet is one of the most relaxing and rewarding crafts—you’re going to love it.
Once you get comfortable with holding your hook and yarn, making a slip knot, and crocheting a chain, you’ll be amazed at all the beautiful things you can create. And don’t worry—we’re going to take it step by step. I’ll also walk you through one of the most important stitches every crocheter needs to know: the single crochet.
When I first started crocheting, I was obsessed with watching YouTube videos and tutorials. I wanted everything I made to look just like the pictures… I’m a bit of a perfectionist that way! But here’s the truth: it takes practice. Lots of little sample squares, figuring out how to hold your hook and yarn comfortably, and learning how to manage your tension. And guess what? All those practice squares? You can totally stitch them together later and make a cozy blanket! I mean… how cute is that?
In this tutorial, I’ll show you exactly how to:
- ✨ Hold your hook and yarn
- ✨ Make a slip knot
- ✨ Crochet a chain
- ✨ Work the single crochet stitch
- ✨ And finally… how to finish off and weave in your ends neatly
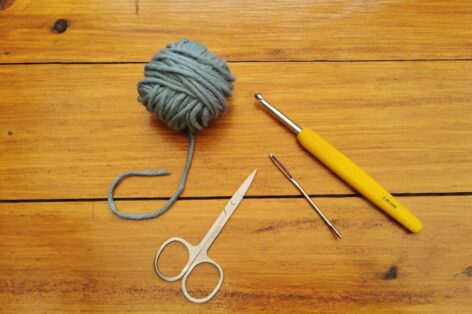
What you’ll need:
- 🧶 Some yarn (nothing fancy—just something soft and easy to work with)
- 🧶 A crochet hook in the size recommended for your yarn
- ✂️ Scissors
- 🪡 And a yarn needle for weaving in those ends.
That’s it! Super simple, right? I’m so excited for you to get started. Just take your time, be patient with yourself, and most importantly—have fun! Crochet is all about creating with love and enjoying the process.
Let’s get hooking! 💕

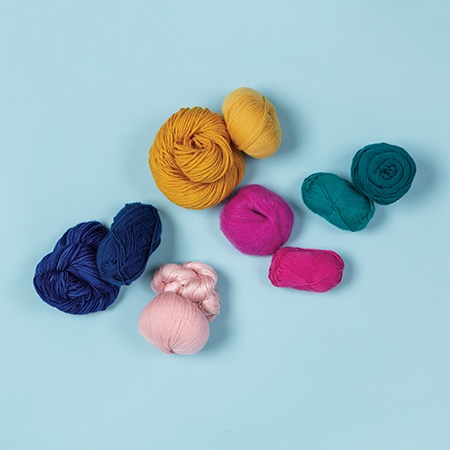
Tools for crochet
When you’re just getting started, I always suggest choosing a thicker yarn — it’s just so much easier to handle, and your stitches will be much more visible. Trust me, it makes learning way less frustrating! Just grab the hook that the yarn label recommends; they really do make it simple for us.
Now, I know walking into a yarn shop can feel a bit overwhelming at first… all those beautiful colors and textures! But here’s what you want to look for: on the yarn label, there’s usually a little number that tells you the yarn’s weight. It’ll look something like this:
Tutorial Crochet
For beginners, I always say go for yarn that’s a size 4 or bigger — that’s called “worsted weight” and up. It’s thick enough to easily see your stitches, but not so bulky that it feels clumsy.
Oh! And here’s a little tip: right near that number, the label usually tells you what size hook to use. For example, with size 4 yarn, you’ll typically want a 5.5 mm hook, or what we call a size I-9. Super easy, right?
Just remember — your yarn and hook are your tools, but it’s you who’s bringing the magic to life. 💕
How to hold your hook
Firstly everybody is different. There are no right or wrong way for holding your crochet hook.
But there are two common ways for holding it, the knife hold and the pencil hold.
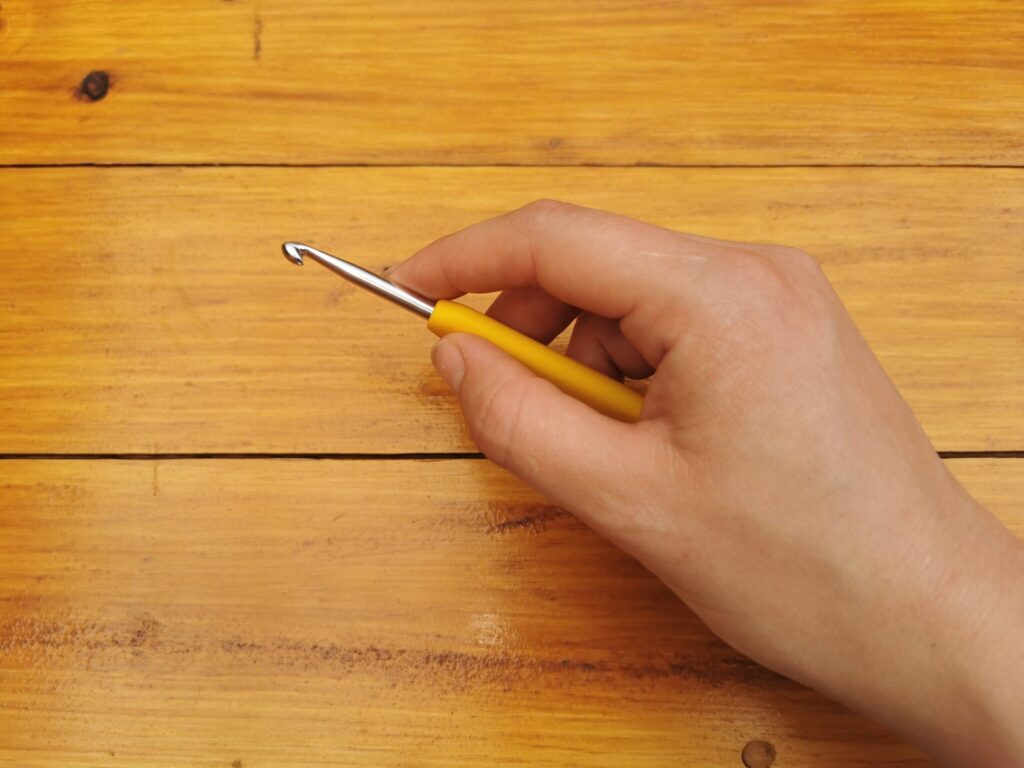
Knife Hold
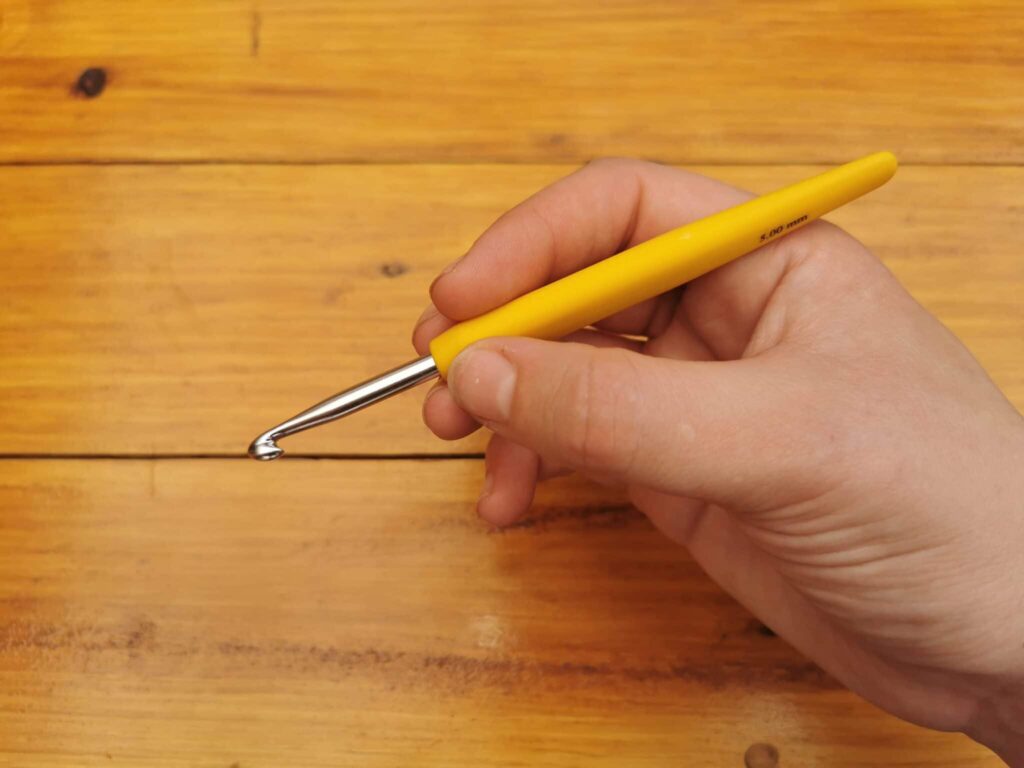
Pencil Hold
I use the knife hold as it feels much more comfortable for me. But it is totally up to you!
How to Make a Slip Knot
Before we dive into how to hold your yarn or start your first stitches, let’s begin with something super important: the slip knot. This little guy is usually the very first stitch you’ll make when starting any crochet project.
Most patterns assume you already know how to do this, so they often skip mentioning it altogether. The only time you might not use a slip knot is when you’re working with techniques like the magic circle—especially common in amigurumi or toy-making. But don’t worry—we’ll cover that in another tutorial!
For now, here’s a simple way to make a slip knot:
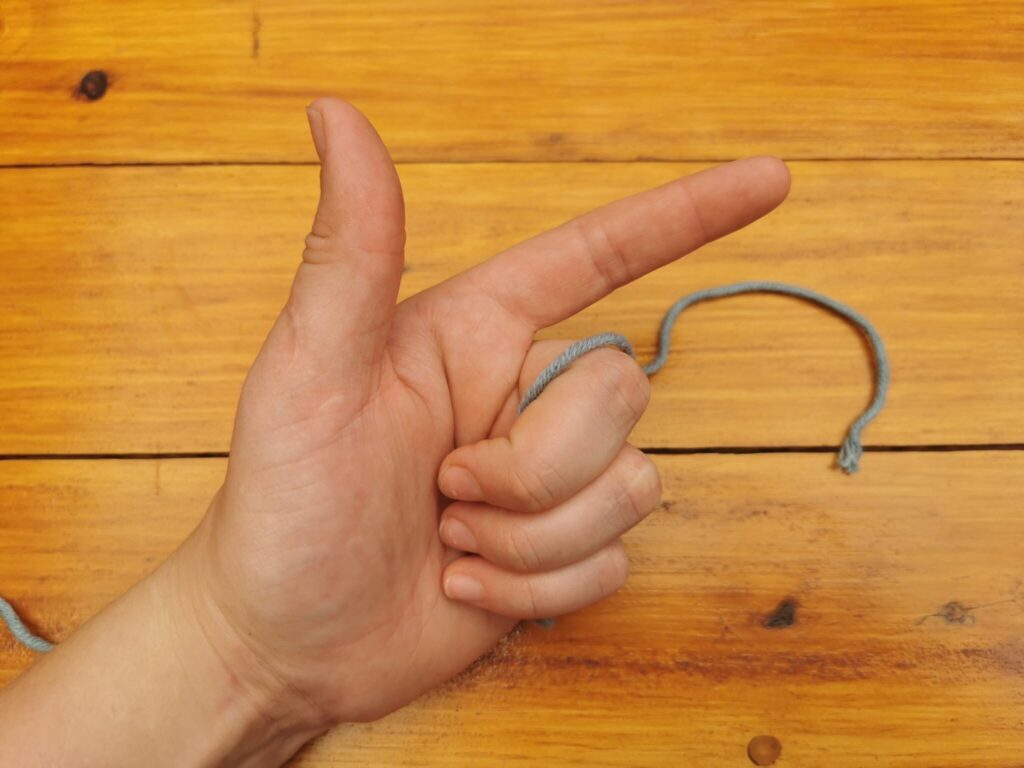
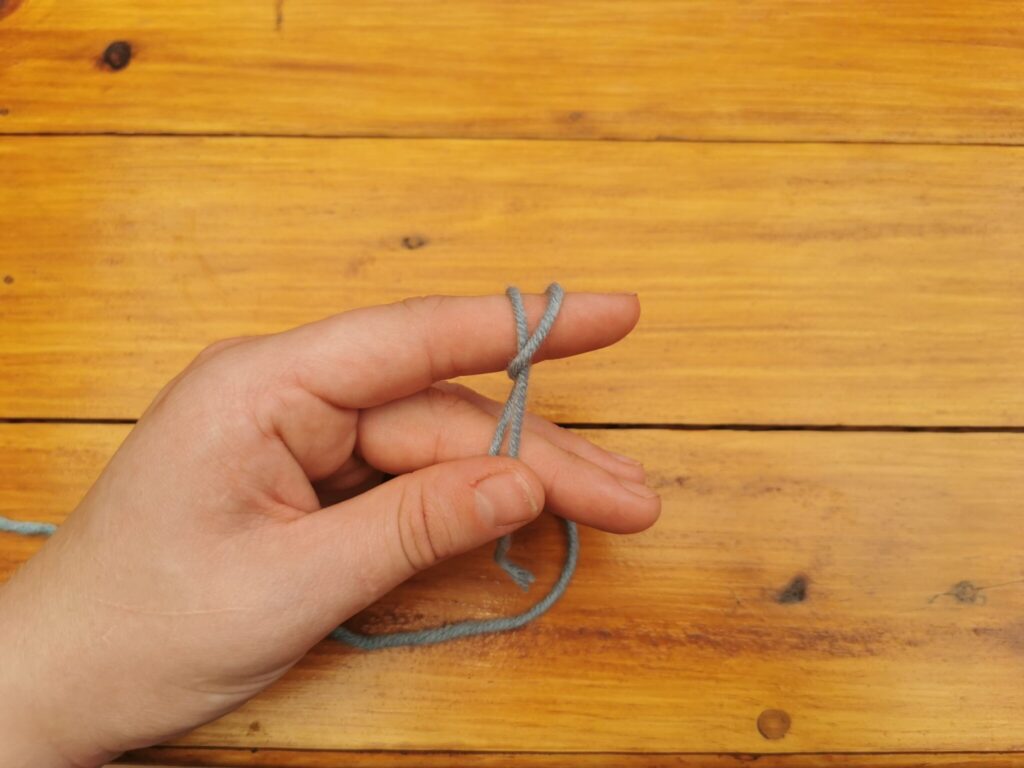
- Start by pulling out about 3 inches (7–8 cm) of yarn from your ball.
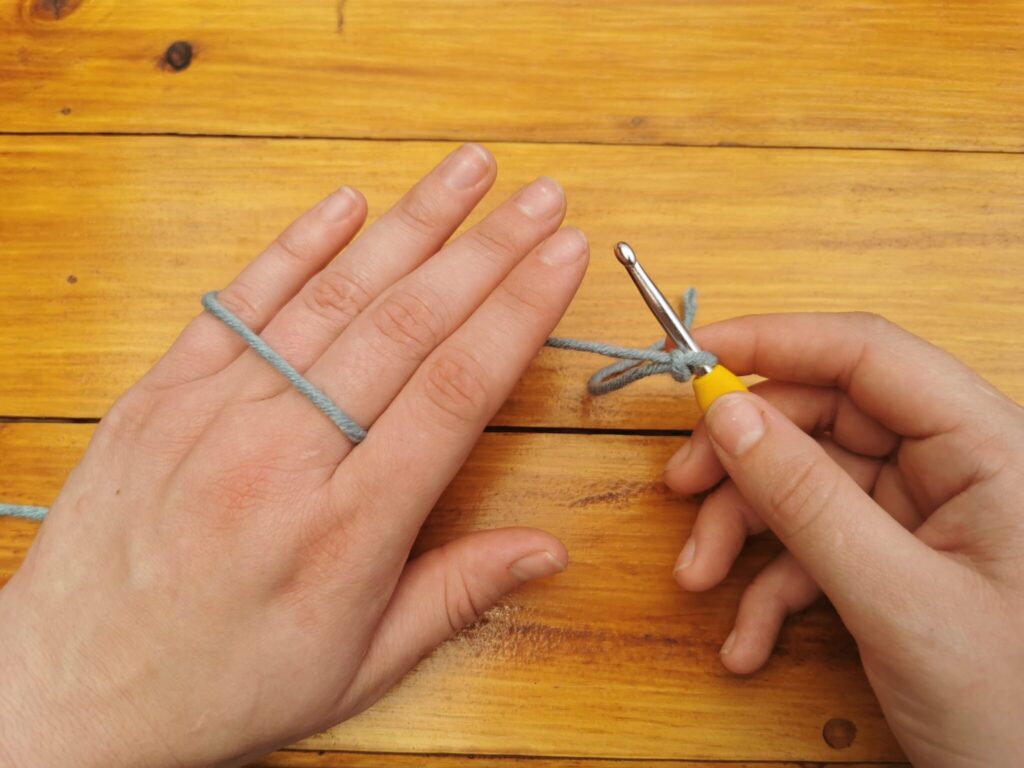
- Hold the yarn with your hand like you’re making a finger gun—stick your index finger out!
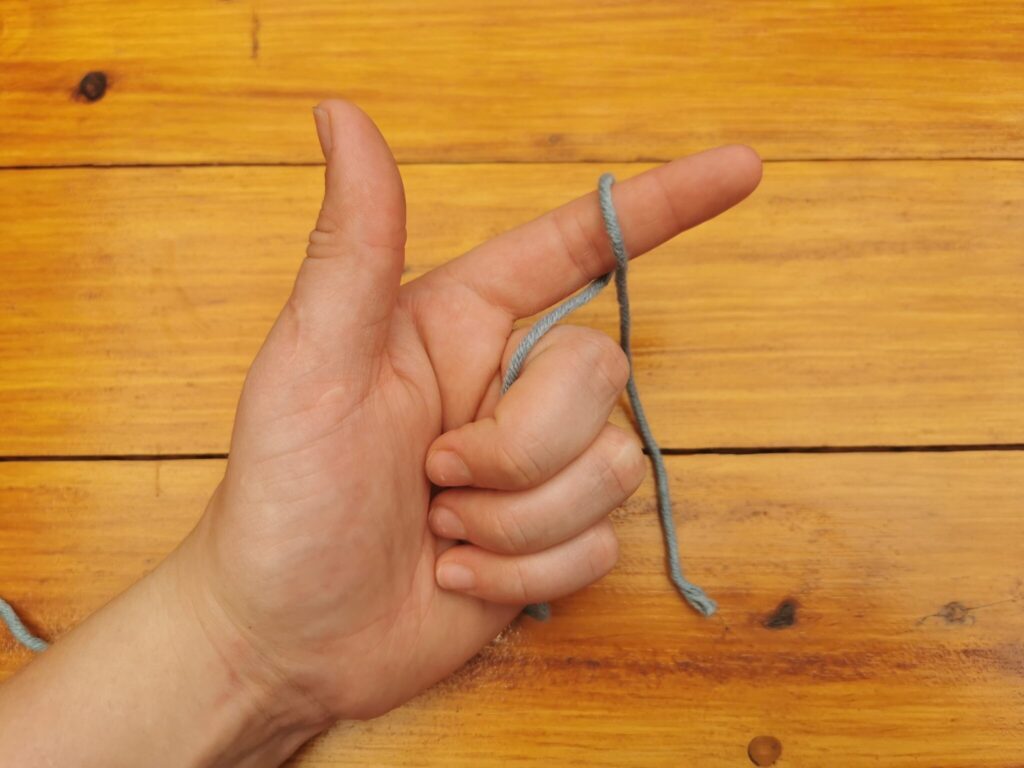
- Loop the yarn over your index finger, bringing the end that’s attached to your yarn ball over the front of your finger.
Once you’ve got that loop on your finger, you’re ready for the next step—which involves gently slipping it onto your crochet hook and tightening it just right. I’ll walk you through that part too!
This is such a foundational skill, and once you get the hang of it, you’ll be starting projects like a pro in no time. 💫
Let me know if you’d like a visual breakdown or tips for tightening it just right!
Step1
Step 2
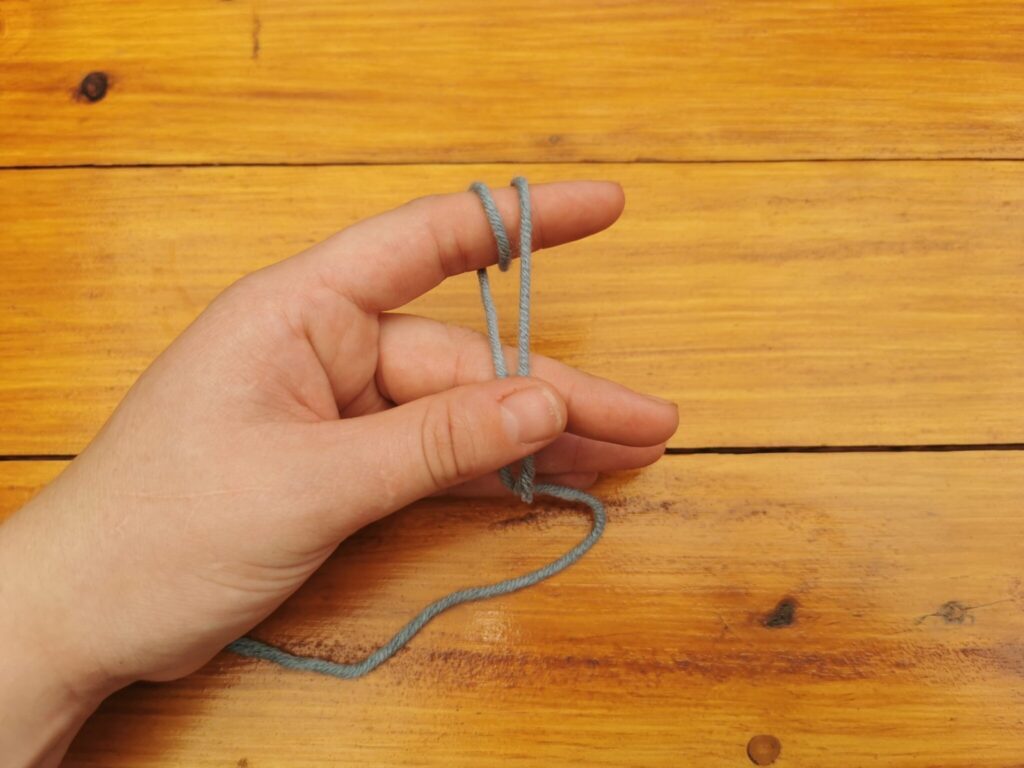
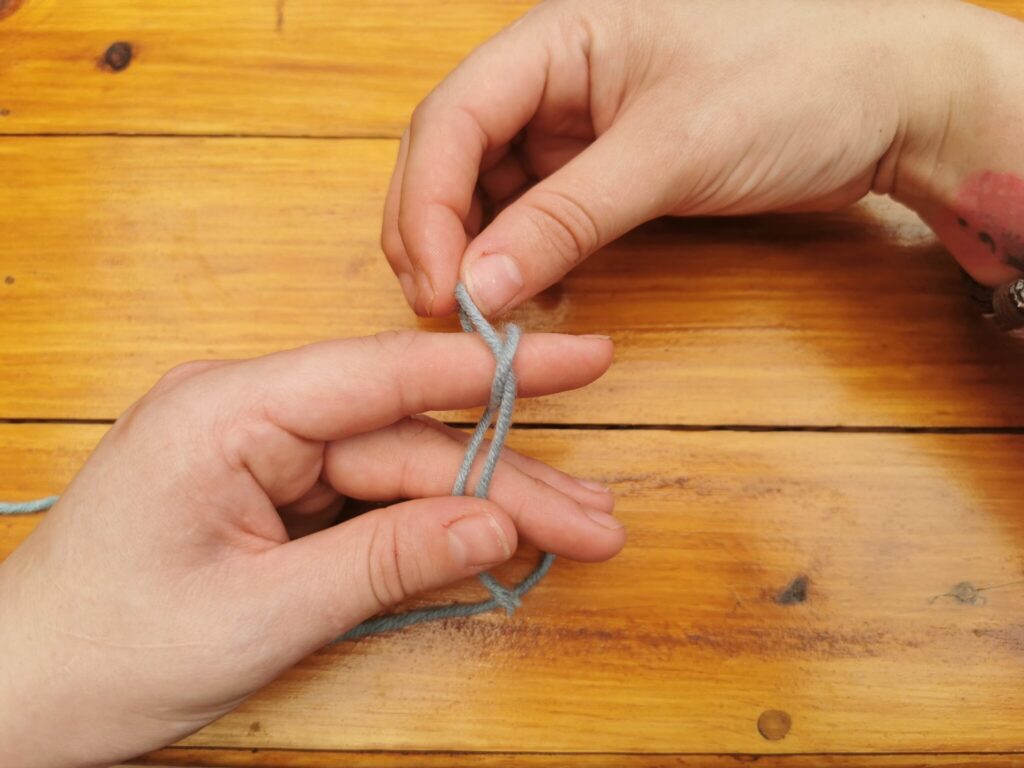
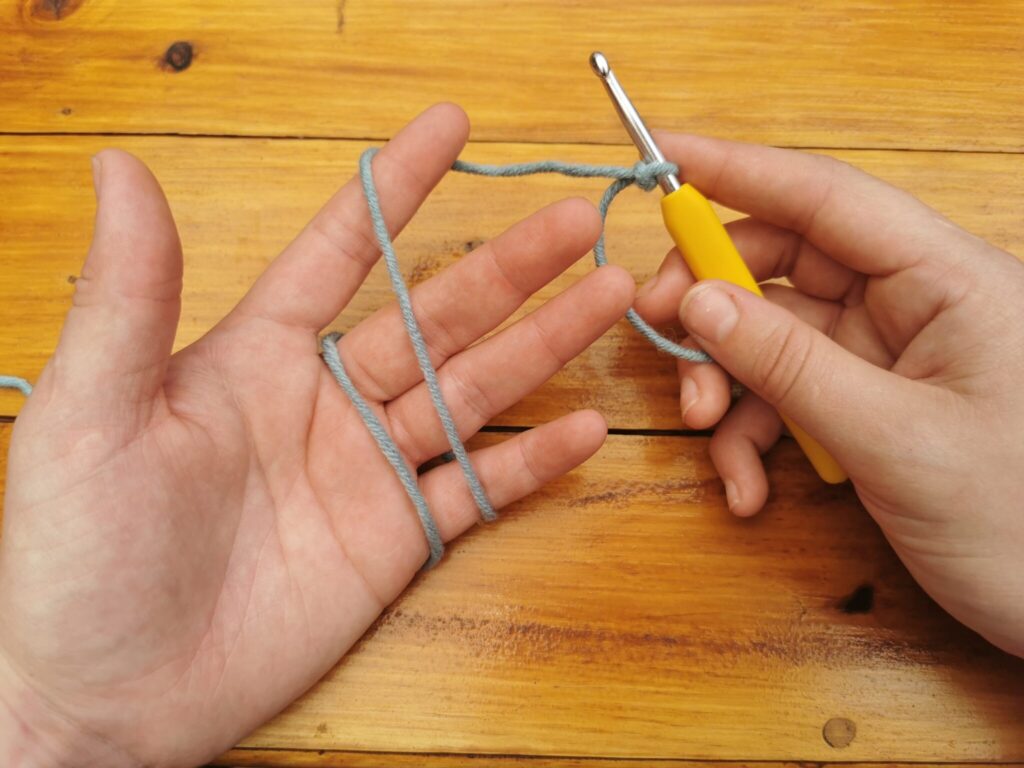
- Wrap the yarn around your finger once again, so that you have two “loops” around your finger.
- Grab both ends, the short tail and the long tail (attached to the ball of yarn), also known as the working yarn, with your thumb and middle finger.

Step 3
Step 4
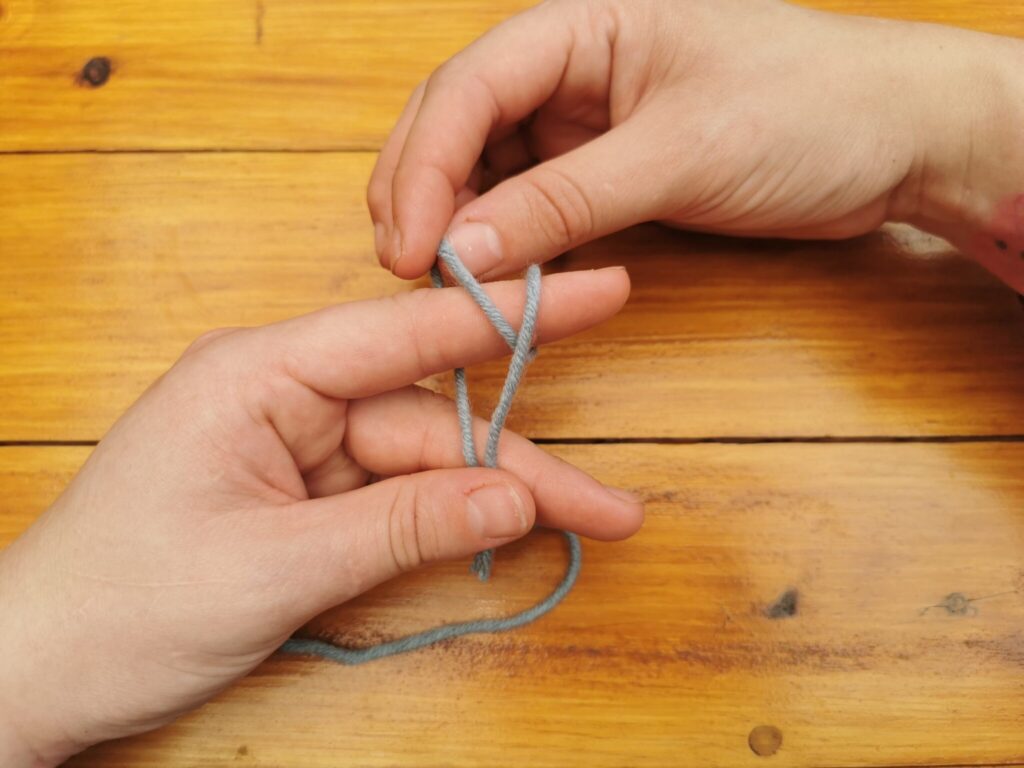
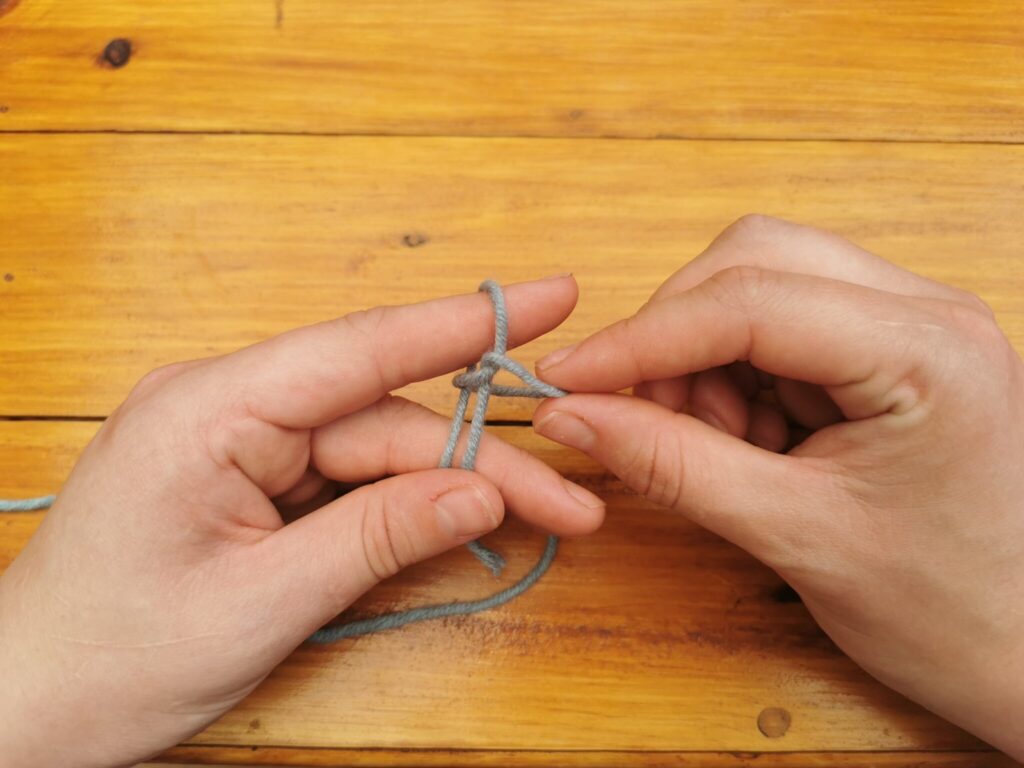
- Take the back loop and pull it over the front loop, but don’t pull it off all the way.
Step 5
Step 6
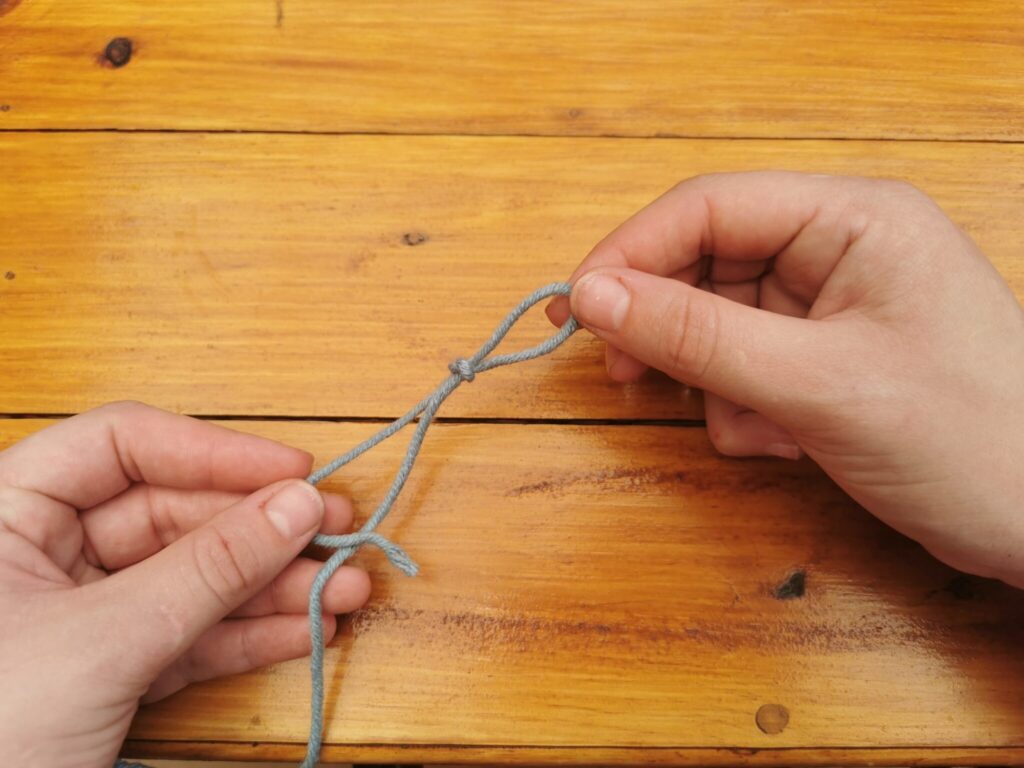
- Now take the back loop and pull it off your finger completely and tighten the knot. Make sure not to make it super tight because you want the slip knot to be able to slip up and down.
Step 7
Step 8
Ta-da! You made your first slip knot!
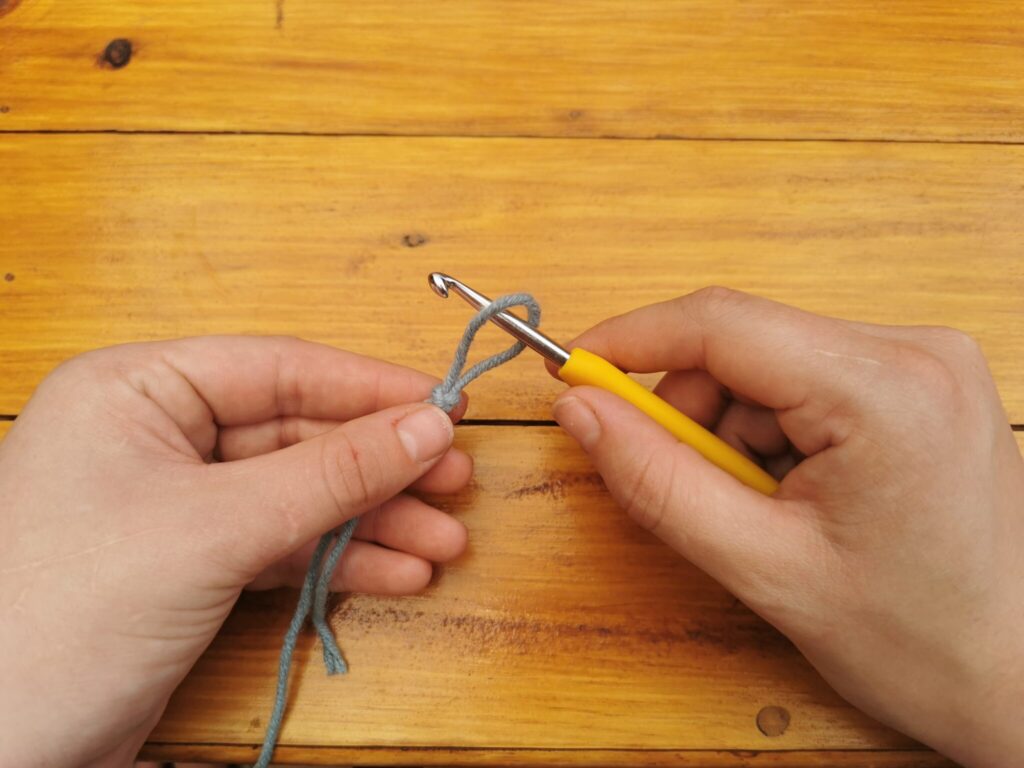
Insert your hook into the slip knot and pull on the working yarn. Make sure the tail end faces towards the hook.
Step 9
Step 10
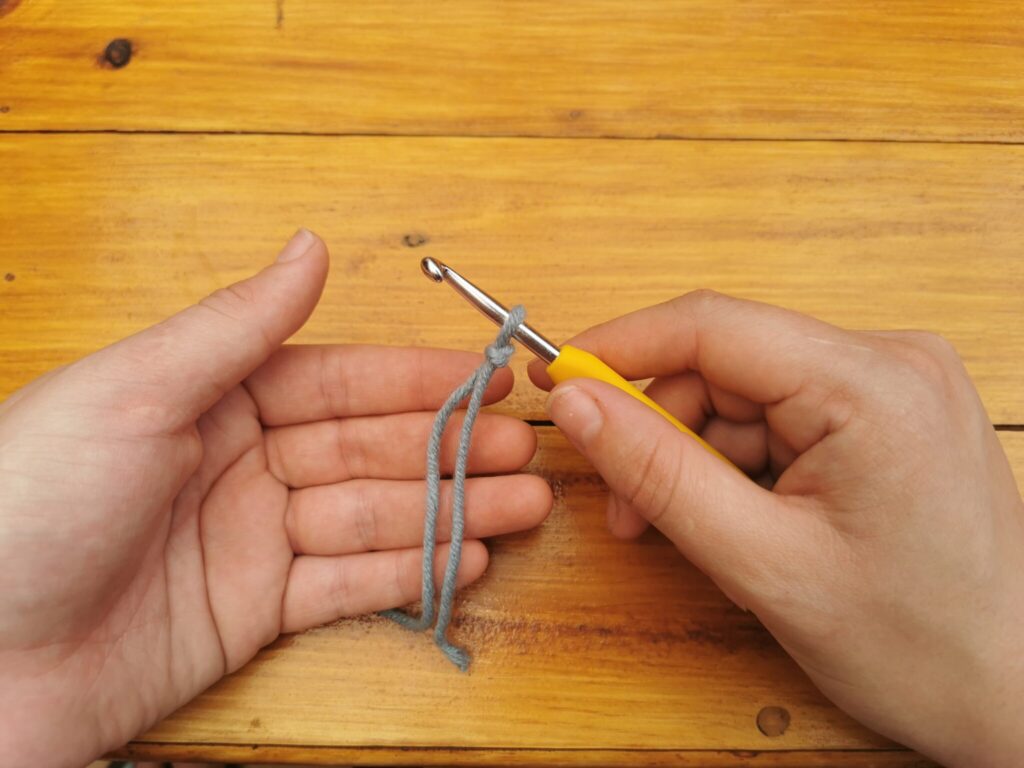
Step 11
How to hold your yarn
Alright! We’ve covered how to hold your crochet hook and how to make a slip knot—now let’s move on to another key detail: how to hold your yarn.
Isn’t it fun how all these little pieces come together to make something awesome? 🌟
How you hold your yarn actually has a big impact on your tension—it can make your stitches tighter or looser. Whether you’re right-handed or left-handed, the goal is to keep your hand relaxed. You don’t want to grip the yarn too tightly or let it slip around too much either.
Just like holding the hook, there’s no single “right” way—everyone finds what works best for them. But I’ll show you my personal method because it gives me good control and even tension. Once you get comfortable with it, you can tweak it to suit your style!
Let’s dive in and get your fingers ready for those first stitches. 💝
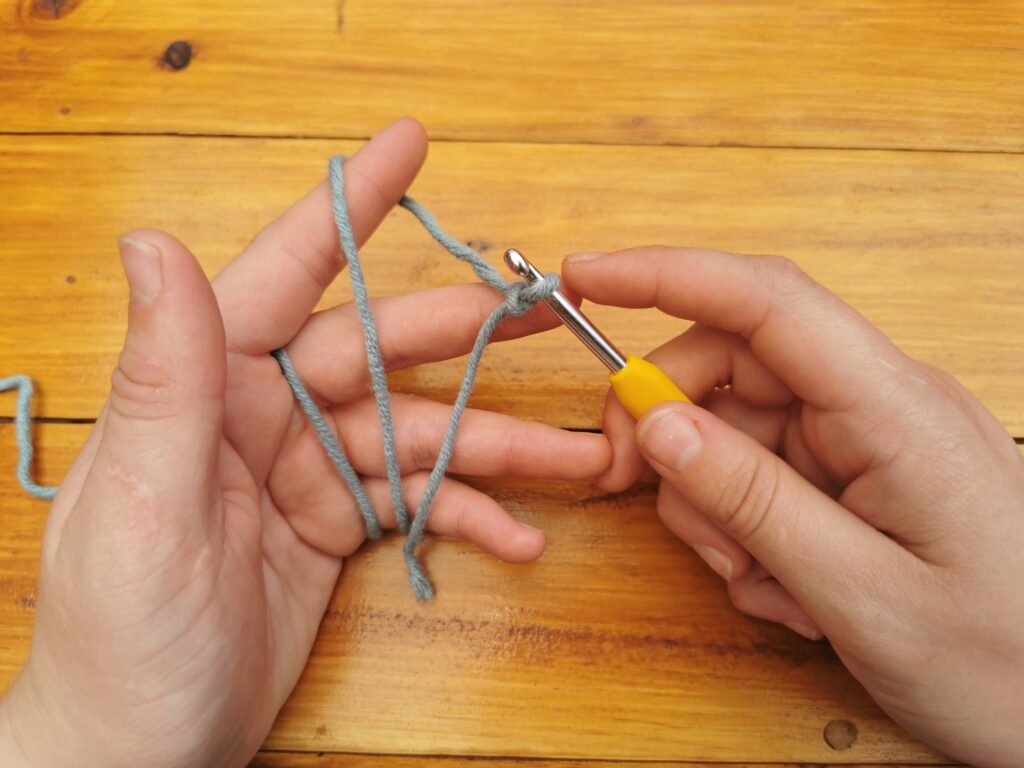
Hold 1
- With your slip knot connected to the hook, hook in your working hand – place the yarn between your middle and index finger.
- Wrap the yarn around your pinky, coming back up to the front of your index finger. Then wrap it to the back of your finger.
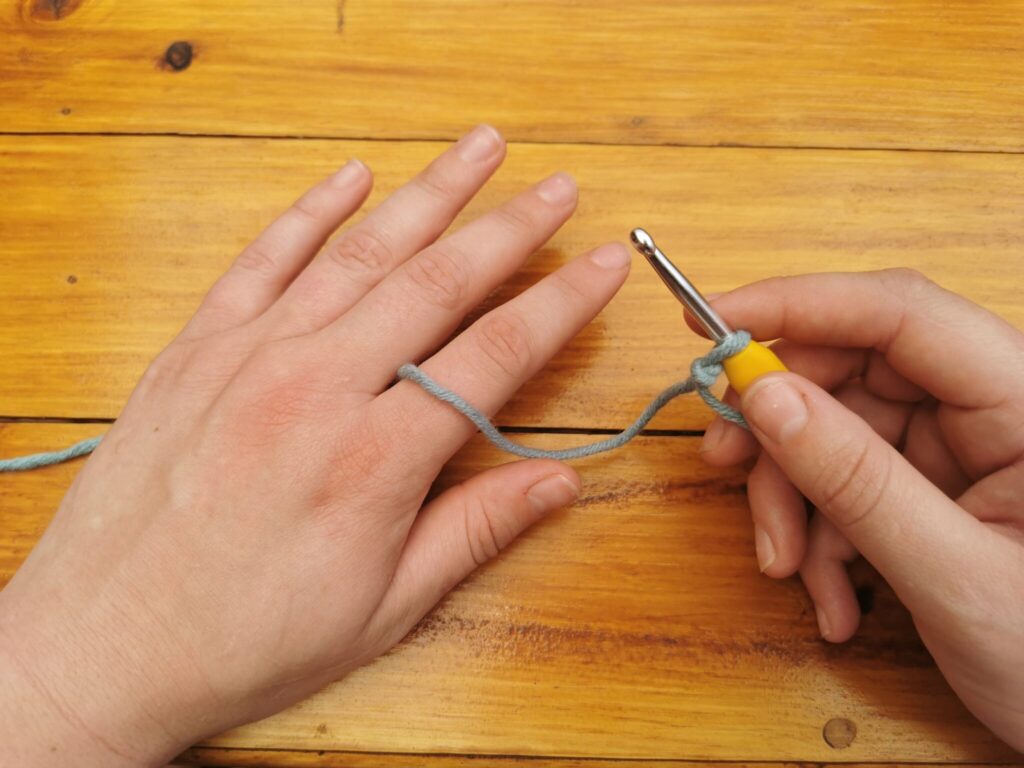
Hold 2
Hold 3
Hold 4
Again, you can determine how you hold your yarn so that it flows easily through your hand as you crochet. Whatever you are comfortable with.
We have a complementary post where you can learn How to make a Chains. If you want to learn it, you can just access the link below:
Bonus!
I have selected a great video to teach you in another way to make chains:
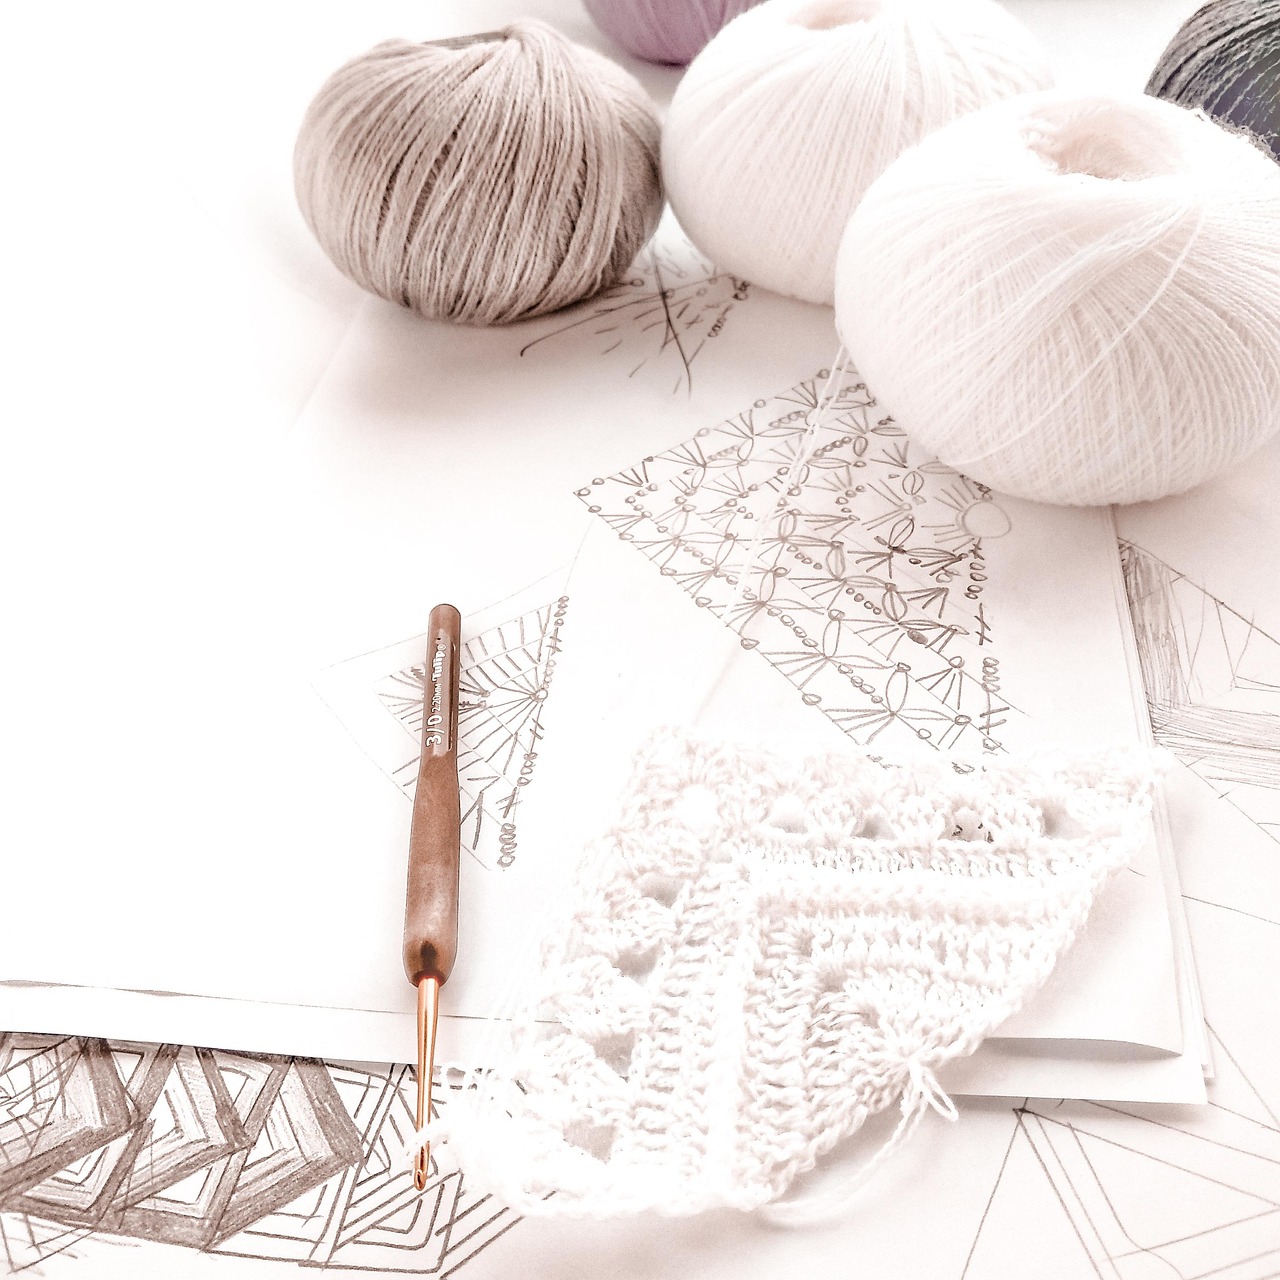
Crochet Yarn – Soft, Smooth, or Sparkly?
When it comes to crochet, choosing the right yarn isn’t just about color or pattern — it’s also about how it feels . After all, you’ll be working with it for hours, and the person who ends up wearing or using your finished project will notice the texture too.
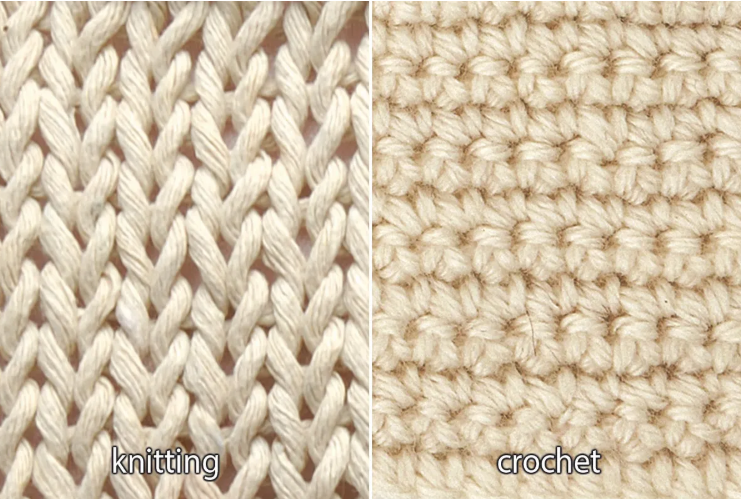
The Difference Between Knitting Yarn and Crochet Yarn
When you’re just starting out in the world of fiber crafts, it’s easy to wonder: is there really a difference between knitting yarn and crochet yarn ? The short answer is no — not really.
How to Choose the Perfect Yarn for Your Crochet Project
Are you standing in front of your yarn stash (or scrolling through an online shop) wondering which yarn to pick? Choosing the right yarn can make or break your crochet project — not just in how it looks, but in how much you enjoy making it!