How to Crochet a Hat
Crocheting a hat is not only a practical skill but also a delightful way to express your creativity and keep warm during the colder months. In this comprehensive guide, we'll walk you through each stitch and technique needed to crochet your own hat from start to finish.
Dive into the world of crochet and learn how to create your own cozy hats with our step-by-step guide!
Crochet is currently a popular craft technique that is increasingly standing out in the world and fashion trends.
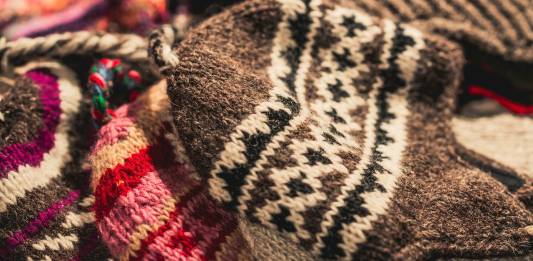
One of the most popular creations is the crochet beanie, due to its style and functionality. Besides being a quick and economical piece to make, it can be very useful on colder days.
However, many people have the first idea that making a beanie may be a challenge, but with some instructions and practice, anyone can be able to do it.
So, in this text, we will present instructions so that you can make a crochet beanie in an interactive way without a lot of headache, check it out!
Before proceeding, it will be necessary to separate and gather all the materials for the making of the beanie. But don’t worry, everything will be very simple and you will certainly already have all this on hand.
- Crochet needle;
- Crochet thread in the color and thickness you desire;
- Scissors.
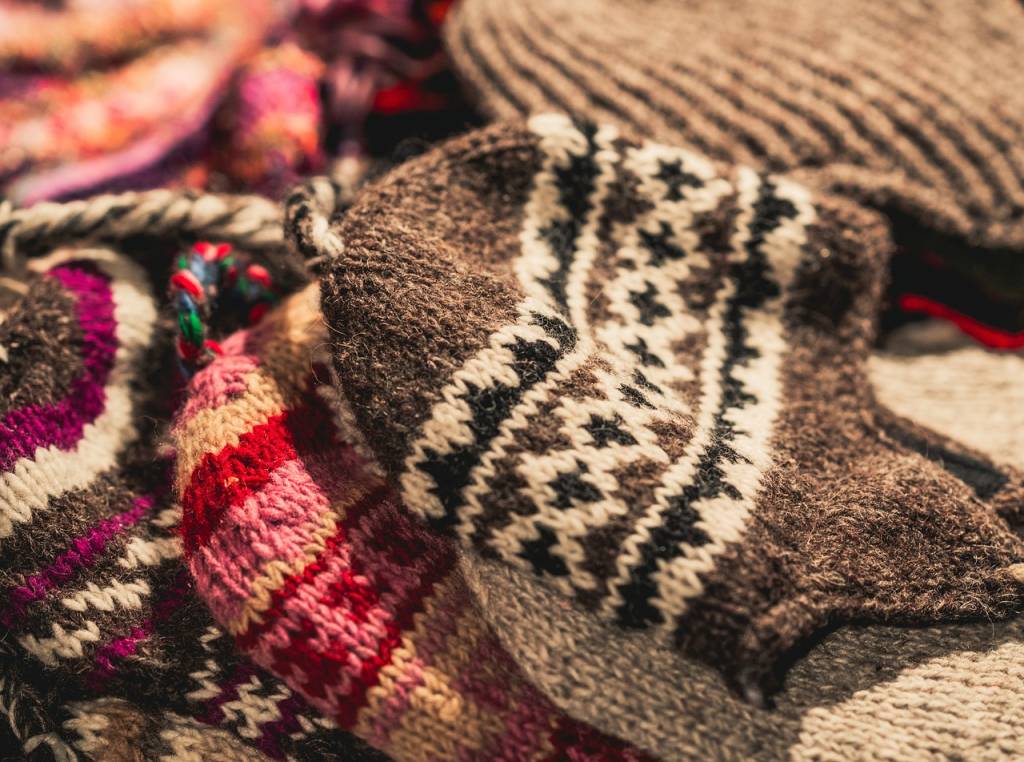
Currently, there is a great variety of crochet threads available, which differ in color and thickness. So, to choose the right model, it is important to consider the desired shape and texture.
Therefore, to create a crochet hat with more open stitches, it is recommended to use soft thread lines, while for a more closed beanie, it is better to opt for thicker lines.
In addition, the needles used have an important role in the final result of the piece. To obtain a softer look and more open stitches, needles with a larger number are more indicated, while smaller needles produce more closed and united stitches.
Finally, for beginners, it is recommended to use light colors, which make it easier to visualize the stitches.
Women’s Beanie Step by Step
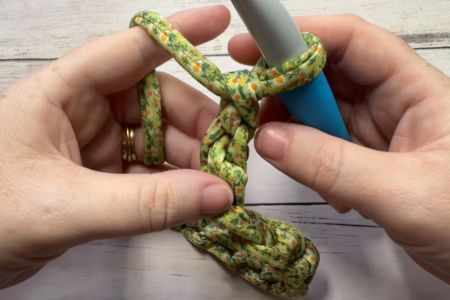
To start, make a magic circle with the crochet thread and fasten it with a very low stitch. Then, make a high stitch inside the magic circle and 11 more high stitches inside the circle, which will total 12 stitches in the first circle.
From the second circle, make 2 high stitches in each high stitch of the previous circle, until you complete the number of stitches necessary for the desired beanie size.
After that, make a high stitch in each high stitch of the previous circle, without increasing. Repeat this pattern until you reach the desired height for the beanie.
Once you reach the desired height for the beanie, start to decrease the stitches to close the top. Therefore, make a high stitch in two high stitches of the previous circle, immediately a high stitch in one high stitch, repeating this pattern until you reach the end of the row.
Persian Tiles extension Blanket – Free crochet Pattern How to Crochet a Hat: A step-by-step Guide for Beginners
Then, cut the thread, leaving a tail of about 15 centimeters and pass the crochet needle through the last stitch, pulling the thread to close the top of the beanie. Then, hide the ends of the thread with the tapestry needle.
You can add pom-poms, fringes, ribbons or other decorations to personalize your women’s crochet beanie.
Crochet Men’s Hat
Crochet hat
First, make a magic circle and fasten with a very low stitch. Then, you must make a high stitch within the magic circle.
Next, make 11 more hooks into the circle for a total of 12 points in the first circle.
Then, starting with the second circle, work two double crochet stitches into each double high stitch of the previous circle until you complete the number of stitches needed to make the desired hat size.
Immediately, you will have to make a high stitch in each low stitch of the previous circle, without increments. So, repeat the entire pattern until you reach the desired size for the hat.
When you reach the desired size, simply begin to reduce the stitches to close the top.
Thus, make a high stitch with two high stitches of the previous row, then a high stitch with one high stitch and repeat the pattern until you reach the end of the row.
Finally, cut the line, leaving only a stub of about fifteen centimeters and pass the crochet needle through the final point, pulling the line to close the top of the hat. Ready!
In short, if you are looking for more crochet hats to add to your collection, there is a wide variety of styles and designs to try, since animal ear hats can be a fun and creative option for kids or for those who want a more playful look.
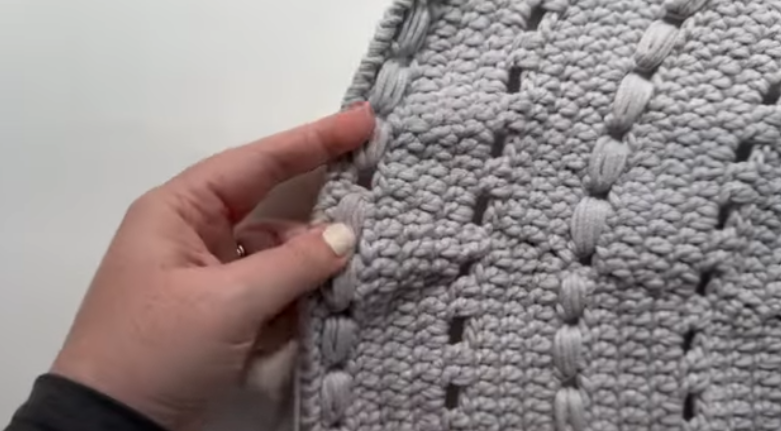
In addition to hats with a fancy stitch can be a more elaborated and elegant option. There are many different crochet stitches to try, such as shell stitch, crab stitch, star stitch, among others.
Conclusion
However, we hope to have inspired you to try this craft technique and create your own unique projects. Always remember to prefer quality materials, follow the instructions carefully and have fun in the creation process!

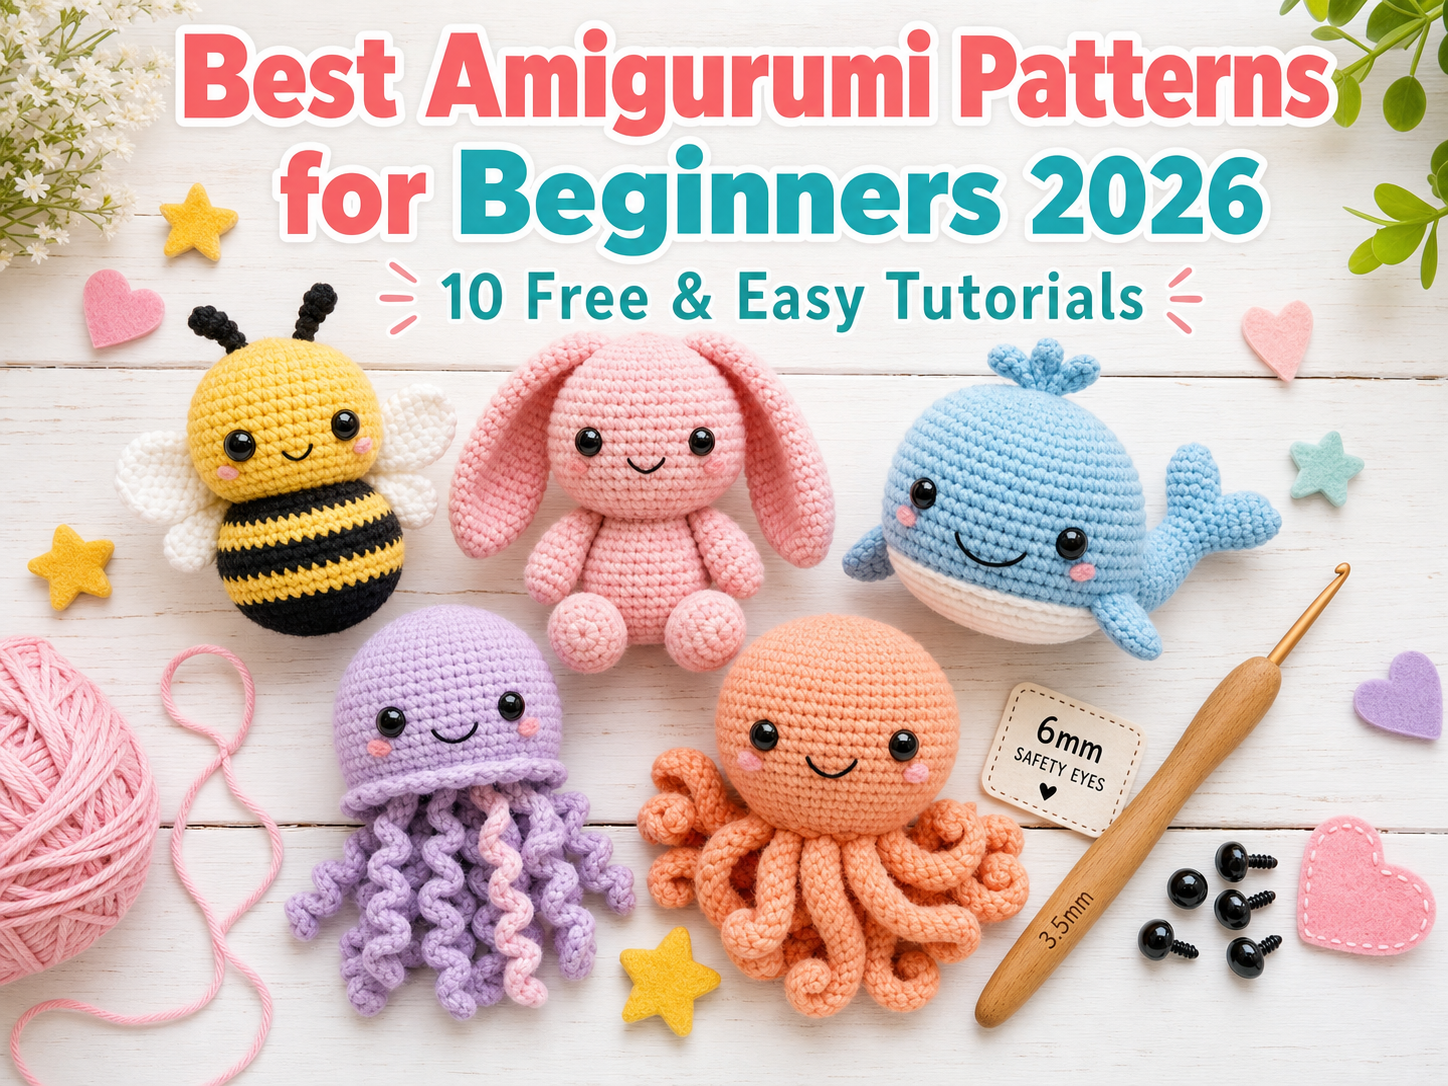
Best Amigurumi Patterns for Beginners 2026 – 10 Free & Easy Tutorials
Amigurumi, the Japanese art of crocheting adorable stuffed toys, has captured the hearts of crafters worldwide. If you’re wondering where to start with amigurumi crochet for beginners, you’ve come to the perfect place.
The Aveline Rug – Simple Yet Stunning Crochet Tutorial with Free Pattern
The Aveline Rug is a beautiful circular crochet rug pattern that combines simple double crochet rounds with decorative bead stitches and textured edging.
Easy Oval Cottage Rug – Step‑by‑Step Crochet Tutorial for Beginners
An oval cottage rug is a great beginner project that looks impressive but uses very simple stitches. This tutorial walks through each step to crochet an oval rug from the center outward, so you can make it smaller for a bedside rug or larger for an entryway, hallway, or kitchen. The method is based on […]