The Aveline Rug – Simple Yet Stunning Crochet Tutorial with Free Pattern
The Aveline Rug - Crochet a Beautiful 31-Inch Circular Rug Using Lion Brand Lazy Days Yarn
Free Crochet Pattern Tutorial - Machine Washable Round Rug with Bead Stitch Texture
The Aveline Rug is a beautiful circular crochet rug pattern that combines simple double crochet rounds with decorative bead stitches and textured edging.
This stunning project uses Lion Brand Lazy Days yarn, a unique chain-constructed worsted weight yarn stuffed with fiberfill that creates a soft, squishy texture perfect for rugs. The finished rug measures approximately 31 inches in diameter and is machine washable and dryable, making it both beautiful and practical for everyday use.
Vídeo
If you prefer reading than whatching the video you can continue rolling this page.
📸 Timestamp: 0:04 – 0:54
Materials and Gauge
Before starting this project, gather all necessary materials to ensure a smooth crocheting experience.
Materials needed:
- 1,362 yards (8 skeins) of Lion Brand Lazy Days worsted weight polyester yarn in Wind Chime color (179yd/100g per skein)
- Crochet hook size H (5mm)
- Tapestry needle, scissors, tape measure
- Non-slip rug pad or rug tape (optional but highly recommended)
Important note: This pattern is worked holding two strands of yarn together throughout, which creates the thick, plush texture characteristic of this rug.
📸 Timestamp: 0:40 – 0:54
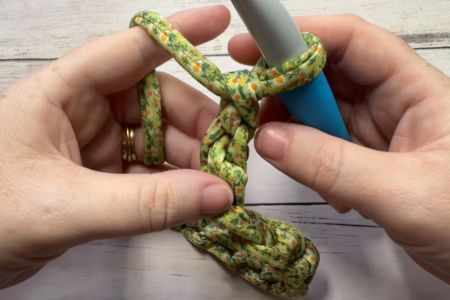
Step 1: Creating the Magic Ring Foundation (Round 1)
The rug begins from the center with a magic ring, which creates a tight, seamless center without any visible hole.
- Hold two strands of yarn together from two separate skeins
- Create a magic ring and chain one
- Work a chainless double crochet: draw up a loop and work a single crochet, then yarn over, draw up a loop through the left loops, yarn over and draw through both loops
- Make 11 more double crochets into the magic ring for a total of 12 stitches
- Pull the magic ring tail to tighten the center
- Join with a special invisible join: pull your hook out, insert it into the first stitch from back to front, replace the loop, and draw it through to the back
📸 Timestamp: 0:54 – 2:08
Step 2: Building the Circle Foundation (Rounds 2-3)
These rounds establish the circular shape through strategic increases that keep the rug flat and round.
Round 2:
- Start with chainless double crochet in the same stitch as join
- Work 2 double crochet in each stitch around (24 stitches total)
- Join using the invisible join method
Round 3:
- Chainless double crochet to start
- Work pattern: 2 double crochet in next stitch (increase), 1 double crochet
- Repeat around, staggering increases to maintain round shape and avoid geometric edges
📸 Timestamp: 2:08 – 3:62
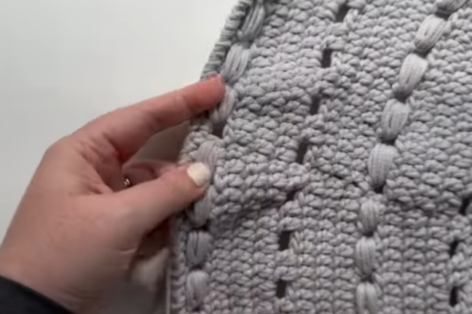
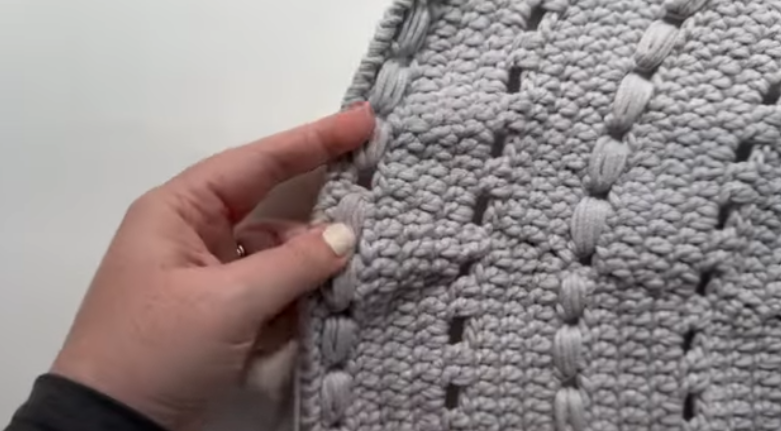
Step 3: First Bead Stitch Round (Round 4)
This decorative round introduces the signature bead stitch texture that makes the Aveline Rug unique.
- Start with chainless double crochet and work another double crochet in same stitch (increase)
- Double crochet in next stitch
- Work bead stitch around these three stitches: yarn over, insert hook, draw up a loop three times, then yarn over and draw through all but the last two loops, yarn over and draw through both loops
- Skip the next stitch, increase in the next stitch
- Work one double crochet, then bead stitch around these three double crochets
- Repeat pattern around (12 bead stitches total)
Note: The rug will curl up after bead stitch rounds, but it will flatten out after the next solid double crochet rounds.
📸 Timestamp: 3:62 – 5:92
Step 4: Solid Double Crochet Rounds (Rounds 5-7)
These rounds build the rug’s structure and flatten the piece after the textured bead stitch rounds.
Round 5:
- Increase in first stitch, double crochet 3, repeat around (60 stitches)
Round 6:
- Increase in first stitch, double crochet 4, repeat around
Round 7:
- Double crochet 2, increase, double crochet 5, repeat until 3 stitches remain, then increase and work 2 double crochet
📸 Timestamp: 5:92 – 9:10
Step 5: Creating Decorative Holes (Round 8)
This round adds visual interest with strategic chain spaces that create a lacy effect.
- Chainless double crochet, then double crochet in same stitch (increase)
- Chain 2, skip 2 stitches
- Double crochet 2
- Repeat pattern: chain 2, skip 2, increase, chain 2, skip 2, double crochet 2
- Continue until 6 stitches remain, then chain 2, skip 2, double crochet 2, chain 2, skip 2, and join
📸 Timestamp: 9:10 – 10:52
Step 6: Repeating the Pattern (Rounds 9-28)
The rug is built by repeating an 8-round pattern sequence:
- 3 solid double crochet rounds with strategic increases
- 1 bead stitch round
- 3 more solid double crochet rounds
- 1 round with decorative holes
Each round increases the stitch count to expand the rug diameter while maintaining the circular shape. Follow the written pattern carefully for specific stitch counts in each round.
Round 9 example:
- Double crochet 3, increase, double crochet 7, repeat until 4 stitches remain
- Increase, double crochet 3 (108 stitches total)
📸 Timestamp: 10:52 – 12:89
Step 7: Finishing with Forward Crab Stitch Border
After completing round 28 (the final bead stitch round), finish the rug with a textured border.
- Chain 1 after joining
- Insert hook into same stitch as join, yarn over and pull up a loop (2 loops on hook)
- Twist your hook all the way around, yarn over and draw through both loops
- Repeat around: insert hook as if to single crochet, draw up a loop, twist hook, yarn over and draw through
- This creates a thick, twisted edge that gives a professional finished look
- Work all the way around to the last stitch
📸 Timestamp: 12:89 – 14:85
Step 8: Fastening Off and Weaving Ends
Complete your rug with proper finishing techniques.
- Fasten off leaving a long tail
- Thread the tail onto a blunt tapestry needle
- Join the end to the first crab stitch to create a seamless edge
- Weave in all remaining ends securely
- Block the rug if desired to ensure it lays flat and the circular shape is perfect
📸 Timestamp: 14:62 – 15:07
The Aveline Rug is a rewarding intermediate crochet project that creates a functional piece of home décor. By combining simple double crochet rounds with decorative bead stitches and strategic increases, you can create a stunning 31-inch circular rug that is both beautiful and machine washable.
The pattern’s repeat structure makes it easy to customize the size by simply working more or fewer pattern repeats, and the finished piece adds a handmade touch to any room in your home.
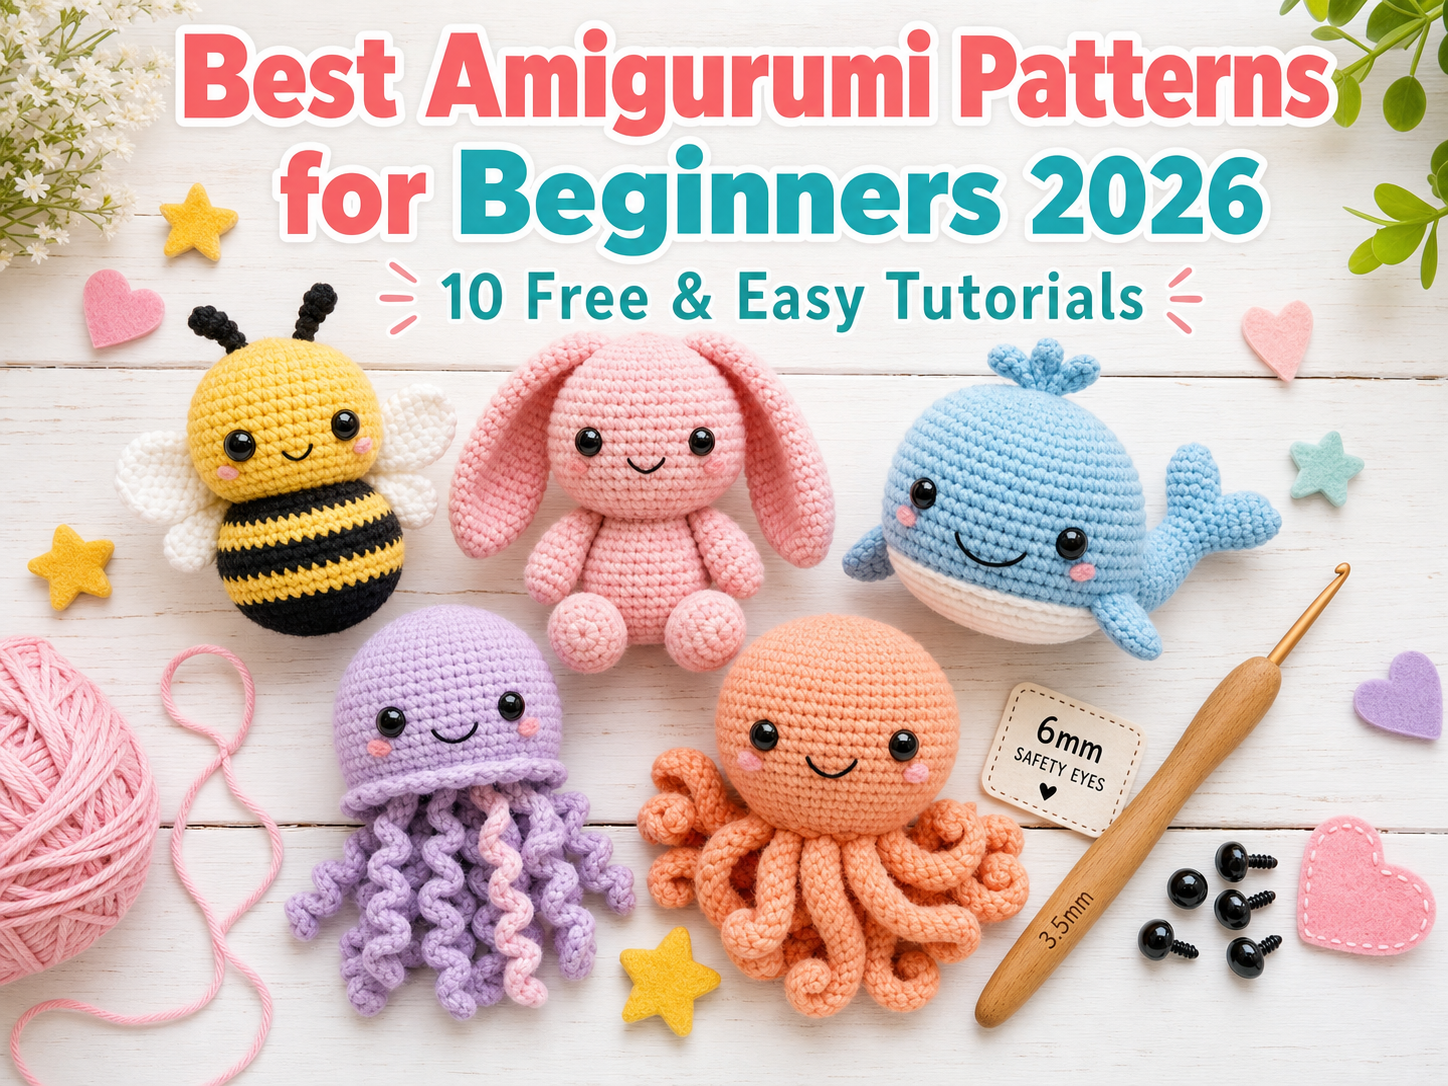
Best Amigurumi Patterns for Beginners 2026 – 10 Free & Easy Tutorials
Amigurumi, the Japanese art of crocheting adorable stuffed toys, has captured the hearts of crafters worldwide. If you’re wondering where to start with amigurumi crochet for beginners, you’ve come to the perfect place.
The Aveline Rug – Simple Yet Stunning Crochet Tutorial with Free Pattern
The Aveline Rug is a beautiful circular crochet rug pattern that combines simple double crochet rounds with decorative bead stitches and textured edging. This stunning project uses Lion Brand Lazy Days yarn, a unique chain-constructed worsted weight yarn stuffed with fiberfill that creates a soft, squishy texture perfect for rugs. The finished rug measures approximately […]
Easy Oval Cottage Rug – Step‑by‑Step Crochet Tutorial for Beginners
An oval cottage rug is a great beginner project that looks impressive but uses very simple stitches. This tutorial walks through each step to crochet an oval rug from the center outward, so you can make it smaller for a bedside rug or larger for an entryway, hallway, or kitchen. The method is based on […]