Crochet Tablet & Laptop Sleeve Patterns: Sizing, Stitches & Tutorial
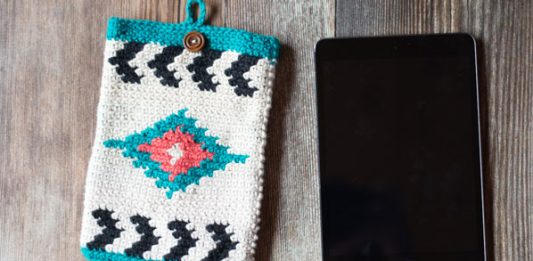
In our digital world, tablets, e-readers, and laptops accompany us everywhere: coffee shops, work commutes, and cozy reading nooks. While standard silicone or neoprene sleeves provide basic scratch resistance, a handcrafted crochet tech pouch delivers thick, shock-absorbing protection with warm, artisanal style.
Because electronic devices come in dozens of different dimensions, this guide gives you the universal sizing formula to custom-tailor a protective sleeve for any iPad, Kindle, tablet, or notebook. Below you will find stitch selections designed specifically for impact cushioning, flap instructions, button closures, and styling inspiration.
Sleeve Specifications & Project Overview
- Skill Level: Advanced Beginner
- Compatibility: Custom-fitted to any iPad, tablet, or laptop (10″, 11″, 13″, or 15″)
- Recommended Stitch: Thermal Single Crochet or Linen / Moss Stitch for dense impact padding
- Estimated Yardage: 120 – 250 yards depending on device size
Recommended Materials & Hardware
- Yarn: 100% Worsted Weight Mercerized Cotton (CYC #4) or Durable Cotton-Acrylic Blend. Cotton doesn’t stretch out over time like pure wool or acrylic, ensuring your sleeve stays snug around your gadget. (Unsure how much yarn you have? Calculate it with our Yardage Estimator).
- Crochet Hook: Size 4.0 mm (US G-6) or 4.5 mm (US 7) – slightly smaller than standard for worsted yarn to create tight, dense walls without holes. (Check our Hook Size Table).
- Button: One or two 1-inch (25 mm) natural wooden or coconut toggle buttons.
- Tapestry Needle & Measuring Tape: Essential for precise fitting.
The Universal Sizing Formula
To ensure your sleeve fits your exact device model snugly without falling out or straining the seams, measure your device and follow this formula:
Foundation Width Formula:
Chain Length = (Device Width + Device Thickness) + 0.5 inch (1.2 cm) ease
- iPad Mini / Kindle (8″): Chain approximately 6.5 inches (approx. 24-28 chains).
- iPad 10.2″ / iPad Air 10.9″: Chain approximately 8.5 inches (approx. 34-38 chains).
- 13-Inch MacBook / Laptop: Chain approximately 13 inches (approx. 52-58 chains).
Design Inspirations & Visual Ideas
Original inspiration designs courtesy of Whistle and Ivy showcase how simple color blocking, chevrons, and southwest motifs turn functional covers into standout fashion accessories.
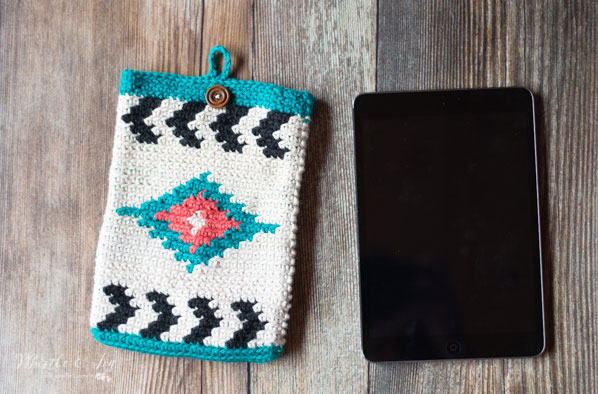
Southwest Striped Tablet Pouch with Wooden Button
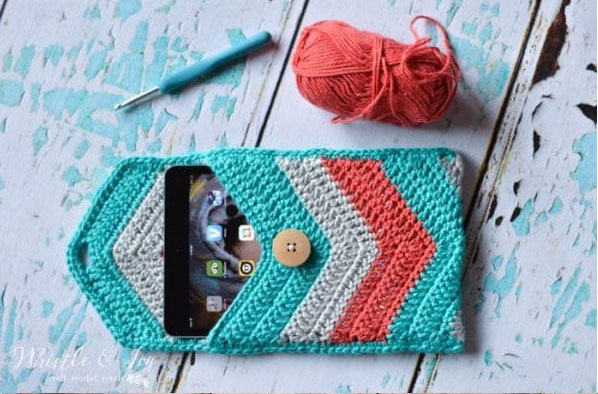
Chevron Pattern Tech Pouch with Crisp Geometric Lines
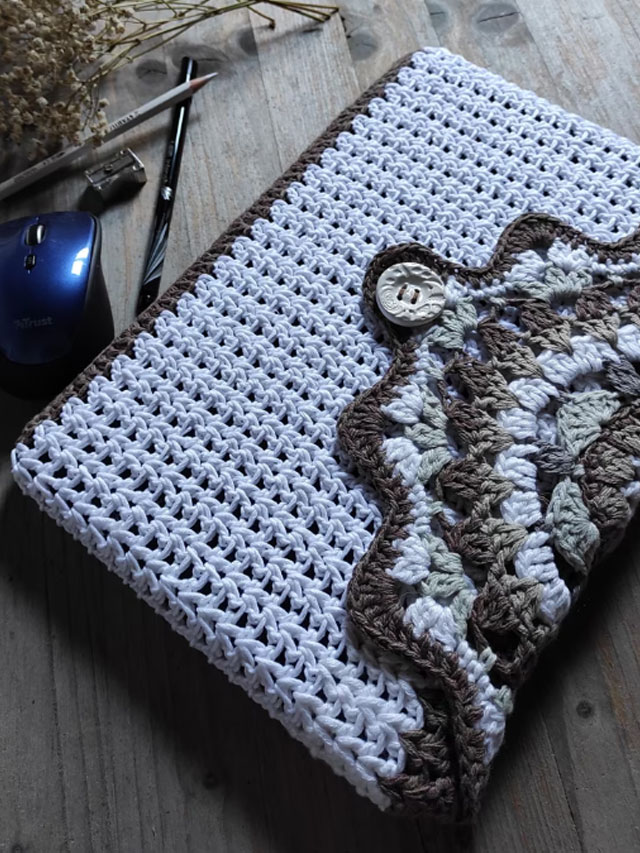
Full Size Notebook Sleeve with Flap
Step-by-Step Seamless Pouch Pattern
Step 1: The Seamless Foundation Oval
Working in continuous rounds around both sides of the starting chain creates a seamless, reinforced bottom without any weak sewn joins:
- Chain to match your device’s foundation width formula.
- Round 1: Work 1 sc in the second ch from hook and each ch across. Work 3 sc in the very last chain to turn the corner. Continue crocheting down the unworked bottom loops of the opposite side of the chain. Work 2 sc in the final corner loop. Do not turn; slip stitch to first sc.
- You now have a clean, enclosed oval that cradles the base of your tablet.
Step 2: Building the Protective Body
Switch to the Linen / Moss Stitch (or Thermal Single Crochet) for maximum impact resistance:
- Round 2: Ch 1, *work 1 sc in next st, ch 1, skip 1 st*. Repeat from * around the entire perimeter. Sl st to join.
- Rounds 3+: Sl st into the first ch-1 space. Ch 1, work 1 sc in same ch-1 space, ch 1, skip sc, work 1 sc in next ch-1 space.
- Repeat this rhythm in continuous spiral rounds until the pouch reaches the exact top height of your device. Slide your device inside periodically to check the snugness.
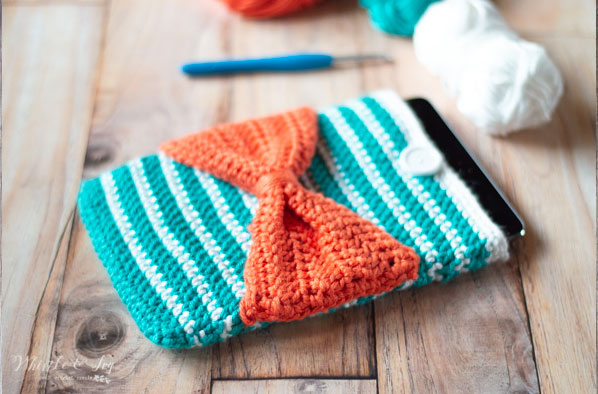
Modern Textured Tablet Sleeve with Contrast Flap
Step 3: Crocheting the Envelope Flap & Buttonhole
Rather than fastening off, continue working back and forth in flat rows along only the back half of the pouch opening:
- Work rows across the back edge for approximately 2.5 to 3.5 inches to create the folding flap.
- Buttonhole Row: Work pattern until you reach the exact center 3 stitches. Chain 3, skip 2 stitches, then resume pattern across. The ch-3 creates a clean buttonhole loop.
- Work 1 more solid row above the buttonhole, then work a slip-stitch round around the perimeter of the flap for a polished border. Fasten off and weave in tails.
- Sew your wooden toggle button to the front body corresponding to the buttonhole loop.
Video Tutorial Demonstration
For a complete visual walkthrough of seamless foundation casting and flap shaping, watch this wonderful tutorial from ViVi Berry Crochet:
Washing & Fabric Care
To maintain firm tension and protect against dust, hand wash your sleeve in cool water using mild soap. Shape it gently around a hardcover book of matching thickness while drying to restore its crisp silhouette.
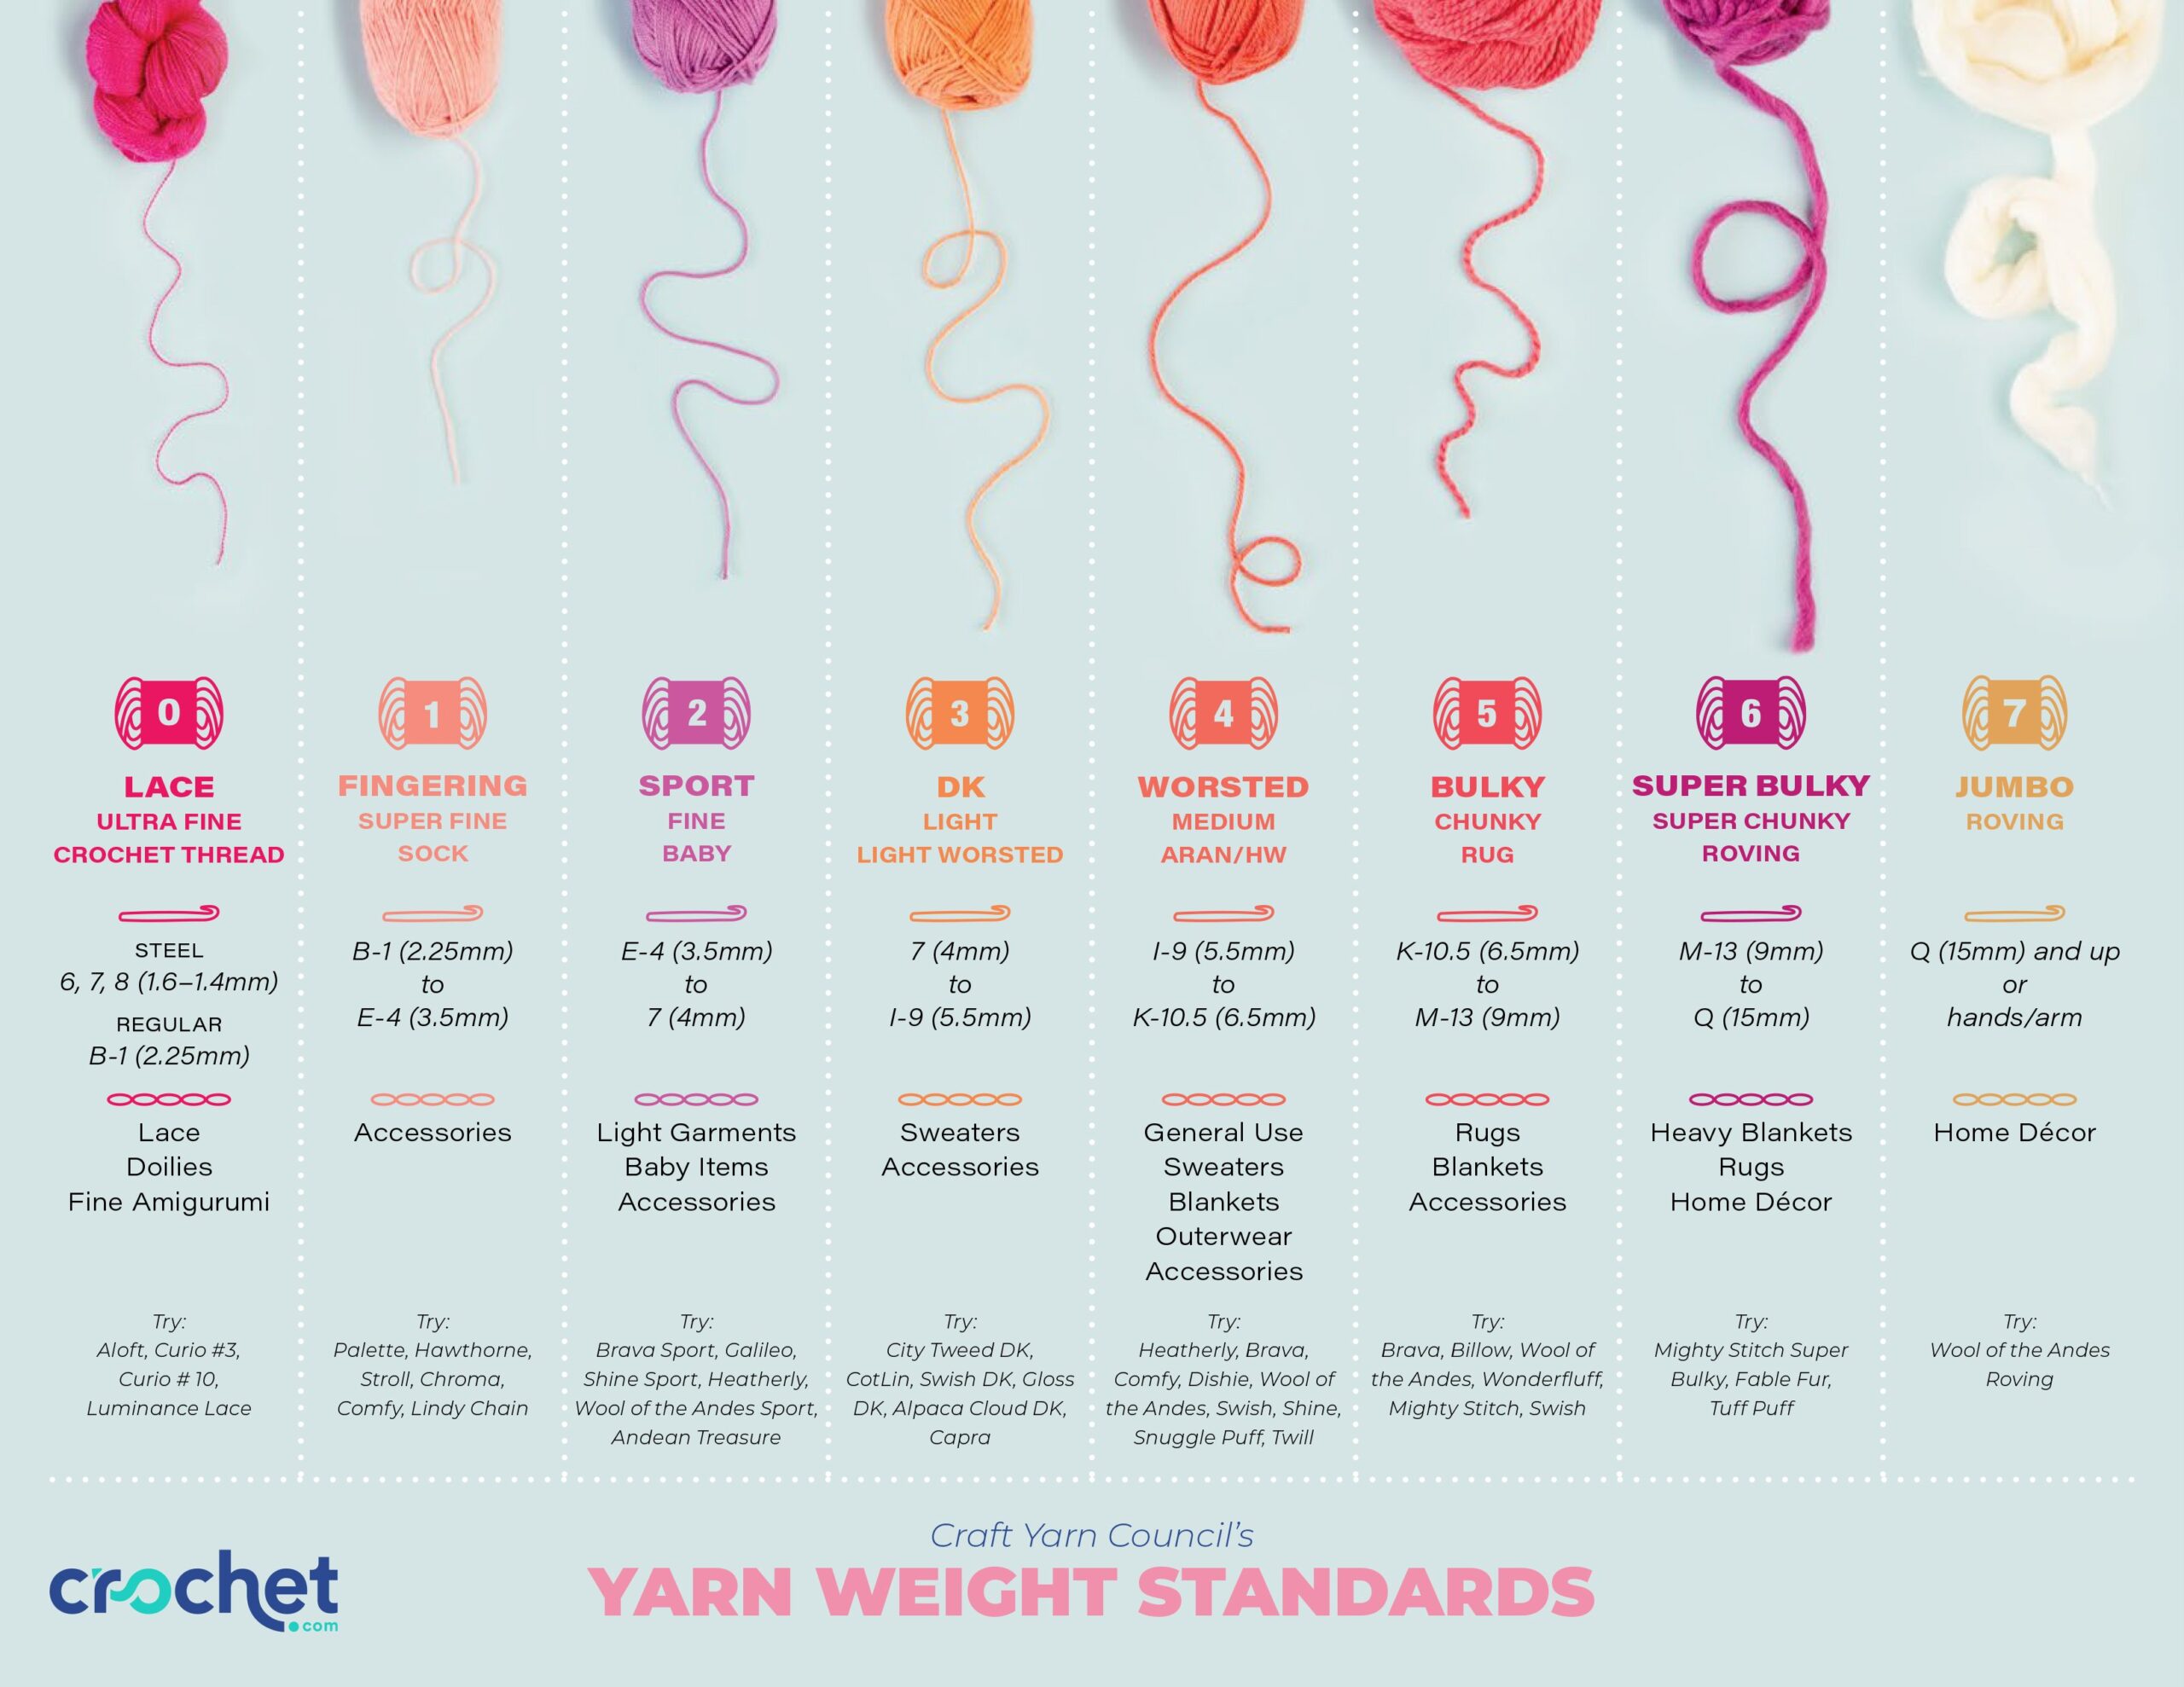
The Ultimate Guide to Yarn Weights: Standard Sizes 0 to 7 Explained
Stepping into a yarn store or browsing online can be both exhilarating and overwhelming. Rows of colorful skeins beckon, each labeled with terms like “Fingering,” “Worsted,” “DK,” or “Chunky,” alongside numbers ranging from 0 to 7.
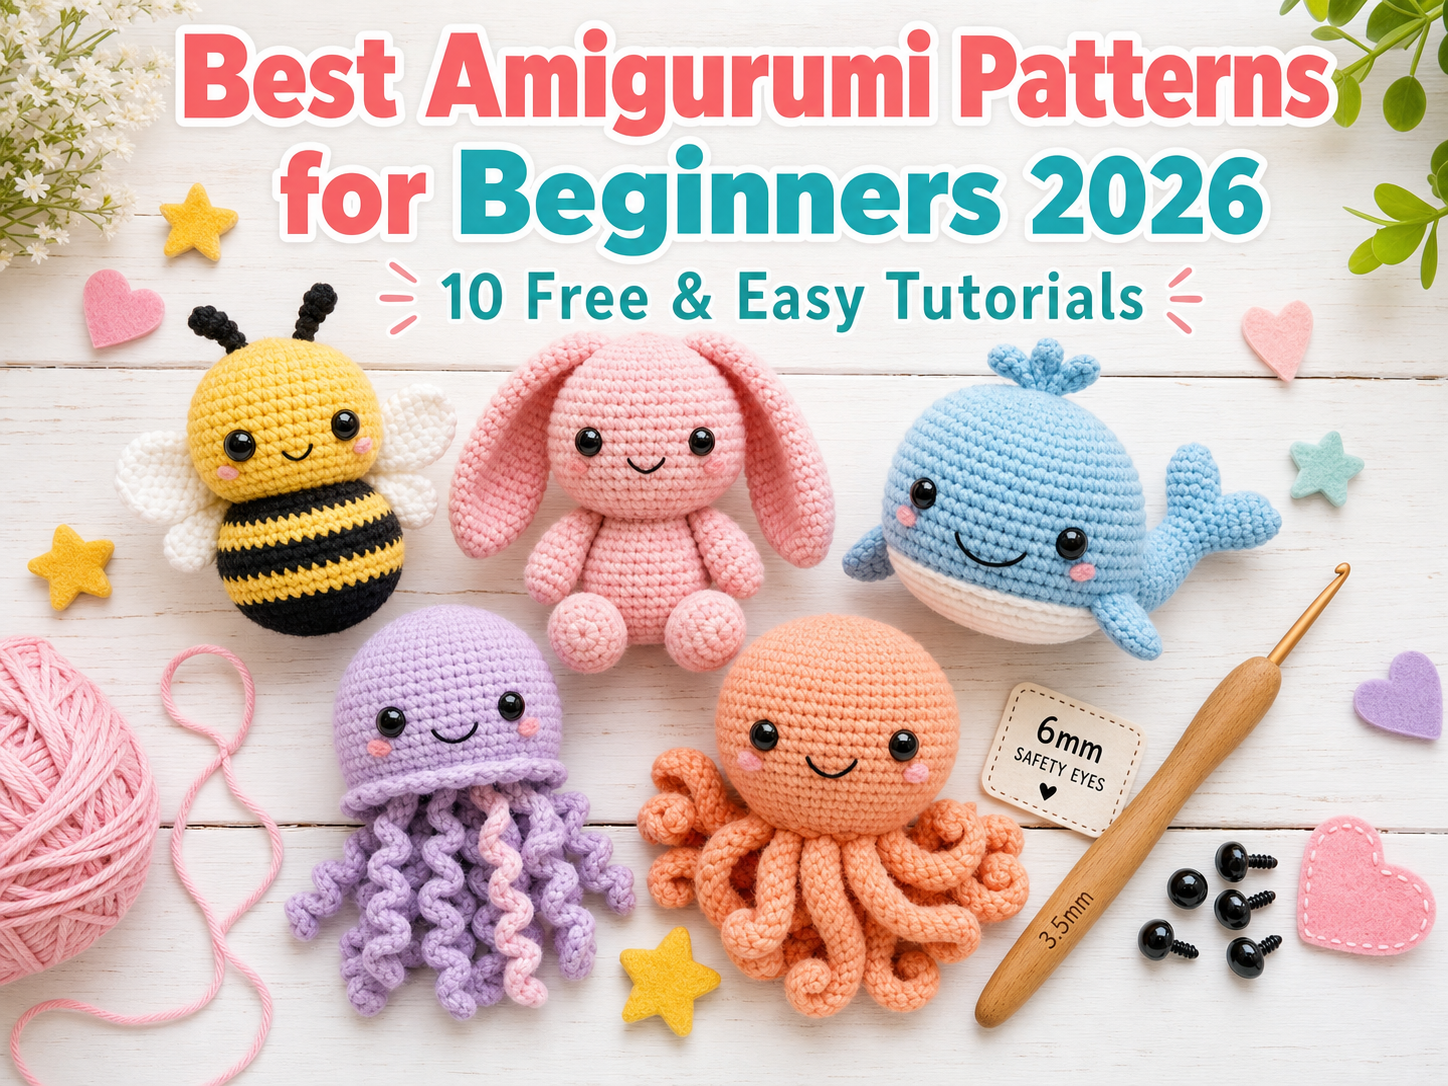
Best Amigurumi Patterns for Beginners 2026 – 10 Free & Easy Tutorials
Amigurumi, the Japanese art of crocheting adorable stuffed toys, has captured the hearts of crafters worldwide. If you’re wondering where to start with amigurumi crochet for beginners, you’ve come to the perfect place.
The Aveline Rug – Simple Yet Stunning Crochet Tutorial with Free Pattern
The Aveline Rug is a beautiful circular crochet rug pattern that combines simple double crochet rounds with decorative bead stitches and textured edging.