
The 1-Hour Ribbed Beanie: Cozy Unisex Crochet Hat for Beginners
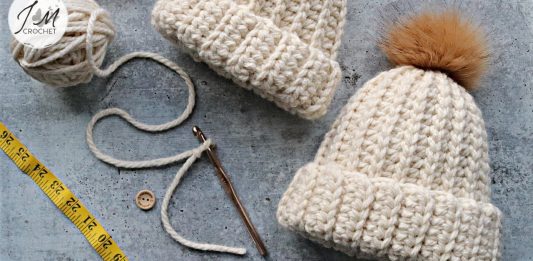
Looking for a fast, deeply satisfying crochet project that looks like a chic, store-bought knit accessory? The 1-Hour Ribbed Beanie is one of the most versatile and beloved patterns in modern crochet. Whether you need a cozy everyday winter hat, an emergency handmade gift for the holidays, or a stylish unisex wardrobe staple, this pattern delivers flawless results in under ninety minutes.
Best of all, this beanie is worked completely flat as an elastic ribbed rectangle and then seamed together and cinched at the crown. There are no frustrating increases, no fiddly magic rings, and no confusing crown decreases worked in the round. If you know how to make a foundation chain and work half double crochet stitches, you have all the skills needed to make this hat today!
📌 Quick Pattern Highlights
- Skill Level: Easy / Advanced Beginner
- Estimated Time: 60 to 90 minutes
- Construction: Worked flat in rows, seamed into a tube, and gathered at the crown
- Design Features: Deep fold-over brim, classic knit-look ribbing, tapered crown (no top bunching), and unisex fit
- Yarn Weight: Bulky (#5) or two strands of Worsted (#4) held together
- Materials & Specifications
- Comprehensive Beanie Size Chart
- The Secret to a Bulk-Free Crown: Built-in Tapering
- Step-by-Step Written Pattern (Adult Medium Size)
- Assembly, Crown Gathering & Finishing
- Adding the Finishing Touch: Pompom or Clean Minimalist?
- Top Tips for Hat Perfection
- Frequently Asked Questions (FAQ)
Materials & Specifications
Before jumping into the rows, let’s gather your materials. Using the correct yarn fiber and hook size ensures your finished hat has the springy bounce and comfortable stretch needed for daily wear.
- Yarn: Approximately 120 – 160 yards (110 – 146 meters) of Bulky Weight (#5) yarn. Excellent choices include Lion Brand Hue + Me, Premier Yarns Serenity Chunky, or Patons Classic Wool Roving. If you don’t have bulky yarn in your stash, you can easily hold two strands of worsted weight (#4) yarn together! For advice on sizing, check our complete Guide to Yarn Weights.
- Crochet Hook: Size 6.5 mm (US K-10.5) or 6.0 mm (US J-10). Check your tension using our Hook Size Converter & Comparison Tool.
- Notions: Yarn needle (blunt tapestry needle), sharp scissors, flexible measuring tape, and 2 locking stitch markers.
- Optional Embellishment: A faux-fur pompom (with button or ribbon tie) or handmade yarn pompom.
Gauge (4″ x 4″ / 10 cm x 10 cm)
Approximately 11 half double crochet stitches x 9 rows worked in Back Loop Only (BLO) with a 6.5 mm hook = 4 inches (10 cm). Note that because this ribbing is exceptionally elastic, measure your swatch resting flat without stretching.
Crochet Stitch Abbreviations (US Terms)
- ch: chain
- hdc: half double crochet
- sc: single crochet
- sl st: slip stitch
- blo: back loop only (insert hook into the back loop only of the designated stitch)
- st(s): stitch(es)
Not sure about British vs. American terminology? Refer to our handy Crochet Abbreviations & Stitch Glossary to avoid confusion.
Comprehensive Beanie Size Chart
A common complaint with many one-size beanie patterns is that they end up either sliding over the wearer’s eyes or feeling like a tight swimming cap. To ensure a custom, comfortable fit for the entire family, use our size chart below.
Remember the golden rule of ribbed hats: negative ease. Your flat rectangle’s width should be 2 to 2.5 inches (5 to 6 cm) smaller than the actual head circumference, allowing the ribbed elasticity to hug the head comfortably without shifting.
| Size / Recipient | Head Circumference | Starting Chain (Hat Height) | Rectangle Width (Flat) | Approx. Rows |
|---|---|---|---|---|
| Baby (6–12 Months) | 16″–18″ (41–46 cm) | ch 28 (approx. 8.5″) | 14″ (36 cm) | 26 rows |
| Toddler (1–3 Years) | 18″–19″ (46–48 cm) | ch 32 (approx. 9.5″) | 15.5″ (39 cm) | 28–30 rows |
| Child / Teen | 19″–21″ (48–53 cm) | ch 36 (approx. 10.5″) | 17″ (43 cm) | 32 rows |
| Adult Medium (Women) | 21″–22.5″ (53–57 cm) | ch 40 (approx. 11.5″) | 18.5″ (47 cm) | 34–36 rows |
| Adult Large (Men) | 23″–24.5″ (58–62 cm) | ch 43 (approx. 12.5″) | 20″ (51 cm) | 38–40 rows |
Tip: The heights listed in the table above include enough length for a cozy 2.5-inch foldover brim. If you prefer a fitted, non-cuffed skater-style beanie, subtract 6 chains from your starting chain!
The Secret to a Bulk-Free Crown: Built-in Tapering
Have you ever crocheted a flat ribbed rectangle, gathered the top with a needle, and ended up with an enormous, lumpy knot of excess fabric on top of your head?
This pattern completely solves that problem by using a subtle tapered crown technique. On one edge of your rectangle (the crown edge), the last three stitches transition smoothly from a half double crochet down to a single crochet and a slip stitch. This naturally creates a wedge shape at the top of every second row, reducing the circumference of the crown by over 50% before you ever pick up your yarn needle!
Step-by-Step Written Pattern (Adult Medium Size)
Follow these instructions for an Adult Medium (fits most teens and women). To make another size, simply substitute your starting chain and row count from the size chart above.
The Foundation
Leave a 6-inch yarn tail for weaving, and make a slip knot. Chain 40 loosely. If you tend to chain tightly, consider using a 7.0 mm hook just for the starting chain so your bottom brim doesn’t curl.
Row 1 (Foundation Row)
Starting in the 2nd chain from the hook, work 1 hdc in each chain across until you have 3 chains remaining. In the next 2 chains, work 1 sc in each. In the final chain, work 1 sl st. Ch 1, turn. (Total: 39 stitches — 36 hdc, 2 sc, 1 sl st)
Row 2 (Crown to Brim)
Work 1 sl st in the BLO of the very first stitch (the slip stitch from previous row). Work 1 sc in the BLO of the next 2 stitches. Work 1 hdc in the BLO of each remaining stitch across to the end of the row. Ch 1, turn. (39 stitches)
Row 3 (Brim to Crown)
Work 1 hdc in the BLO of each stitch across until 3 stitches remain. Work 1 sc in the BLO of the next 2 stitches. Work 1 sl st in the BLO of the last stitch. Ch 1, turn. (39 stitches)
Rows 4 through 36
Repeat Rows 2 and 3 sequentially. As your work grows, you will clearly see the elastic knit-like ridges forming vertically, with the crown edge tapering inwards gently.
After completing Row 36 (or your desired row count), lay your piece flat on a table without stretching. The width should measure approximately 18.5 inches (47 cm). Wrap it around your head to test the snugness — it should feel comfortably secure.
Do not fasten off your working yarn yet! Cut your yarn leaving a generous 20-inch tail (50 cm). Pull the tail completely through the final loop on your hook to secure.
Assembly, Crown Gathering & Finishing
Now comes the magic where your ribbed rectangle transforms into a beautiful, wearable beanie in just 5 minutes.
- Seam the Sides: Fold your rectangle in half with the right sides facing together (aligning the short edges so the starting foundation chain meets Row 36). Thread your long yarn tail onto your blunt tapestry needle. Join the two edges together by whip stitching or mattress stitching through the outside loops. Keep your tension even so the seam remains flexible and stretchy.
- Gather the Crown: Without cutting your yarn, guide your needle along the top edge of the tube. Weave your needle in and out through the end of every second ridge (approx. every 1/2 inch) in a continuous running stitch around the entire crown opening.
- Cinch and Secure: Once you have woven completely around the circle, gently pull the yarn tail tightly like a drawstring bag. Watch the tapered crown close inward smoothly without bulky folds!
- Reinforce the Top: Insert your needle across the remaining tiny center hole a couple of times in a star pattern to lock the gather securely. Push your needle through to the inside of the hat and tie a secure double knot.
- Weave in All Ends: Use your tapestry needle to weave both the starting tail and crown tail through the inside ribbing ridges for at least 2 inches before snipping the excess.
Adding the Finishing Touch: Pompom or Clean Minimalist?
Your beanie is now complete! Fold up the bottom brim approximately 2 to 2.5 inches to create that classic fisherman cuff.
- Minimalist Clean Look: Wear it as is! The clean horizontal ribbing and snug crown look effortless, modern, and perfectly tailored for both men and women.
- Faux Fur Pompom: If you love a touch of winter luxury, attach a fluffy faux-fur pompom to the top. Pro tip: Sew a small flat coat button on the inside of the crown and pull the pompom’s elastic loop through to loop over the button. This allows you to easily pop the pompom off whenever the beanie needs a run through the wash!
- Yarn Pompom: Use your leftover bulky yarn and a pompom maker (or cardboard rings) to craft a matching 3-inch yarn pompom.
Top Tips for Hat Perfection
- Use the “Negative Ease” Rule: Remember that crochet ribbing stretches significantly during everyday wear. If your hat feels slightly snug the very first time you put it on, it is perfect — it will relax to fit your head within the first hour of wearing.
- Yarn Fiber Matters: Acrylic yarns with anti-pilling technology (or acrylic-wool blends like 80/20) are ideal for beanies because they retain their memory and shape wash after wash without stretching out permanently. If using 100% cotton, keep in mind cotton has zero natural elasticity and may sag over time.
- Need to Calculate Yardage for Multiple Hats? If you are planning an assembly line of handmade holiday gifts, use our free Interactive Yarn Calculator to estimate exactly how many skeins you will need for your batch.
Frequently Asked Questions (FAQ)
Can I make this beanie using lighter #4 Worsted Weight yarn?
Yes, absolutely! You have two great options: either hold two strands of worsted yarn together and follow this bulky pattern with the 6.5 mm hook, or use a single strand with a 5.0 mm (H-8) hook. If using a single strand, increase your foundation chain to 48 stitches and work approximately 44 to 48 rows to achieve the required width.
How do I wash and care for my handmade ribbed beanie?
For best results, hand wash in cool water with a mild wool wash or gentle detergent. Gently squeeze out excess water in a clean towel (never wring or twist), reshape the hat, and lay flat on a dry towel to air dry. If your hat has a faux fur pompom, always remove it before washing.
Have you tried this pattern? Pick your favorite skein of yarn, grab your 6.5 mm hook, and enjoy the satisfaction of wearing a handmade beanie made in just one evening!

The 1-Hour Ribbed Beanie: Cozy Unisex Crochet Hat for Beginners
Looking for a fast, deeply satisfying crochet project that looks like a chic, store-bought knit accessory? The 1-Hour Ribbed Beanie is one of the most versatile and beloved patterns in modern crochet. Whether you need a cozy everyday winter hat, an emergency handmade gift for the holidays, or a stylish unisex wardrobe staple, this pattern […]
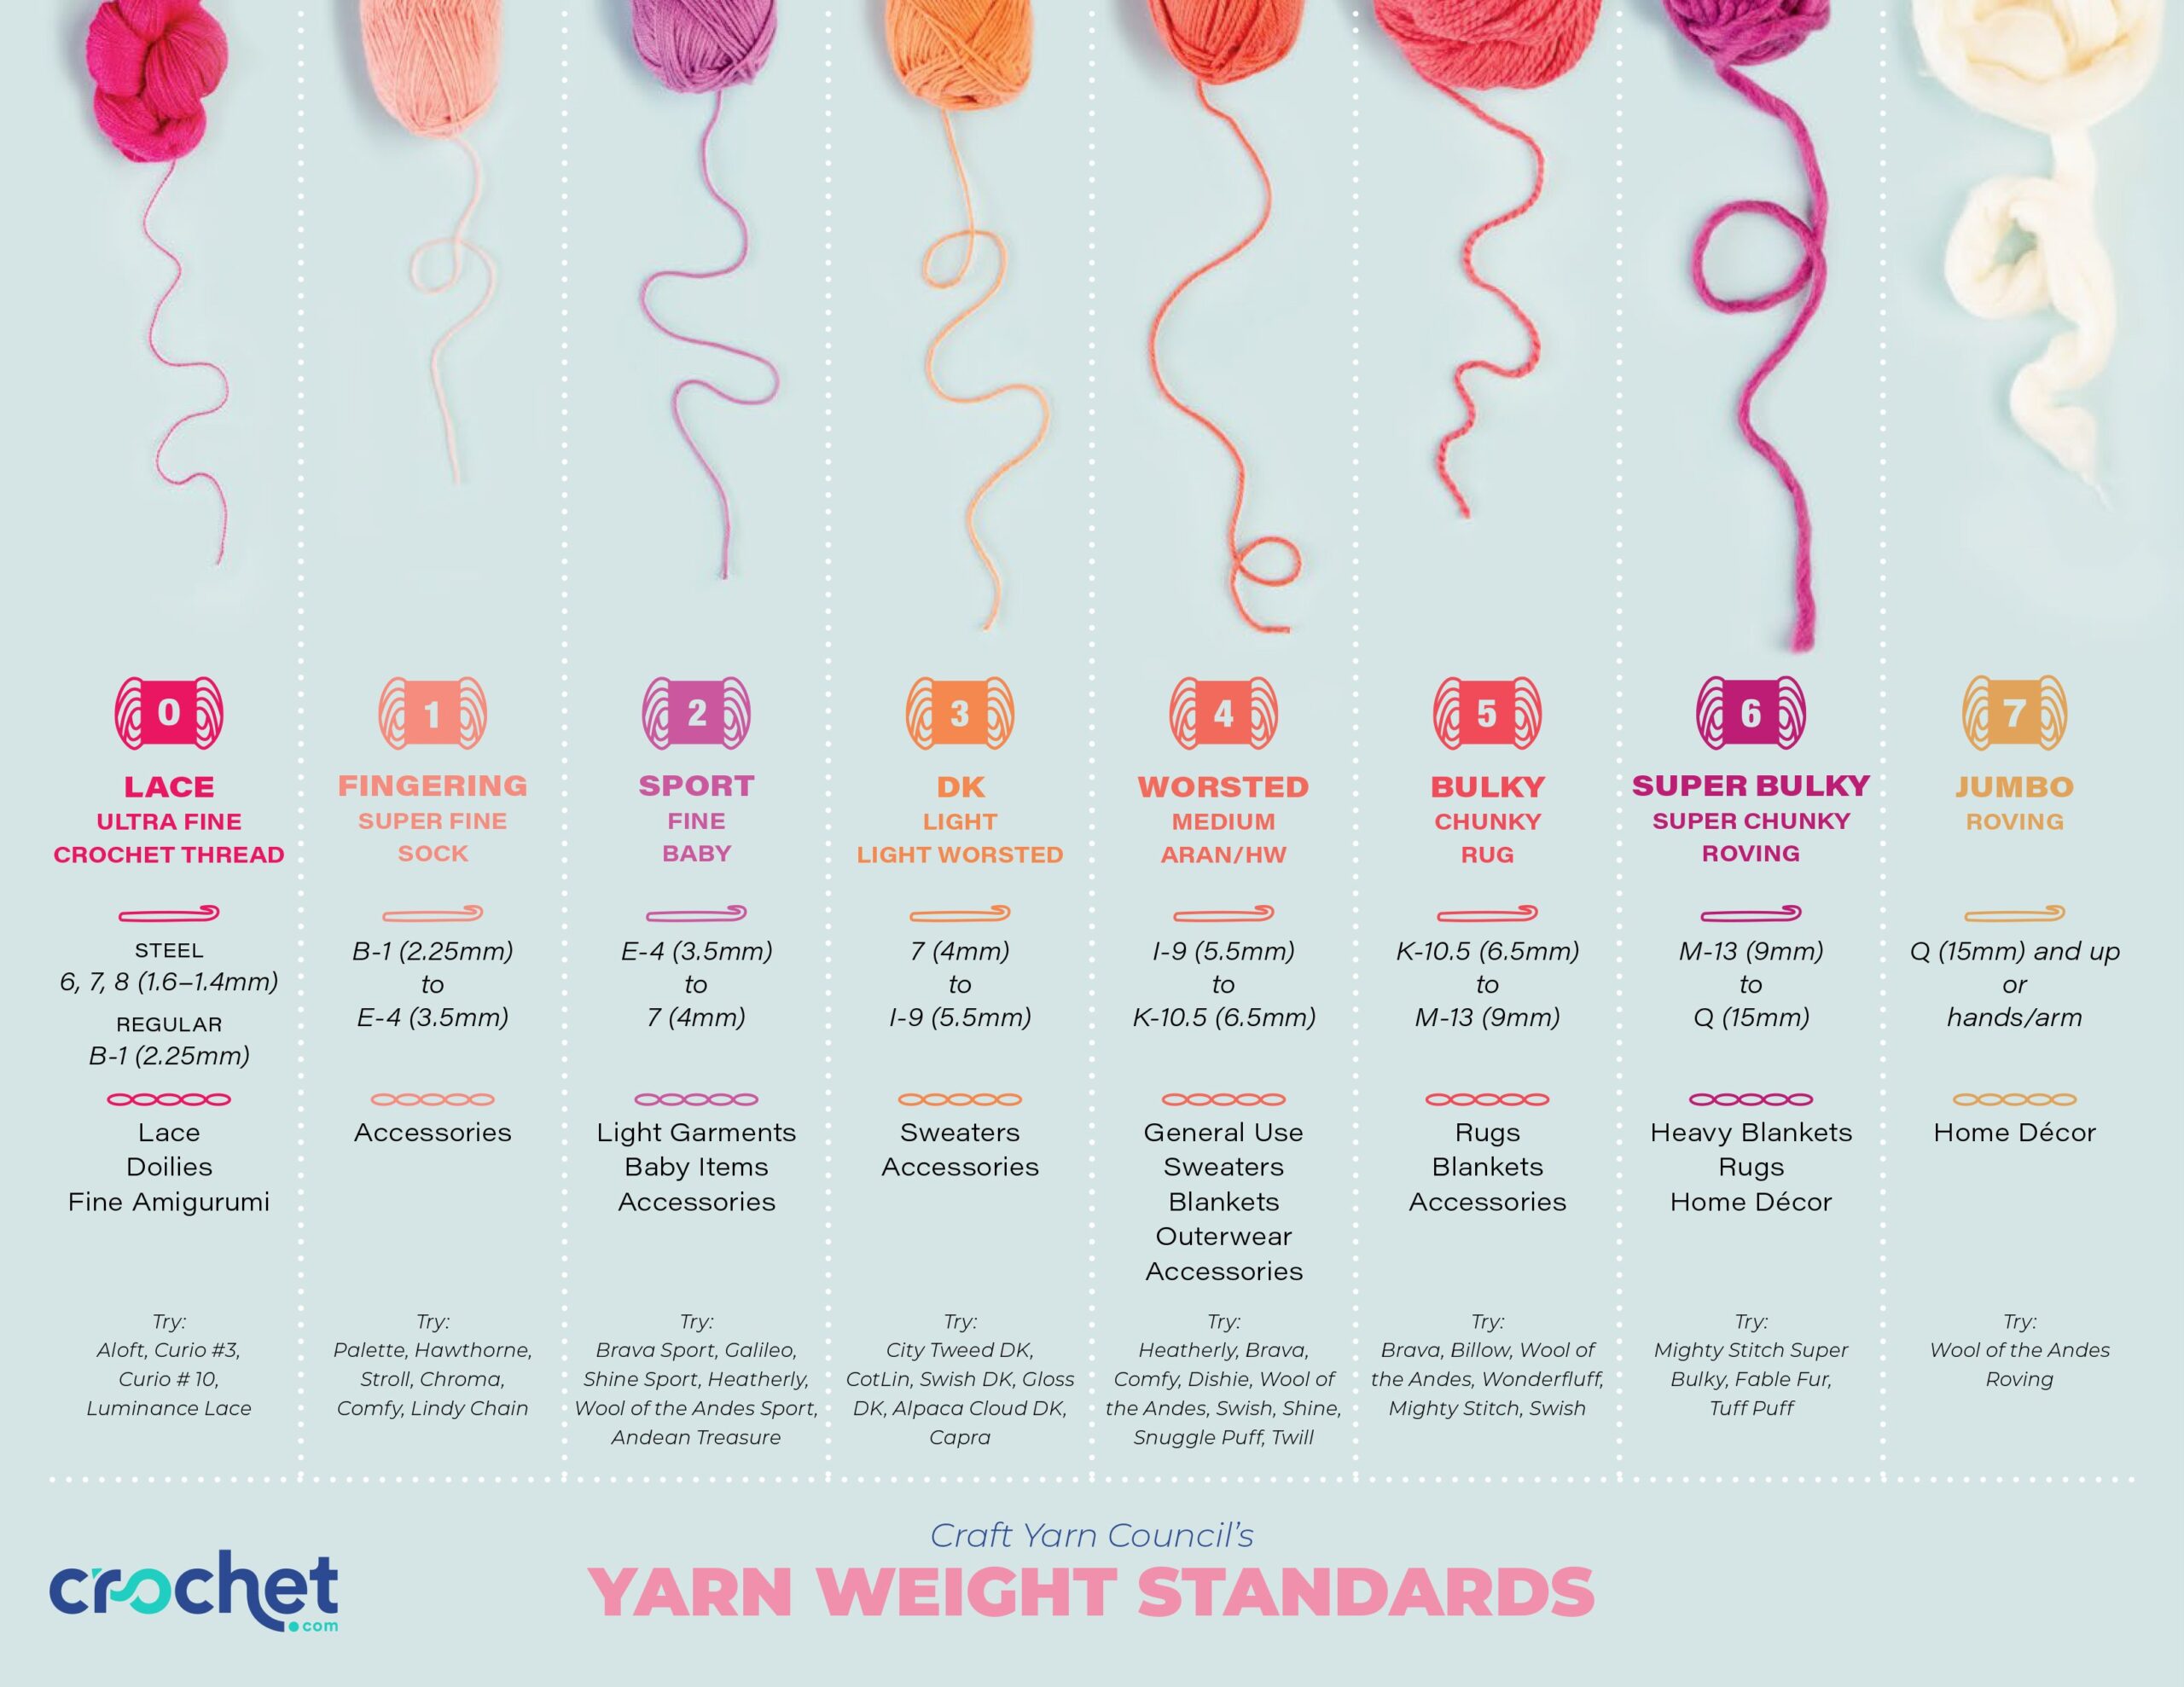
The Ultimate Guide to Yarn Weights: Standard Sizes 0 to 7 Explained
Stepping into a yarn store or browsing online can be both exhilarating and overwhelming. Rows of colorful skeins beckon, each labeled with terms like “Fingering,” “Worsted,” “DK,” or “Chunky,” alongside numbers ranging from 0 to 7.
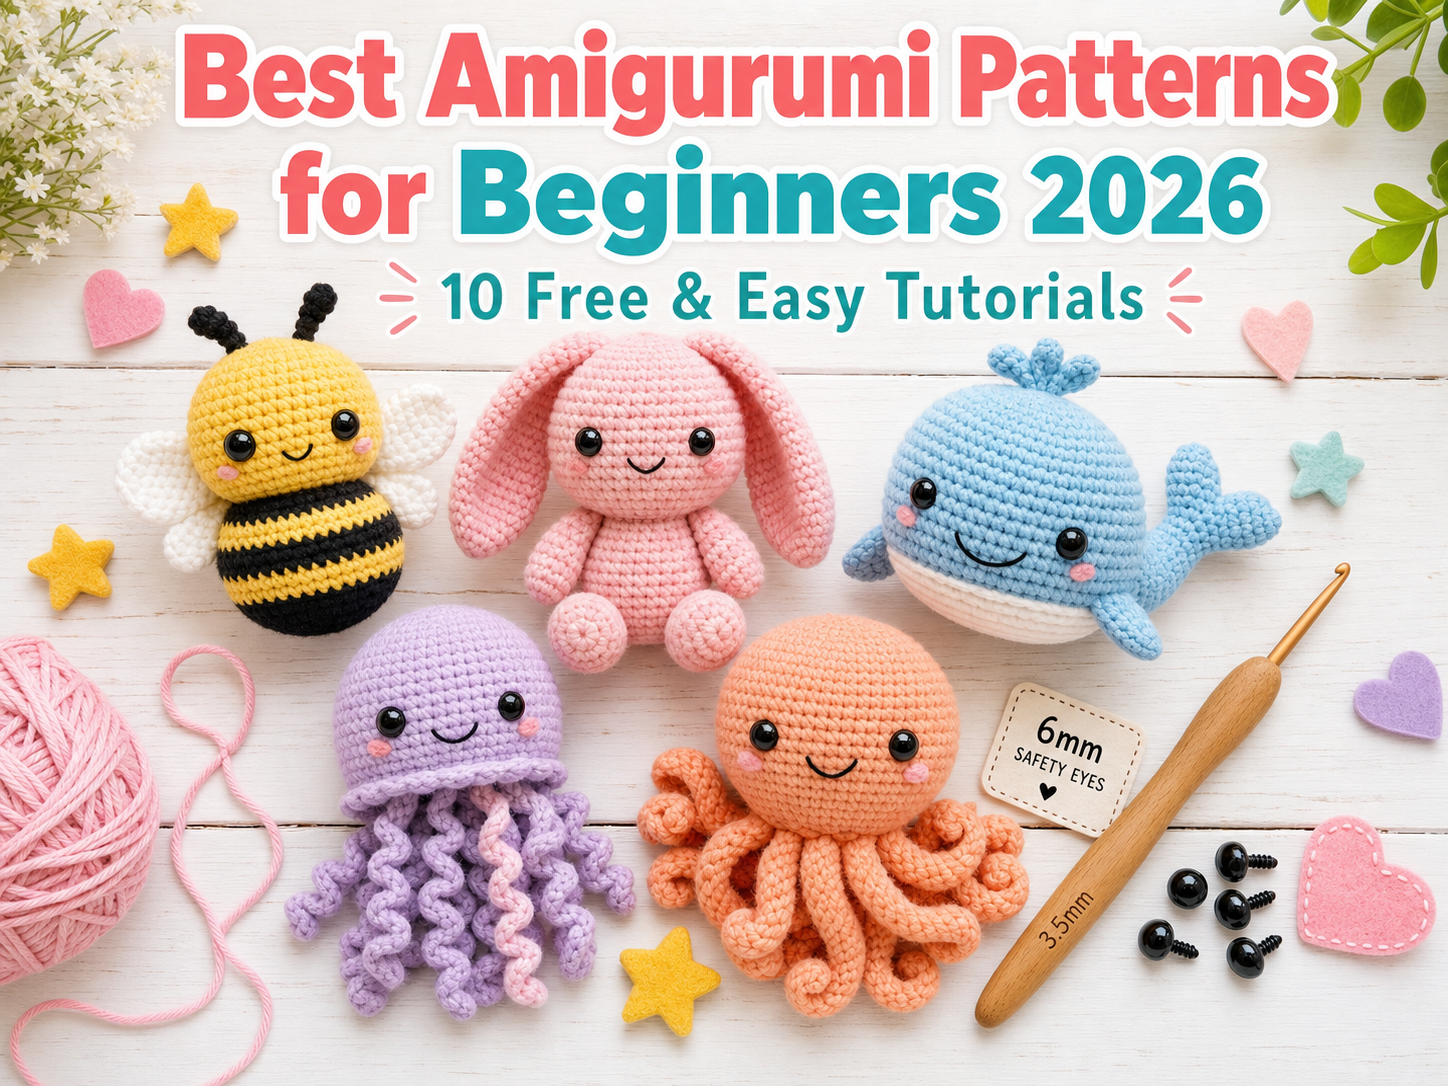
Best Amigurumi Patterns for Beginners 2026 – 10 Free & Easy Tutorials
Amigurumi, the Japanese art of crocheting adorable stuffed toys, has captured the hearts of crafters worldwide. If you’re wondering where to start with amigurumi crochet for beginners, you’ve come to the perfect place.